How to Use the Quick Action
A new addition to the Trigger & Action menu, Quick Action allows you to quickly control the operation of the door in an emergency situation.
By adding the Quick Action button in the Custom Interface menu, you gain the ability to conveniently control multiple doors simultaneously. Simply click the Quick Action button on the BioStar 2 main screen to initiate the command.
Adding the Trigger & Action to Use as Quick Action
-
Click Settings → Trigger & Action.
-
Click ADD TRIGGER & ACTION, and then set each item to add the desired action.

The image above is an example screen and may differ from the actual screen. -
Select Schedule to Always, check Use as Quick Action, and then click Apply to save settings.
-
Quick Action is only available when the Schedule is Always.
-
By selecting Use as Quick Action, you can create an action without the need to specify an Event.
Adding the Quick Action Button to the Biostar 2 Main Screen
-
Click Settings → Custom Interface.
-
In the Quick Action Layout, click + Add to enter and select each item.
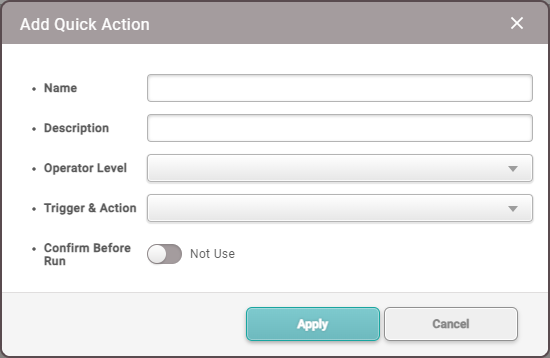
The image above is an example screen and may differ from the actual screen. -
Operator Level: Select the Operator Level that can run the added Quick Action. You can select multiple options.
-
Trigger & Action: Select the Trigger & Action to run. You can select multiple options.
-
Confirm Before Run: Enabling this option prompts a confirmation pop-up when pressing the Quick Action button on the main screen, asking whether to proceed with running the Quick Action.
-
-
Click Apply to save the settings.
-
Click Apply on the Custom Interface screen. Check the confirmation pop-up and click Yes. The Quick Action button added to the top bar of BioStar 2 will be created.

The image above is an example screen and may differ from the actual screen. Info-
Up to 4 Quick Action buttons can be added to the top bar of the main screen.
-
The Quick Action button that appears may vary depending on the Operator Level set for the user.
-
-
Clicking the Quick Action button, created on the top bar of the main screen, will execute the predefined actions set in Trigger & Action.
Editing the Quick Action Buttons
-
Click Settings → Custom Interface.
-
Click the
 icon in the right column of the Quick Action button to edit, then edit the desired part and click Apply.
The image above is an example screen and may differ from the actual screen. -
Click Apply on the Custom Interface screen. Check the pop-up and click Yes to apply the modifications.
Deleting the Quick Action Button
-
Click Settings → Custom Interface.
-
Click the
 icon in the right column of the Quick Action button to delete.
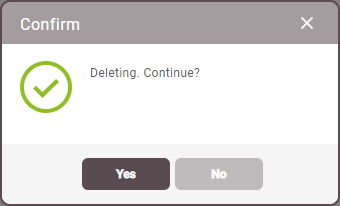
The image above is an example screen and may differ from the actual screen. -
Check the deletion confirmation pop-up and click Yes.
-
Click Apply on the Custom Interface screen. Check the pop-up and click Yes to apply the deletion.