Directory Integration Settings
This document provides guidance on how to synchronize and manage users by integrating Microsoft Entra ID (hereafter Entra ID) or Active Directory with BioStar 2.
Integrating with Entra ID or Active Directory provides the following convenient features, enhancing both security and usability.
-
You can log in to BioStar 2 using your Entra ID account via Single Sign-On (SSO) provided by Entra ID.
-
You can log in to BioStar 2 using Lightweight Directory Access Protocol (LDAP) authentication provided by Active Directory.
-
Users and groups configured in Entra ID or Active Directory can be synchronized with BioStar 2.
-
User information such as title, department, and group used in Entra ID or Active Directory can be mapped to custom fields in BioStar 2.
-
The Entra ID or Active Directory integration setting is available when the Advance license is activated.
-
The Entra ID integration setting is available in BioStar 2.9.9 or later.
Integrate with Entra ID
-
Log in to BioStar 2 with an administrator account.
-
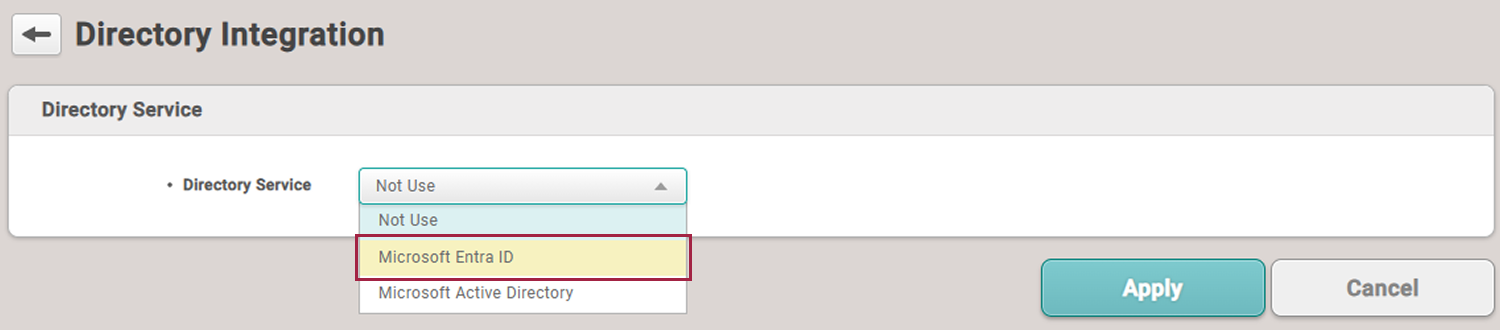
Click Settings → Directory Integration.
-
Select Microsoft Entra ID in Directory Service.
-
Set each item as instructed below.
Directory Server
Enter the server information for Entra ID and click Connect in Directory Server.

-
Client ID: Enter the Client ID of the application registered in Entra ID.
-
Client Secret: Enter the Client secret added in Certificates & secrets of the application registered in Entra ID.
-
Primary Domain: Enter the Directory (Tenant) ID of the application registered in Entra ID.
-
For more information on registering an application in Entra ID, refer to the following link.
-
For more information on configuring Certificates & secrets in Entra ID, refer to the following link.
-
Tenant ID can be found in the Overview of the registered application in Entra ID.
User Group Filter
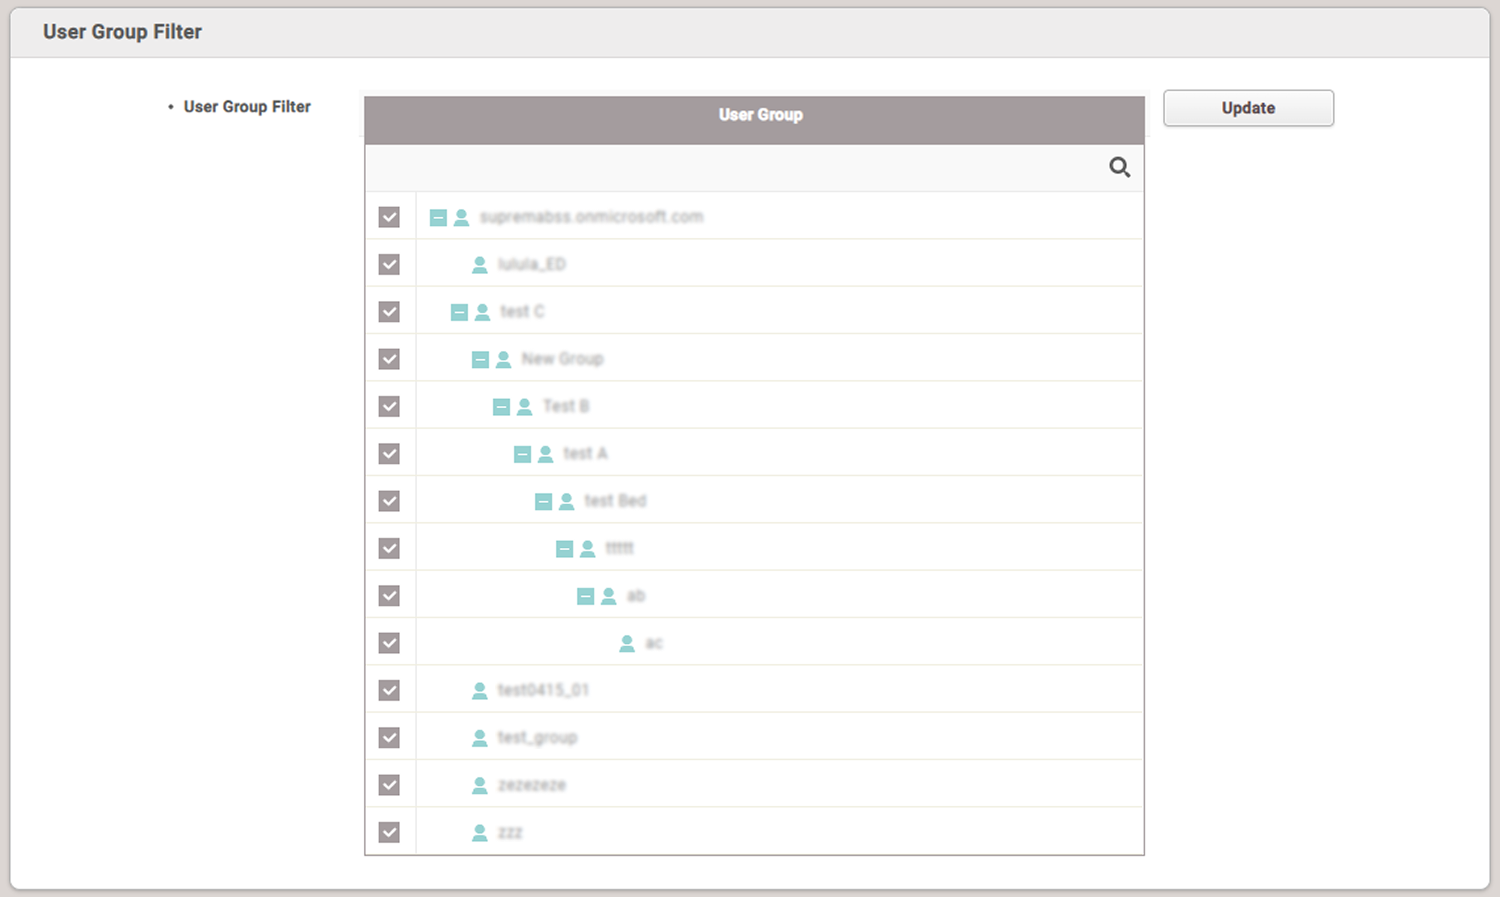
After completing the settings in Directory Server and clicking Connect, user group information from Entra ID will be retrieved in User Group Filter.
Deselect any user groups that should not be synchronized with BioStar 2.
-
Update: Click to refresh the user group information.
-
Click the
 icon to search for the desired user group.
User Field Configuration
You can configure the Entra ID field to be mapped with the user field of BioStar 2.
Select the field of Entra ID to use as the user field of BioStar 2 in User Field Configuration.

Each user field of BioStar 2 is set by default to map to the corresponding user information in Entra ID.
To select a field value other than the default, click the field in Entra ID Field and select the desired field value.
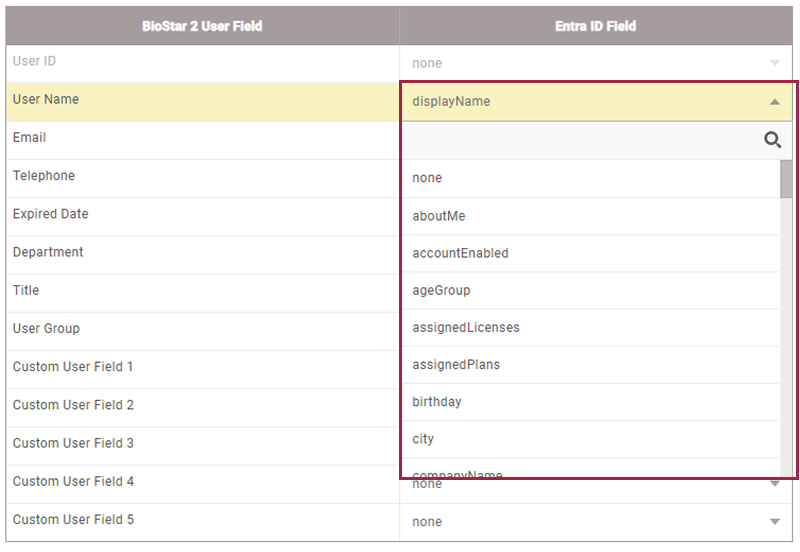
The User ID field cannot be mapped when integrating with Entra ID. It is automatically generated and applied by BioStar 2.
BioStar 2 Login with Entra ID
Change the BioStar 2 Login with Entra ID to Enabled to enable login to BioStar 2 using Entra ID SSO.

Copy the redirection URI from the Redirection URI field( ) and paste it into the SSO redirection settings in the Entra ID portal. When a user successfully logs in with Entra ID, they will be redirected to this address.
-
For more information on registering an application in Entra ID and adding a redirection URI, refer to the following links.
-
The redirection address can be found in the Overview of the registered application in Entra ID.
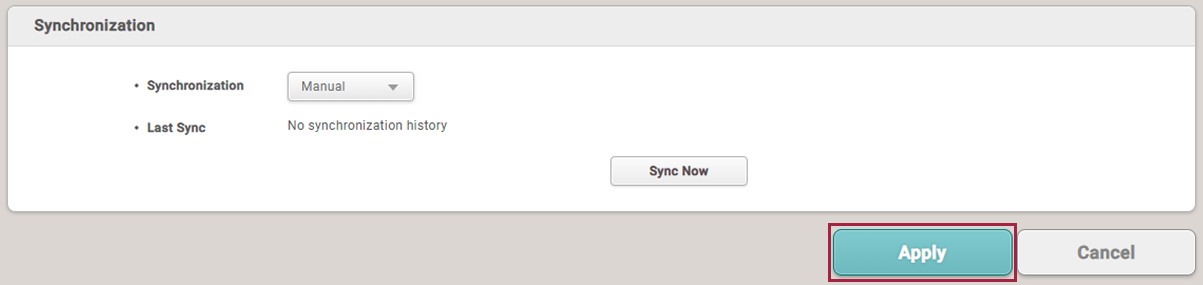
Synchronization
This feature allows you to synchronize user information changed in Entra ID.
-
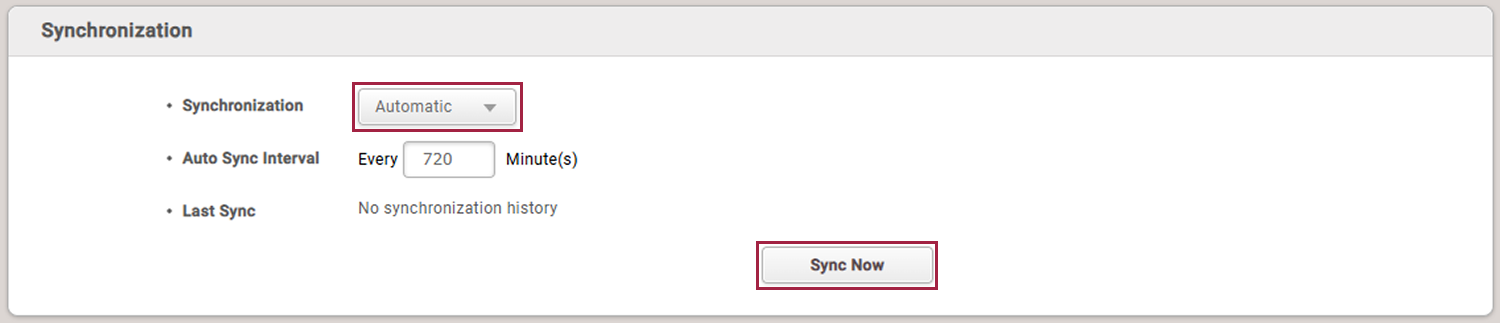
Synchronization: You can select the desired synchronization method and set the synchronization interval.
-
Manual: Each time you click Sync Now, user information is retrieved and synchronized from Entra ID.

-
Automatic: User information is retrieved and synchronized from Entra ID at the interval set in the Auto Sync Interval item. The synchronization interval can be set in minutes. The minimum value is 30 minutes, and the maximum value is 10,080 minutes (7 days).
-
-
Last Sync: You can check the date and time of the most recent synchronization.
-
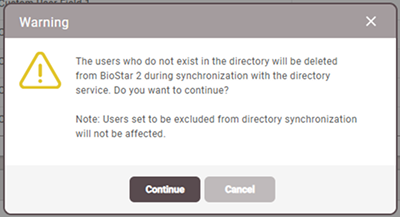
When you click Sync Now, a warning message will appear. To continue, click Continue. To cancel, click Cancel.
To exclude specific users from synchronization when using the integration feature, refer to the following.
-
When the synchronization method is set to Automatic, you can synchronize immediately by clicking Sync Now.
After completing all settings in Directory Integration, click Apply at the bottom of the screen to save. Refer to the following to check the results.
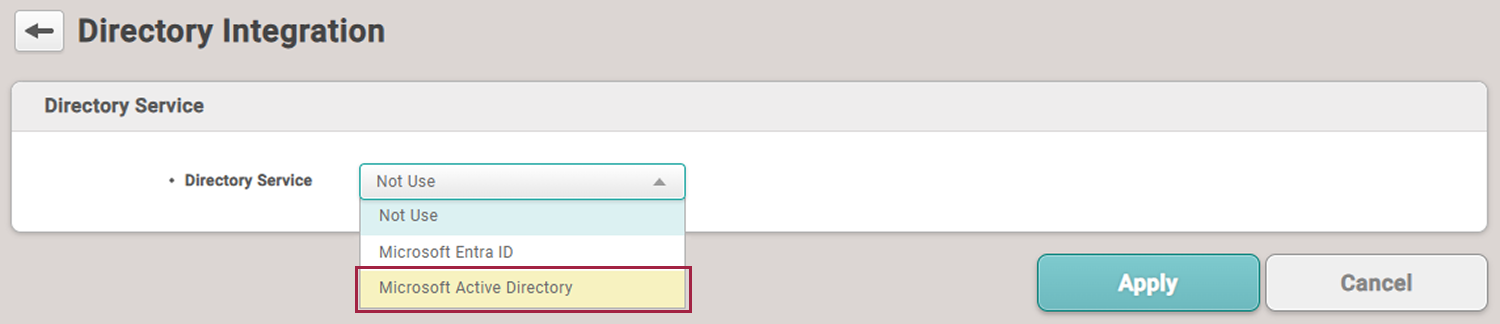
Integrate with Active Directory
-
Log in to BioStar 2 with an administrator account.
-
Click Settings → Directory Integration.
-
Select Microsoft Active Directory in Directory Service.
-
Set each item as instructed below.
-
The Active Directory is available for a system environment with Windows Server 2008 R2 or later.
-
To use the Active Directory server, set the User ID Type to Alphanumeric in the Settings → Server.
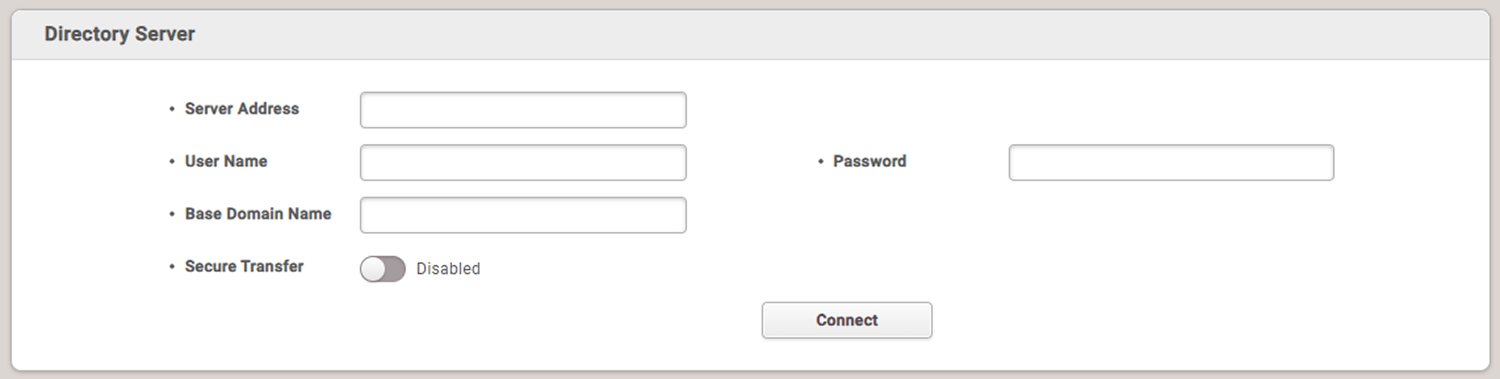
Directory Server
Enter the server information for Active Directory and click Connect in Directory Server.
-
Server Address: Enter the server address for Windows Active Directory.
-
User Name: Enter the user name used by Windows Active Directory.
-
Password: Enter the password used by Windows Active Directory.
-
Base Domain Name: Enter the base domain name for Windows Active Directory. You can find the base domain name in the following steps:
-
Run the Active Directory Administrative Center.
-
Right-click on the node where user data is stored, and then click Property.
-
In the property window, select Expand and then click Attribute Editor.
-
View the value of distinguishedName.
-
-
Secure Transfer: You can use encryption when communicating with the Windows Active Directory server. To install the Active Directory Certificate Services and configure the Keystore Password, refer to the following.
- Keystore Password: Enter the password for the encryption key store of the Windows Active Directory server. You can enter the password when the Secure Transfer is set to Enabled.
User Group Filter
After completing the settings in Directory Server and clicking Connect, user group information from Active Directory will be retrieved in User Group Filter.
Deselect any user groups that should not be synchronized with BioStar 2.
-
Update: Click to refresh the user group information.
-
Click the
icon to search for the desired user group.
User Field Configuration
You can configure the Active Directory field to be mapped with the user field of BioStar 2.
Select the field of Active Directory to use as the user field of BioStar 2 in User Field Configuration.
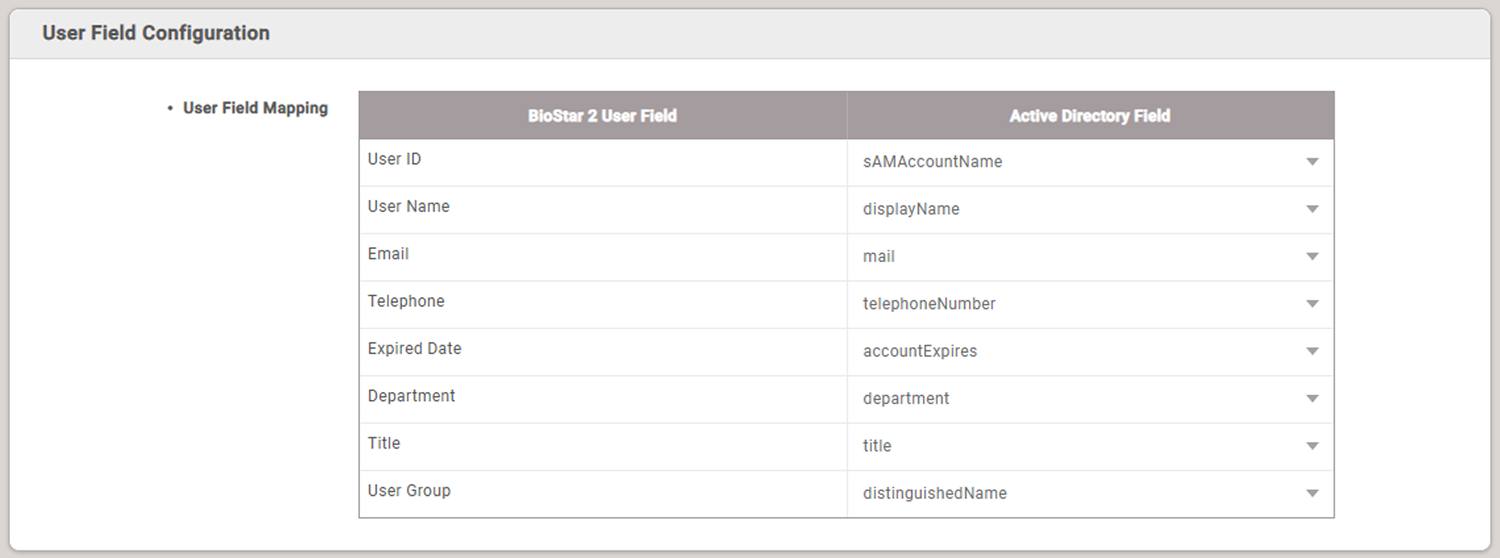
Each user field of BioStar 2 is set by default to map to the corresponding user information in Active Directory.
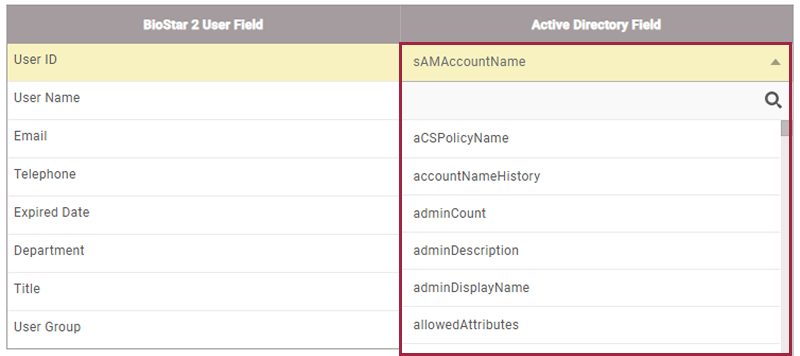
To select a field value other than the default, click the field in Active Directory Field and select the desired field value.
BioStar 2 Login with Active Directory
To configure login to BioStar 2 using the user ID of the Active Directory server, change the BioStar 2 Login with Active Directory to Enabled. The value of the sAMAccountName field from the Active Directory server will be mapped to the BioStar 2 login ID.

Synchronization
This feature allows you to synchronize user information changed in Active Directory.
-
Synchronization: You can select the desired synchronization method and set the synchronization interval.
-
Manual: Each time you click Sync Now, user information is retrieved and synchronized from Active Directory.
-
Automatic: User information is retrieved and synchronized from Active Directory at the interval set in the Auto Sync Interval item. The synchronization interval can be set in minutes. The minimum value is 30 minutes, and the maximum value is 10,080 minutes (7 days).
-
-
Last Sync: You can check the date and time of the most recent synchronization.
-
When you click Sync Now, a warning message will appear. To continue, click Continue. To cancel, click Cancel.
To exclude specific users from synchronization when using the integration feature, refer to the following.
-
When the synchronization method is set to Automatic, you can synchronize immediately by clicking Sync Now.
After completing all settings in Directory Integration, click Apply at the bottom of the screen to save. Refer to the following to check the results.
Check the settings results
After completing the integration settings with Entra ID or Active Directory, click Apply at the bottom of the screen. Refer to the following to check the synchronized settings.
-
You can check the synchronized user list in the User menu.
-
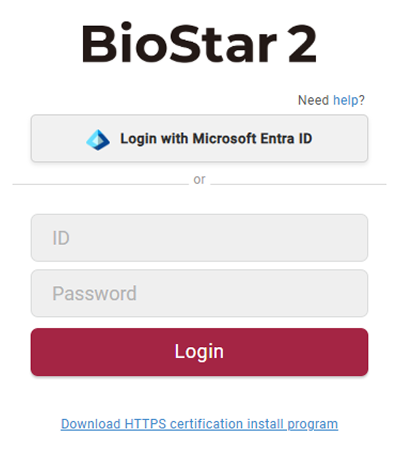
After completing the login settings with Entra ID or Active Directory, you can see Login with Microsoft Entra ID when logging in to BioStar 2.
Exclude the directory integration
When integrating with Entra ID or Active Directory through the Directory Integration feature, users that do not exist in the directory service may be deleted from BioStar 2. If there are users that you do not want to be deleted, you can exclude them from the integration using the following method.
-
Log in to BioStar 2 with an administrator account.
-
Go to the User menu.
-
Click on the user you want to exclude from the integration in the All Users list.
-
When the detail information screen of the selected user appears, click the checkbox of Exclude from Directory Integration in Advanced.
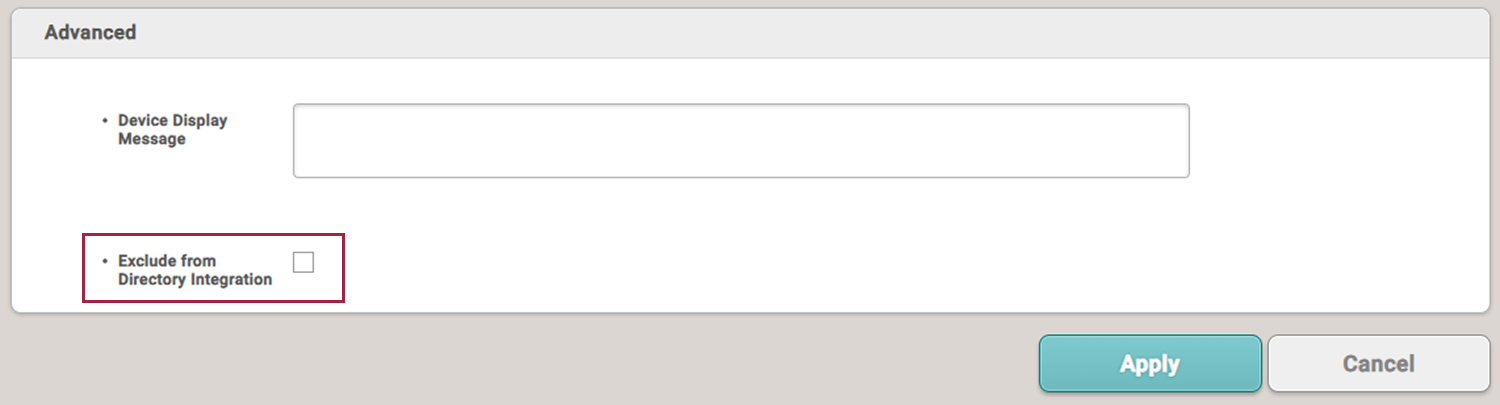
-
Click Apply.
The selected user will be excluded from the integration when using the Directory Integration feature.
Disable the directory integration
To disable the Directory Service feature, follow the steps:
-
Log in to BioStar 2 with an administrator account.
-
Click Settings → Directory Integration.
-
Select Not Use in Directory Service.

-
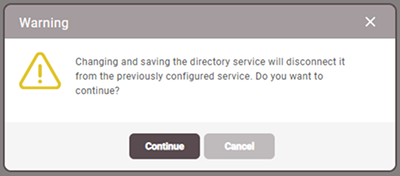
When the Warning message appears, click Continue.
-
Click Apply at the bottom of the screen.
When the Directory Service is set to Not Use, all integration settings with Entra ID or Active Directory in BioStar 2 will be removed. The integrated user and group information will not be deleted, but will no longer be synchronized. Please make sure to check before disabling the integration.