Accessing and Configuring the Web Server
This topic explains how to set a password and log in the first time you access the ViOnyx Web Server.
Accessing the Camera Web Server
-
Use a computer connected to the same network as the camera.
-
If the camera does not obtain an IP address after a factory reset, it will revert to the default IP address (
https://192.168.1.100:8443). Use that address to connect.
-
Sign in to Suprema Download Center and download the installer package (VionyxTool.zip).
-
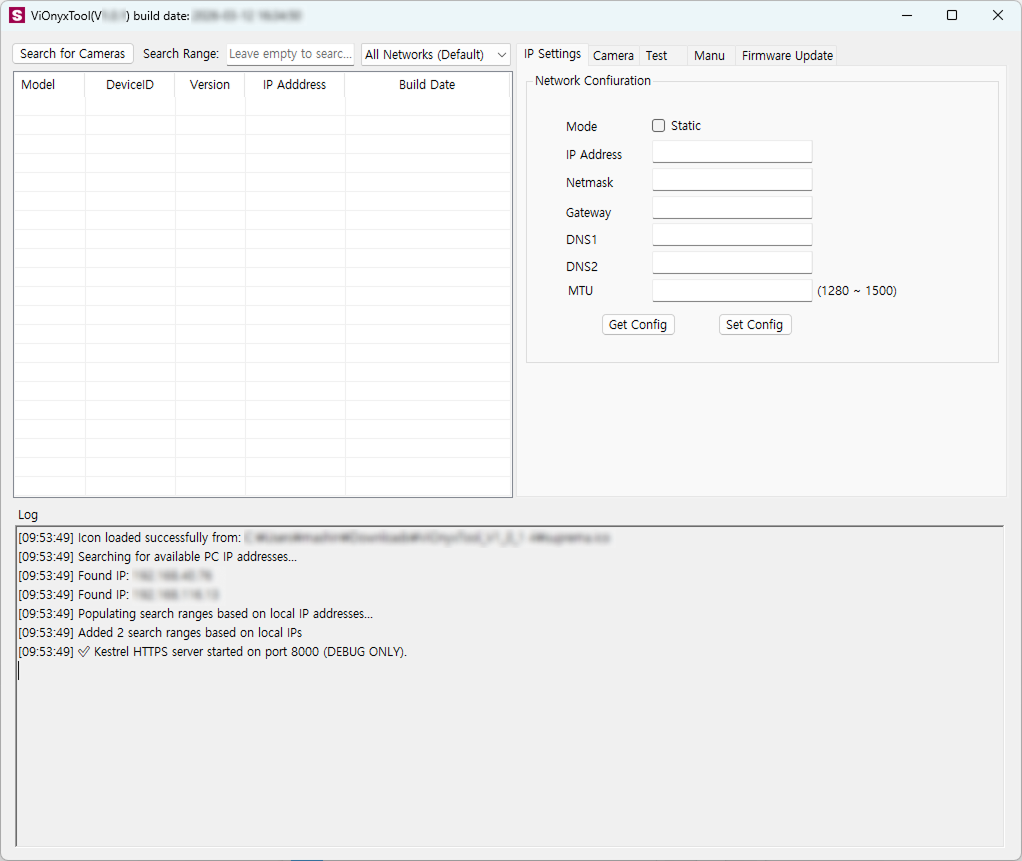
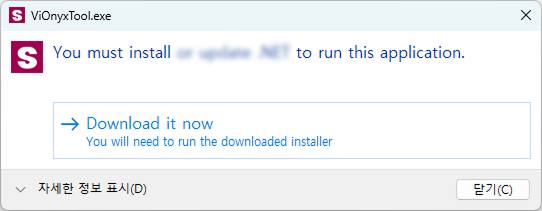
Extract the downloaded installer file, then run vionyx_tool.exe.
-
Click Search for Cameras.
-
In the list of discovered cameras, find the camera's serial number (DEVICE ID) and check the IP ADDRESS.
-
Please launch the web browser.
-
Enter the camera's IP ADDRESS including
https://in the address bar, then press Enter.Example:
https://192.168.1.100/ -
The ViOnyx Web Server page appears.
Set Password
When you first access the ViOnyx Web Server, set a password.
-
See Accessing the Camera Web Server, then open a web browser and go to the ViOnyx Web Server at
https://IP ADDRESS.Example:
https://192.168.1.100/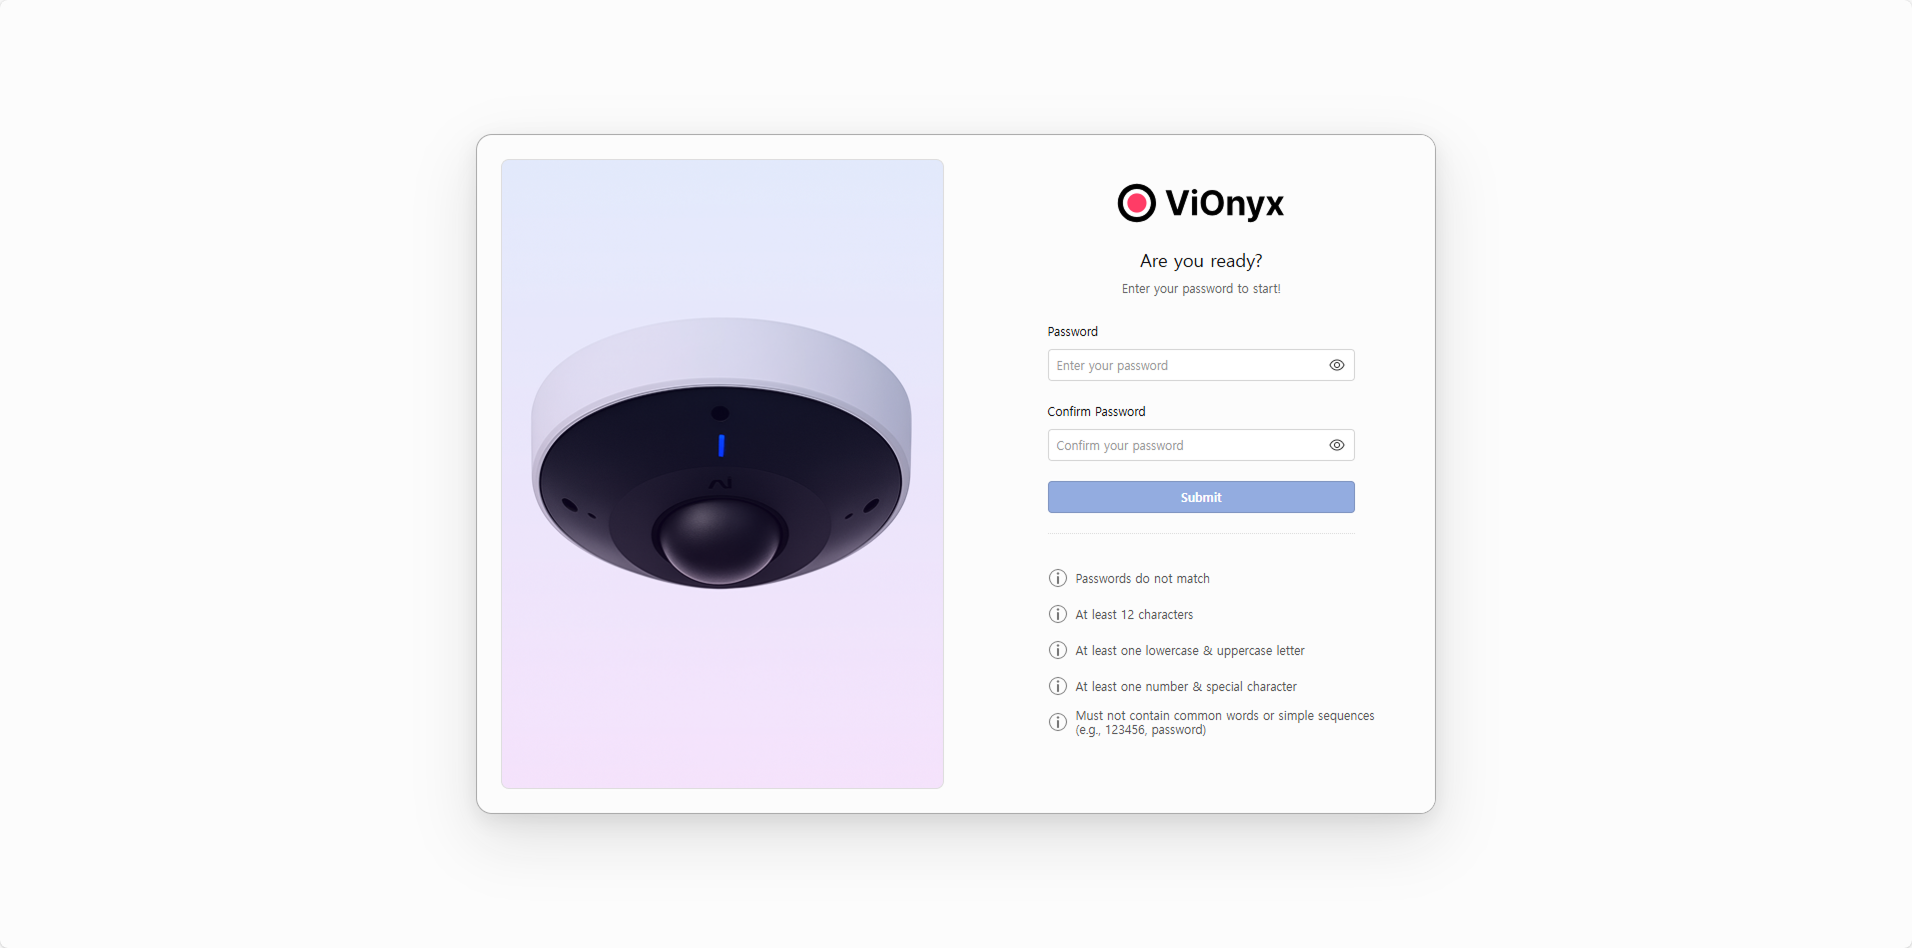
-
Password field: Enter the password.
-
Confirm Password field: Enter the same password again.
-
Make sure the password you entered meets all of the following requirements.
Password requirements
-
Password Confirmation: Values in the Password and Confirm Password fields must match exactly.
-
Length: Enter between 12 and 64 characters.
-
Character composition: Must include at least 1 of each of the following: English uppercase letters (A-Z), English lowercase letters (a-z), digits (0-9), and special characters (
"!@#$%^&*()-_=+[]{}).-
Spaces, Hangul, and other Unicode characters are not allowed.
-
-
Security rules: To prevent security vulnerabilities, the following patterns are not allowed.
-
Consecutive sequences of 4 or more letters or numbers (e.g., abcd, 1234, 4321)
-
Identical characters or digits repeated 4 or more times (e.g., aaaa, 1111)
-
Contains the user ID (case-insensitive)
-
Common words or patterns that are easy to guess (e.g., password, qwerty)
-
-
-
The Submit button becomes active once all conditions are met. Click the button to finish setting your password.
Take care not to lose your password. If you lose your password, you will need to reset the camera.
How to Log in
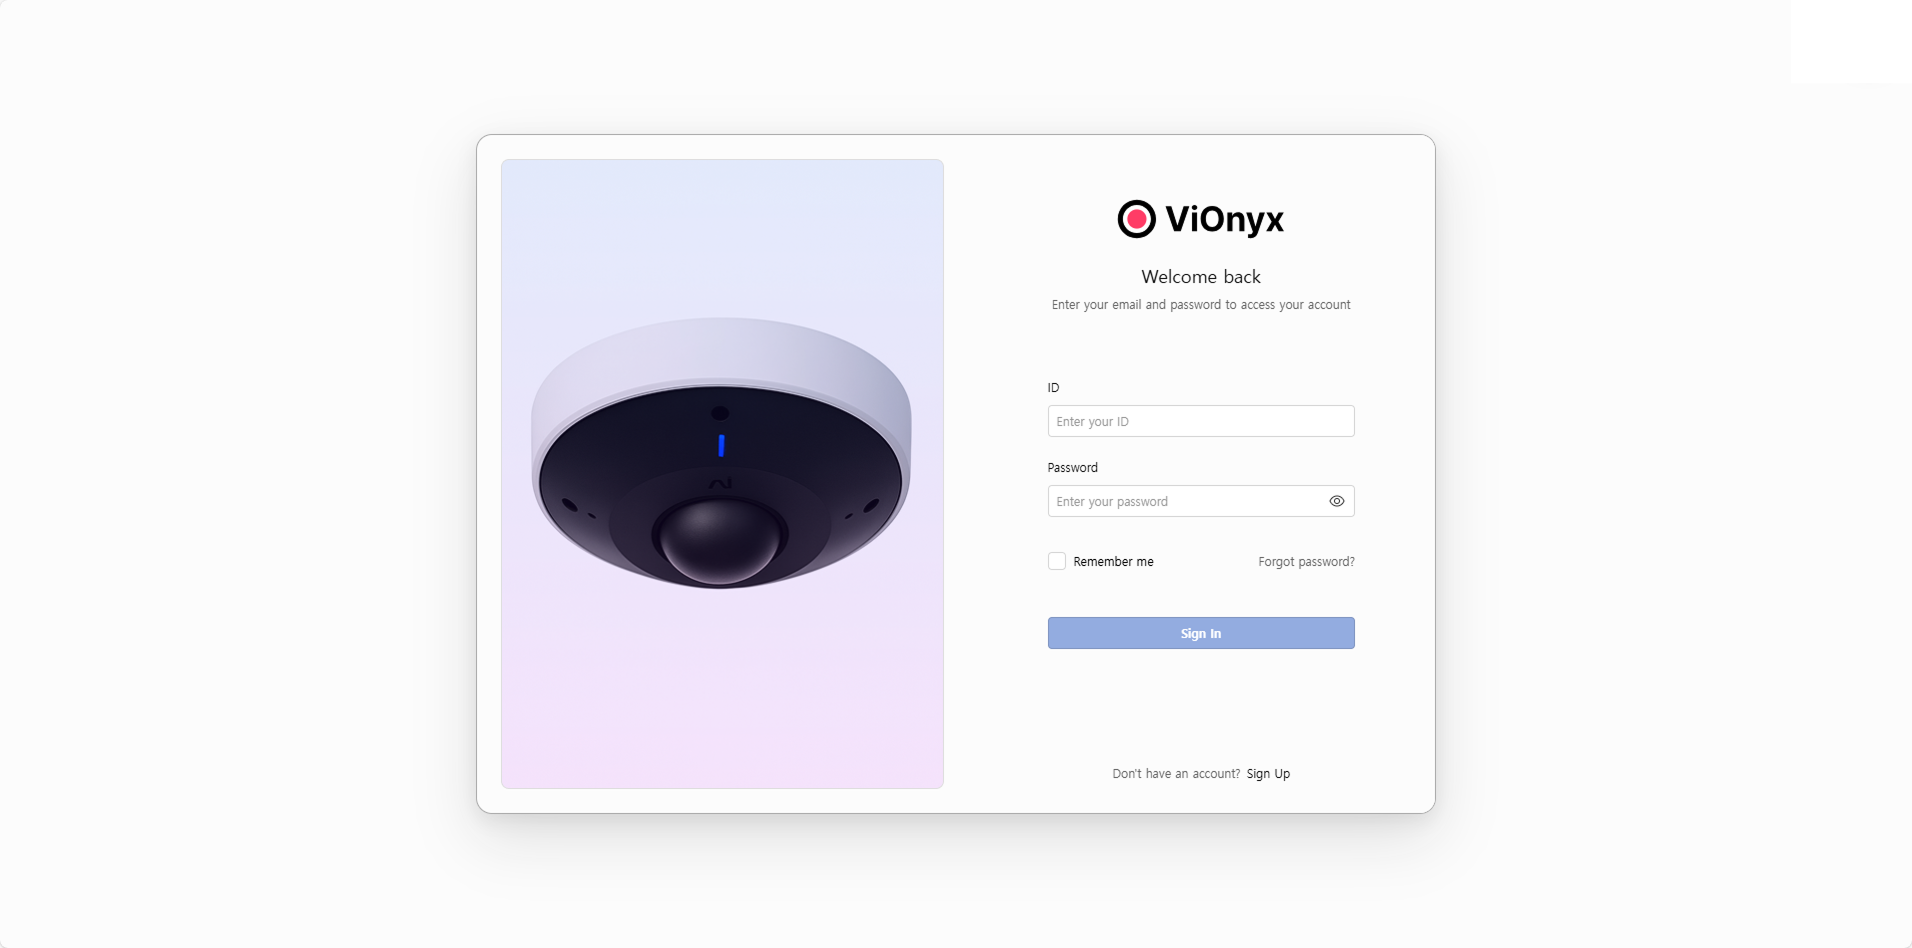
After the password is set, you will be automatically redirected to the login page. Enter the administrator ID and the password you set to access the ViOnyx Web server.
-
Enter admin in the Id field.
- To change the administrator ID (admin), go to System → Account management.
-
Enter the password you set in the Password field.
-
Click the Login button. After successfully logging in, the ViOnyx Web Server's live camera viewer will appear.
-
See the ViOnyx Web Server User Guide to configure the camera.