Create and Schedule Reports
Reports in BioStar Air can be configured from different pages depending on the report type. This article explains how to create and schedule user, event log, and audit log reports.
Access report configuration
The entry path differs by report type.
-
User report: User Management → Users
-
Event log report: Monitoring → Event Logs
-
Audit log report: Monitoring → Audit Logs
Click in the toolbar at the top of the list. The report settings page appears.
Configure user reports
Configure a user report to view the current status of users registered on the site.
-
Go to User Management → Users in the left sidebar.
-
In the toolbar at the top of the user list, click .
-
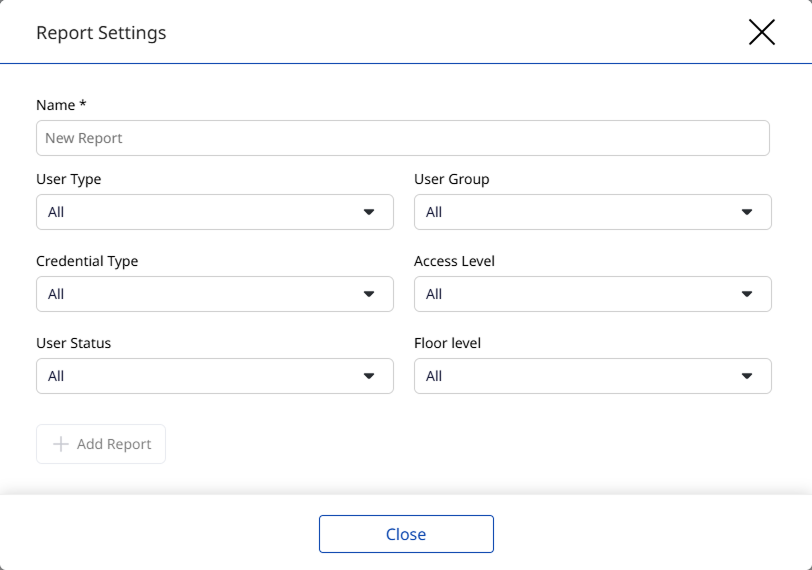
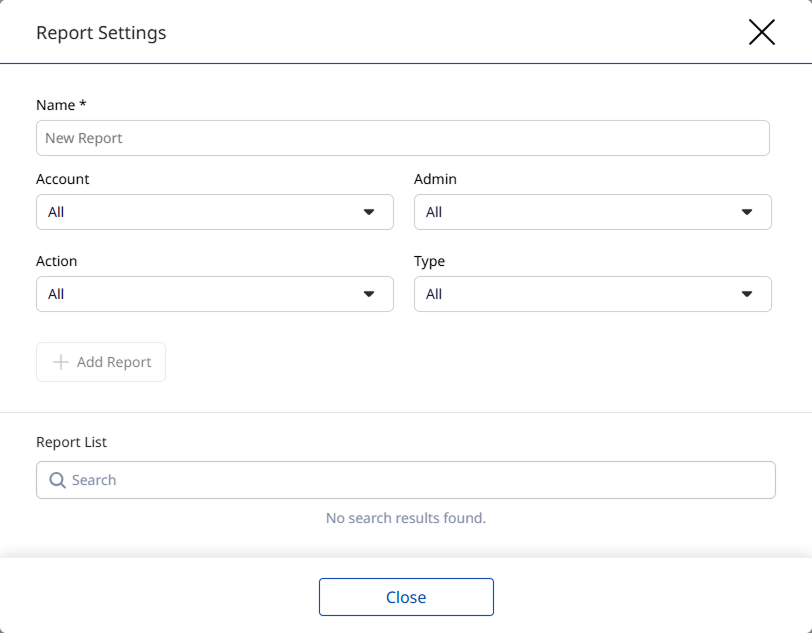
When the Report Settings window appears, enter a report name.
-
Select the items to include in the report from each filter option.
-
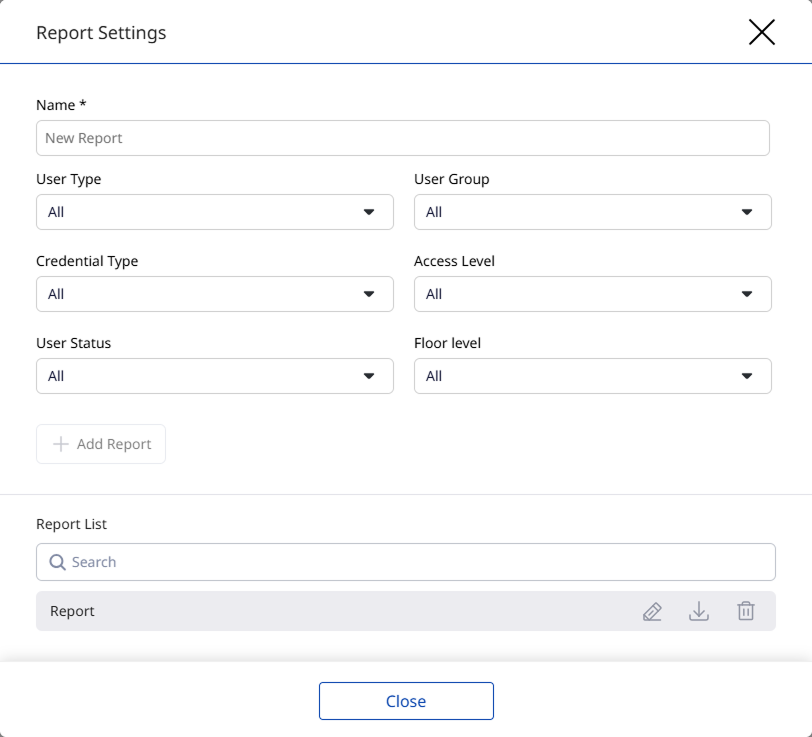
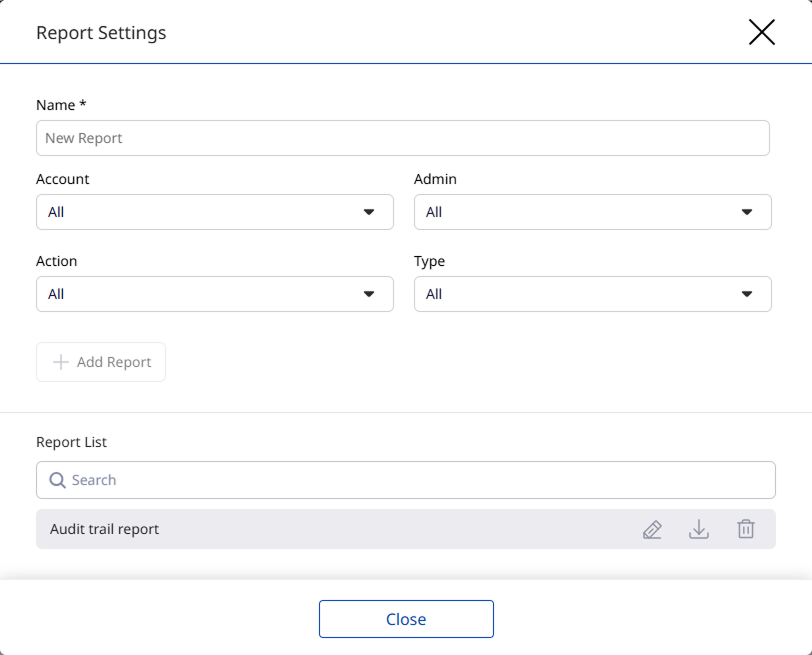
Click Add Report to save the report.
-
A Report List is created at the bottom, and a download link is sent to the administrator’s email.
-
Click to edit the report.
-
Click to export the report as a PDF or CSV file.
-
Click to delete the report.
- For more information on user management, refer to Users.
Configure event log reports
Configure a report on event logs generated on the site.
-
Go to Monitoring → Event Logs in the left sidebar.
-
In the toolbar at the top of the log list, click .
-
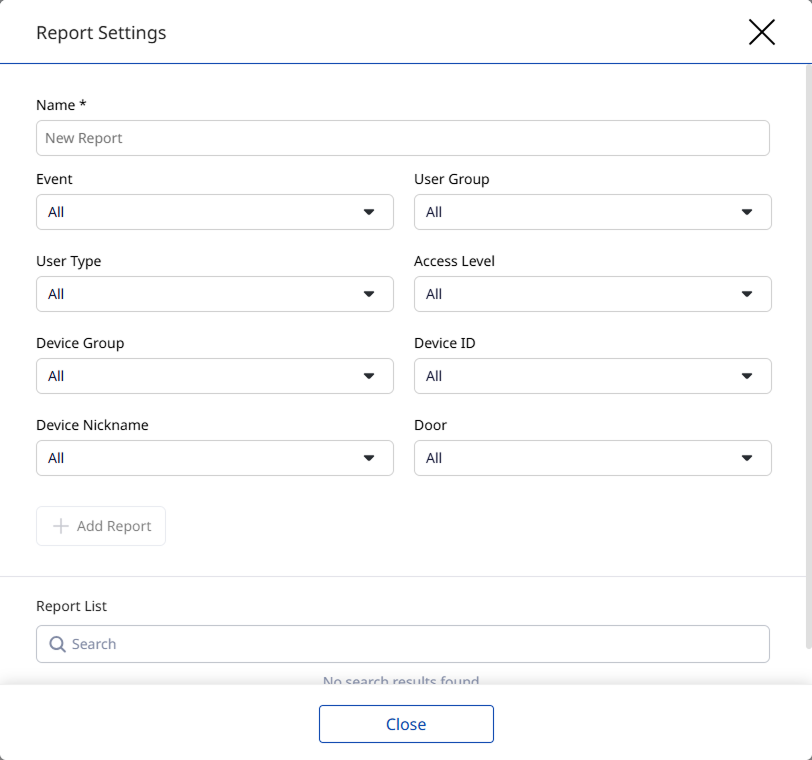
When the Report Settings window appears, enter a report name.
-
Select the items to include in the report from each filter option.
-
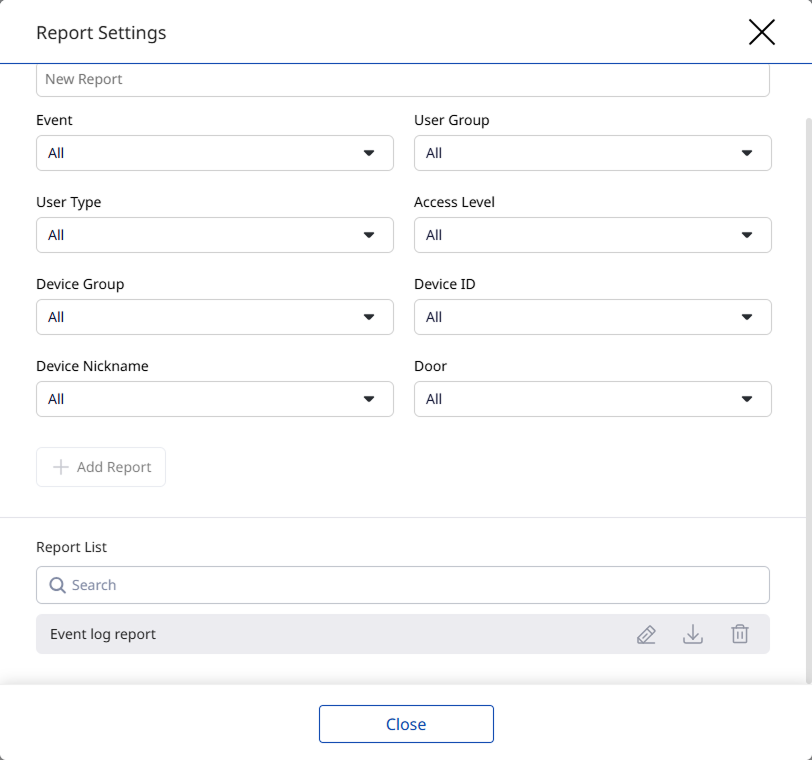
Click Add Report to save the report.
-
A Report List is created at the bottom, and a download link is sent to the administrator’s email.
-
Click to edit the report.
-
Click to export the report as a PDF or CSV file.
-
Click to delete the report.
- For more information on event logs, refer to Use Event Logs.
Configure audit log reports
Configure an audit log report on changes made by administrators.
-
Go to Monitoring → Audit Logs in the left sidebar.
-
In the toolbar at the top of the log list, click .
-
When the Report Settings window appears, enter a report name.
-
Select the items to include in the report from each filter option.
-
Click Add Report to save the report.
-
A Report List is created at the bottom, and a download link is sent to the administrator’s email.
-
Click to edit the report.
-
Click to export the report as a PDF or CSV file.
-
Click to delete the report.
- For more information on audit logs, refer to Use Audit Logs.
Schedule reports
Automatically generate reports at defined intervals and send them to administrators.
-
Go to Settings → Alert & Report in the left sidebar.
-
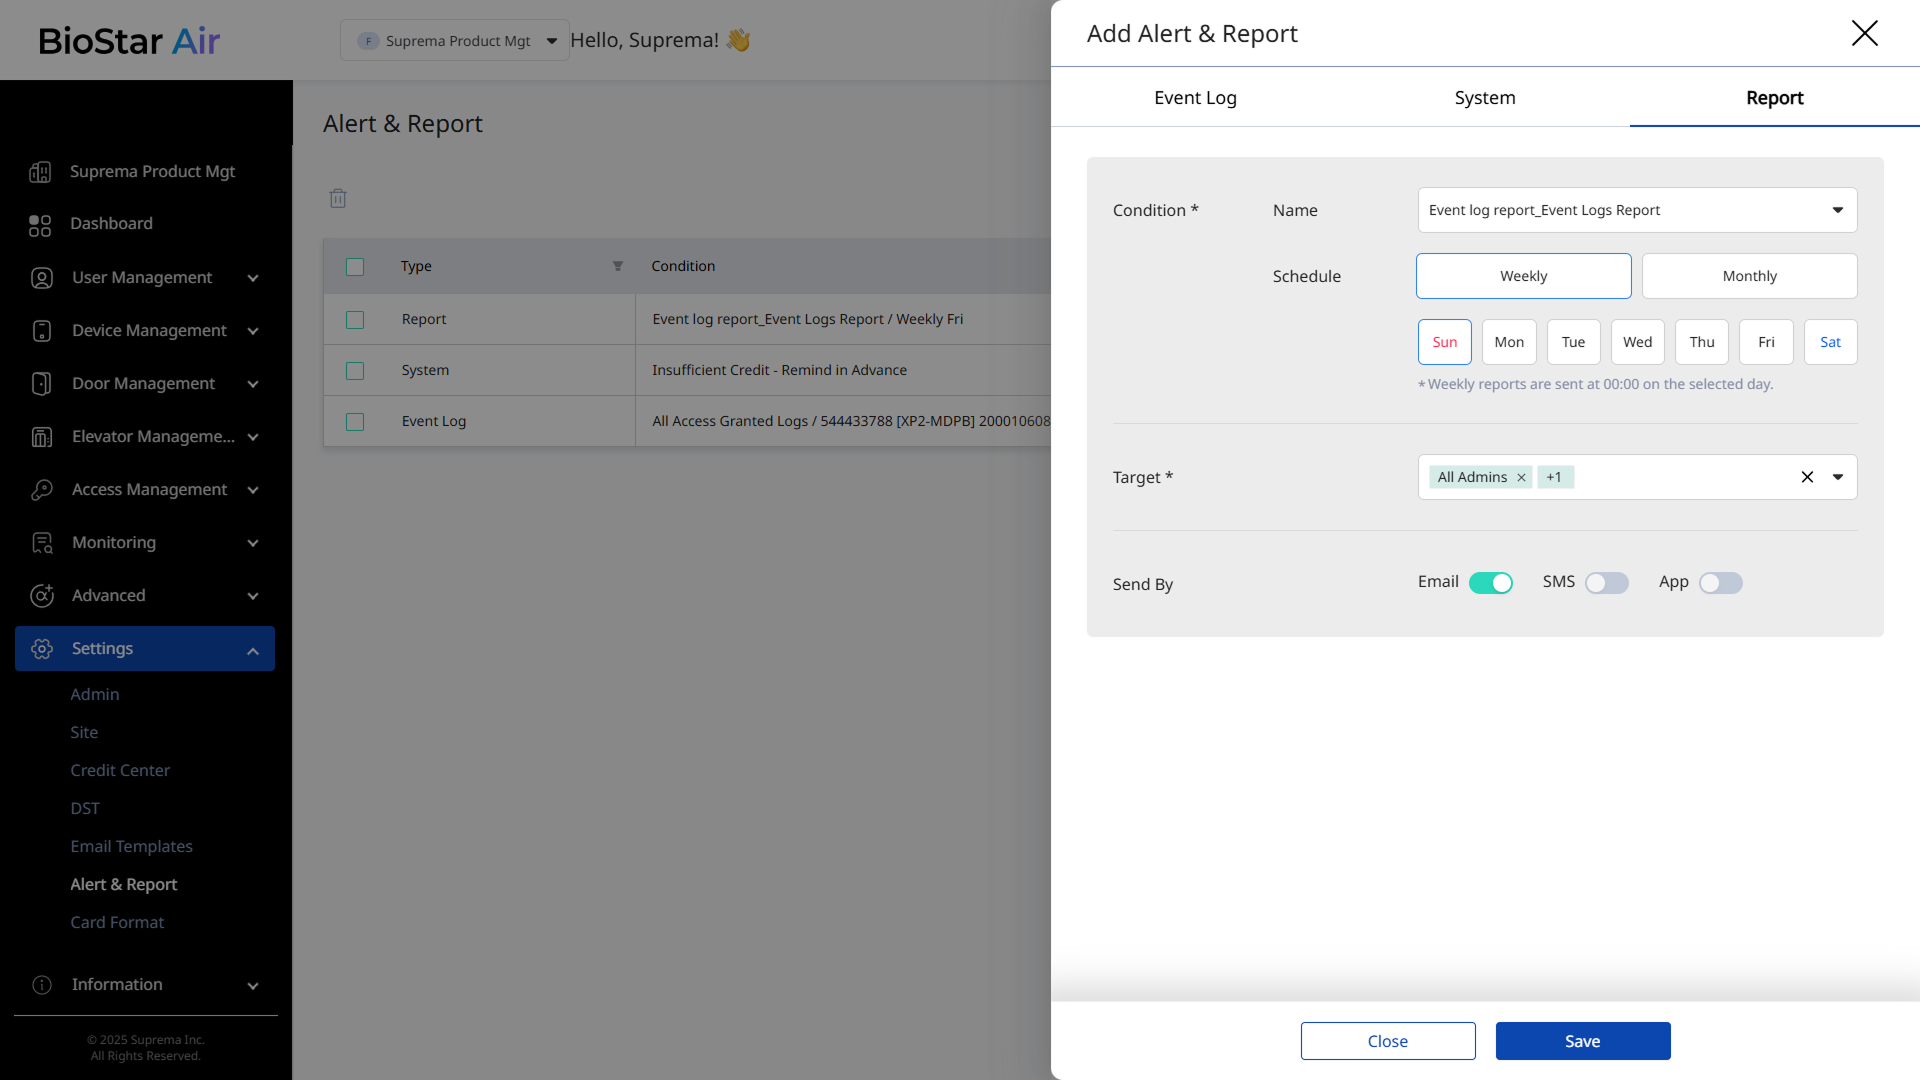
Click Add Alert & Report at the top right of the screen.
-
When the Add Alert & Report panel appears, select the Report tab.
-
In the Condition section, select the report type to generate from Name.
-
Select the report schedule from Schedules.
-
Select either Weekly or Monthly.
-
Select the specific date to send the report.
-
All reports are sent at midnight on the selected day.
-
-
Select the recipients from Target.
-
All administrators of a specific level
-
Individual administrator
-
-
Choose the delivery method in Send By.
-
Reports can only be sent by email.
-
They are not delivered by SMS or app push notification.
-
-
After configuring each item, click Save to save.
For more information on scheduling report generation, refer to Set Up Alerts and Reports.