Managing Elevators
To configure elevator access control, first connect the OM-120 module to the access control device. Then set each floor's name and relay number, and restrict access times per floor using schedules to enhance security.
Requirements
Meet the following requirements to enable the elevator access control feature.
-
Suprema OM-120 module: Each module supports up to 12 floors. Connecting up to 12 OM-120 modules to a single access control device supports up to 144 floors.
-
A device compatible with BioStar Air that can connect to the OM-120 is required.
-
Proper wiring to the elevator control panel is required. For wiring details, contact the elevator manufacturer.
-
Floor access schedules take precedence, and holiday settings can override the normal access rules.
Connect devices and modules
-
Click Device Management → Registered Devices in the left sidebar.
-
Click the access control device with an OM-120 module from the device list.
-
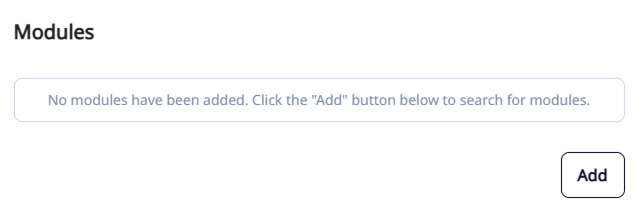
In the Modules section, click Add.
-
Select the OM-120 module connected to the device, then click Save.
Register elevators
-
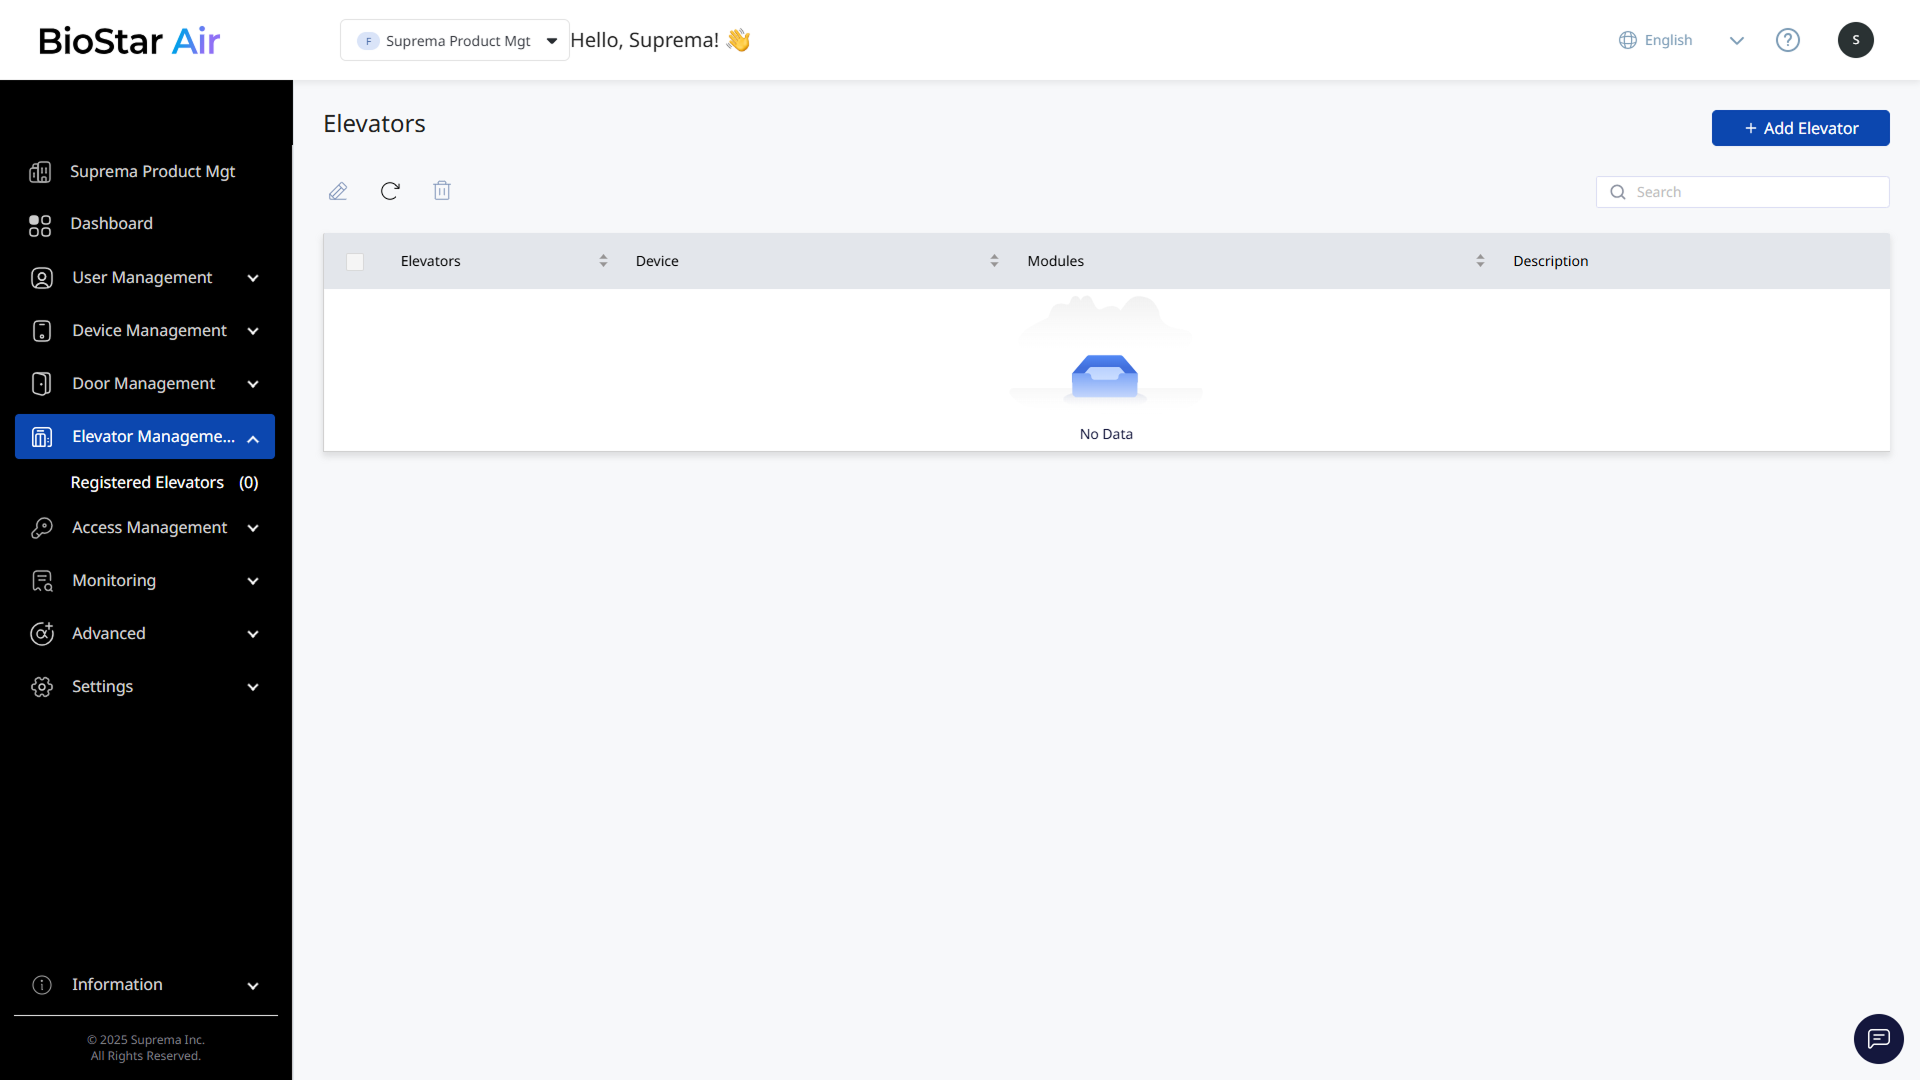
Click Elevator Management → Registered Elevators in the left sidebar.
-
Click Add Elevator at the top right of the screen.
-
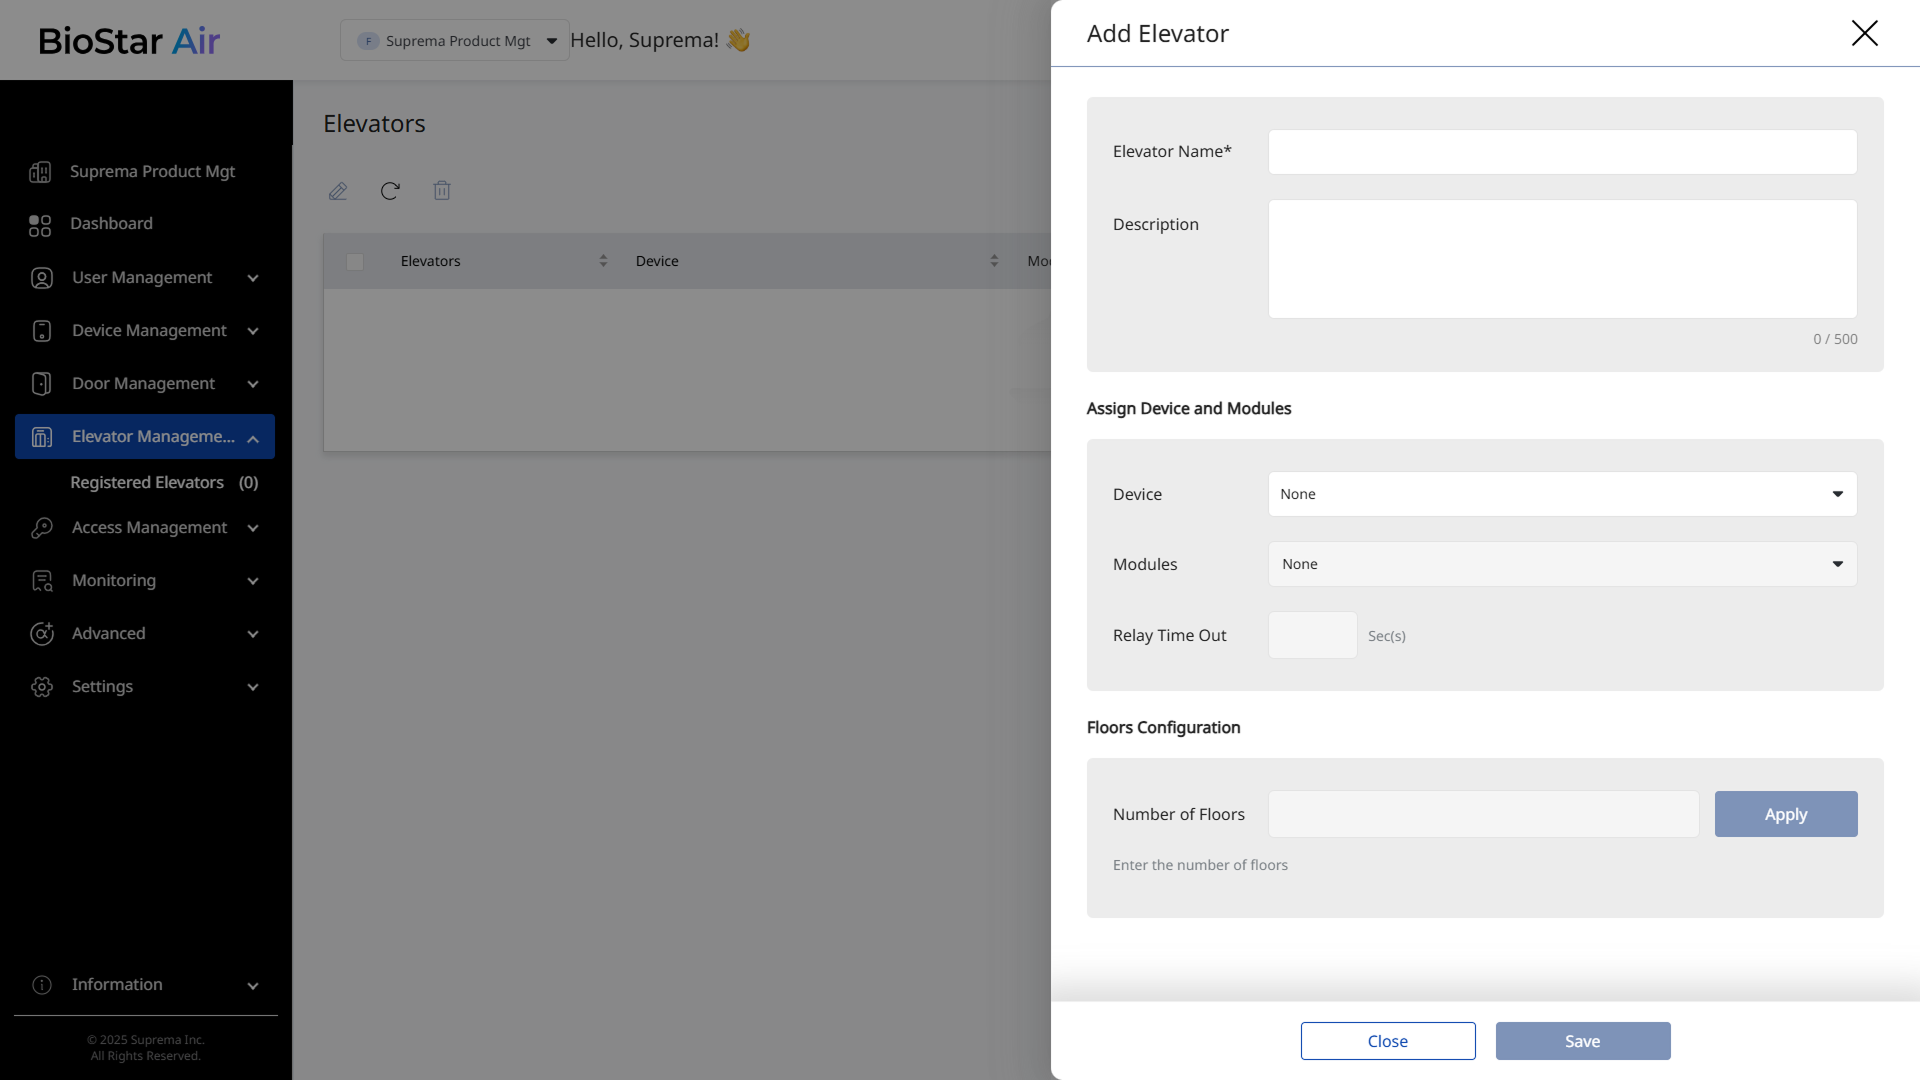
When the Add Elevator panel appears, enter Elevator Name and Description (optional).
-
In the Assign Device and Modules section, select the device and module for access authentication.
-
Device: Select the device for access authentication.
-
Modules: Select the OM-120 module that will control the elevator button relay.
-
Relay Time Out: Set the time for which the floor button remains active after authentication is complete. After this time, the relay will not signal the floor button.
-
-
In the Floors Configuration section, enter the number of floors to control and click Apply.
-
Set each floor's name, relay number, and schedule.
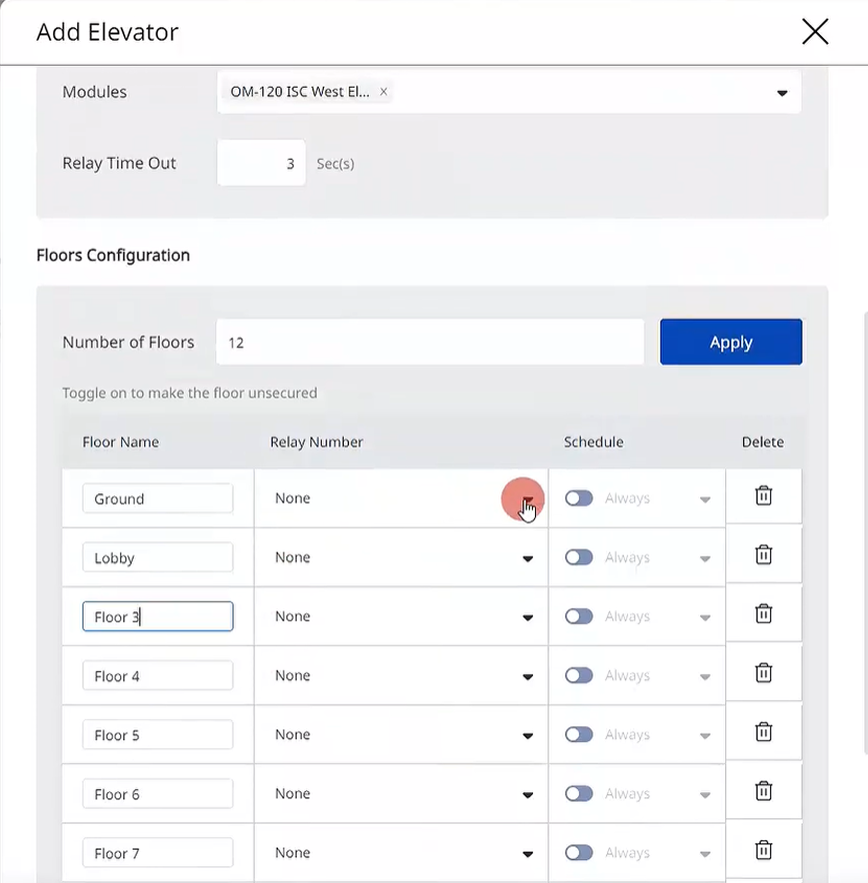
The image above is an example screen and may differ from the actual screen. -
Floor Name: Enter the floor name. Use easily identifiable names such as 1F, Lobby, or Conference Floor.
-
Relay Number: Select the relay output that corresponds to each floor button on the elevator control panel.
-
Schedule: Set the schedule for accessing each floor. For example, restrict access to the maintenance floor outside working hours.
-
-
Click Save to save and register the elevator settings.
-
Each OM-120 module supports up to 12 floors. Connect multiple OM-120 modules in a daisy chain to expand up to 144 floors.
-
In the Floors Configuration section, click to delete a floor.
-
For more information on registering schedules, see Manage Schedules.
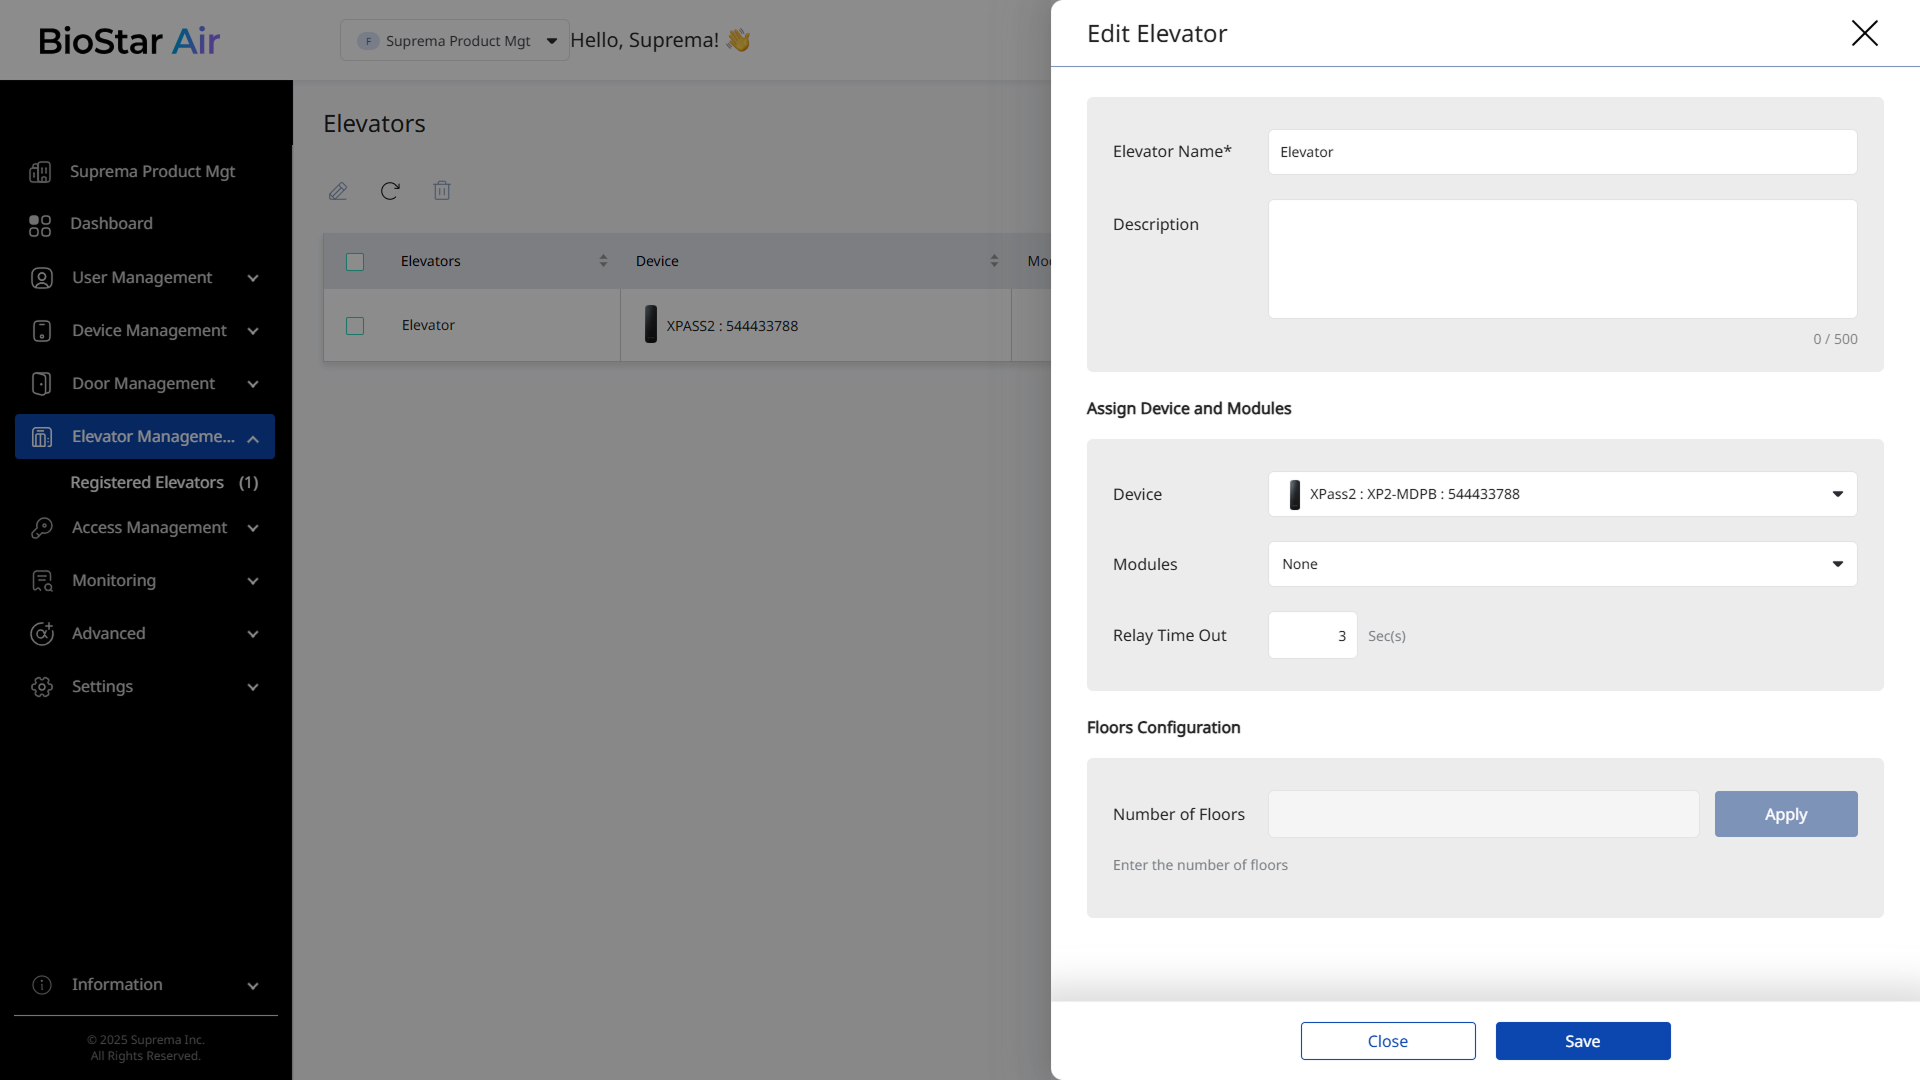
Edit elevators
Follow these steps to change the details or settings of a registered elevator.
-
Click Elevator Management → Registered Elevators in the left sidebar.
-
In the list, click the elevator to edit. Alternatively, select the elevator's checkbox and click at the top of the list.
-
When the Edit Elevator panel appears, change the necessary information or modify the settings.
-
Click Save to save the changes.
Delete elevators
Follow these steps to delete a registered elevator.
-
Click Elevator Management → Registered Elevators in the left sidebar.
-
Select the checkbox of the elevator to delete in the list. Select one or more elevators.
-
Click at the top of the list.
-
When a warning message appears, click Yes.