Getting Started
The BioStar Air portal provides a unified interface across the web and mobile apps, delivering a consistent user experience. Through the BioStar Air portal, administrators can manage access control settings, monitor site usage, and seamlessly configure users and devices.
Access the portal
Open a web browser and go to https://admin.biostarair.com to access the BioStar Air portal. When the login page appears, select Global Server or EU Server based on your location.
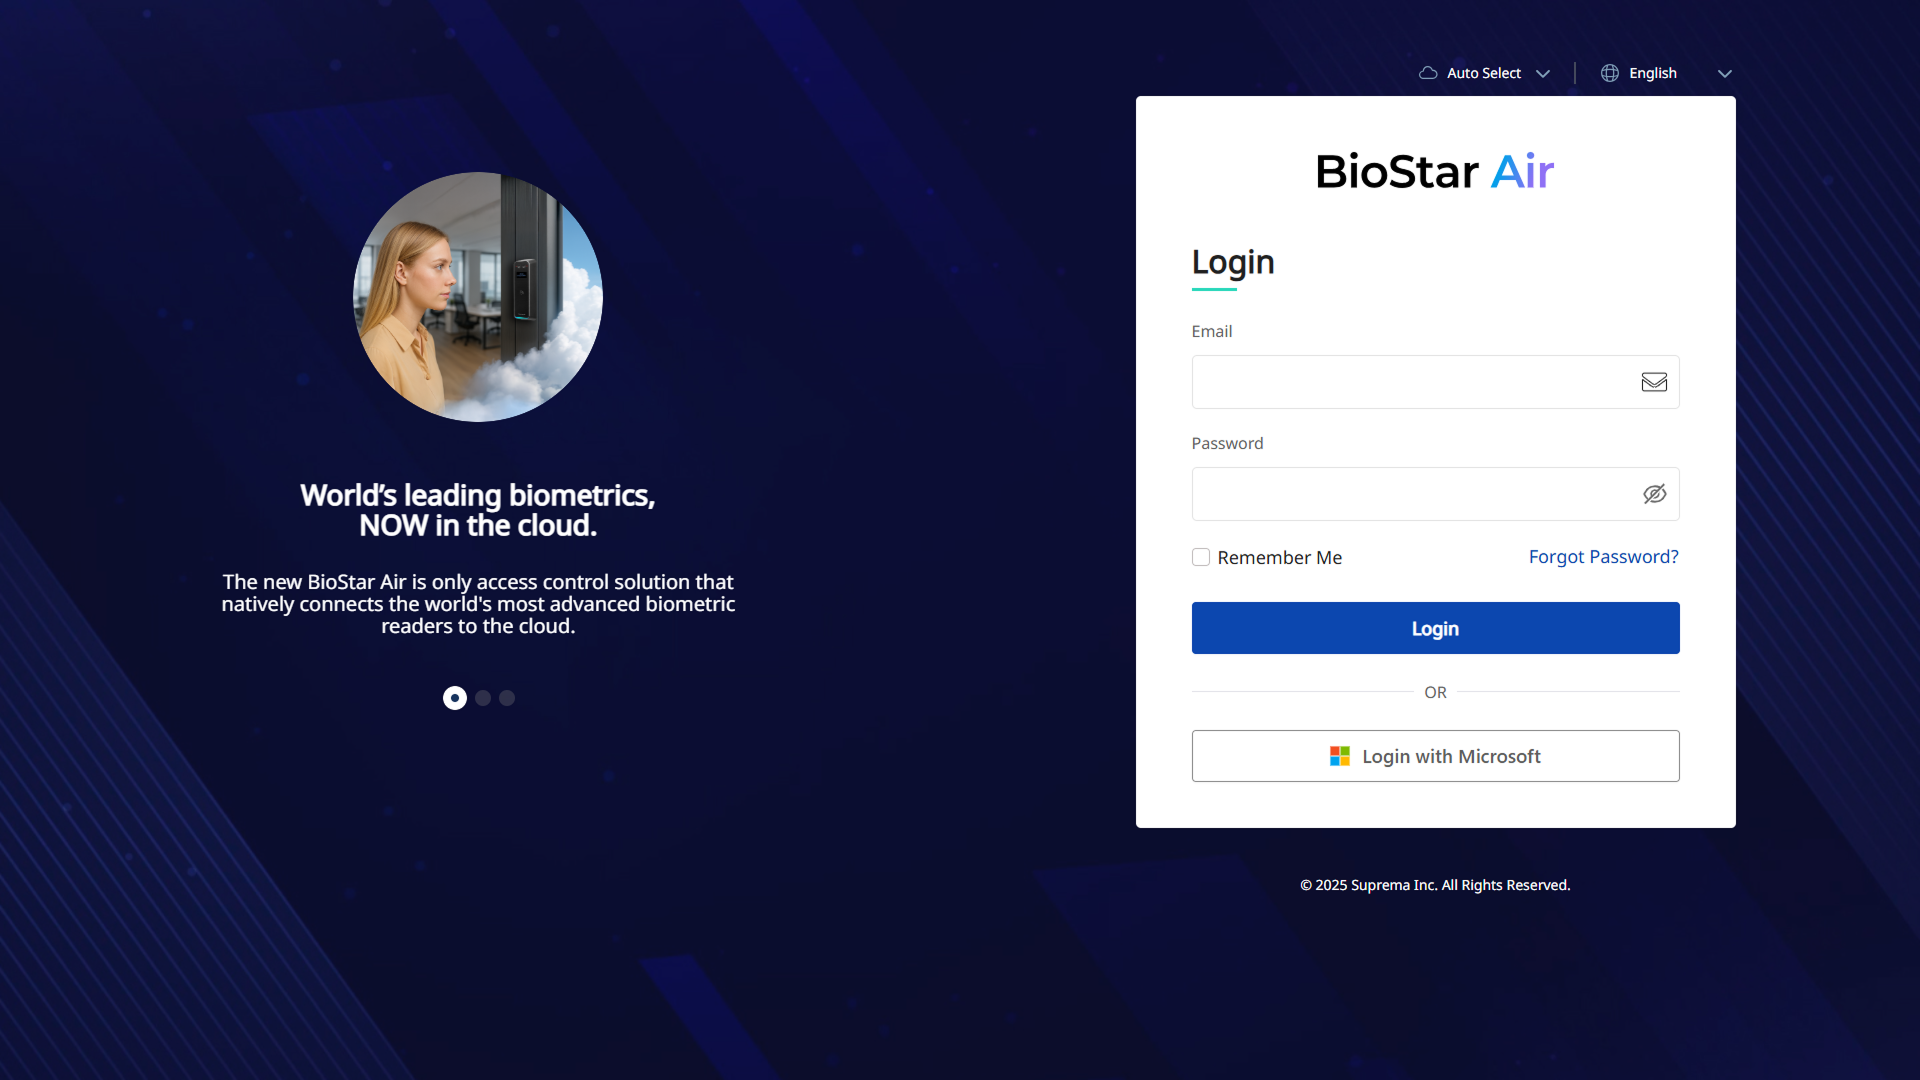
You cannot create an account by signing up. The system installer or an existing administrator must invite you to the site. For more information on managing administrator accounts and invitations, see Manage Administrator Accounts and Roles.
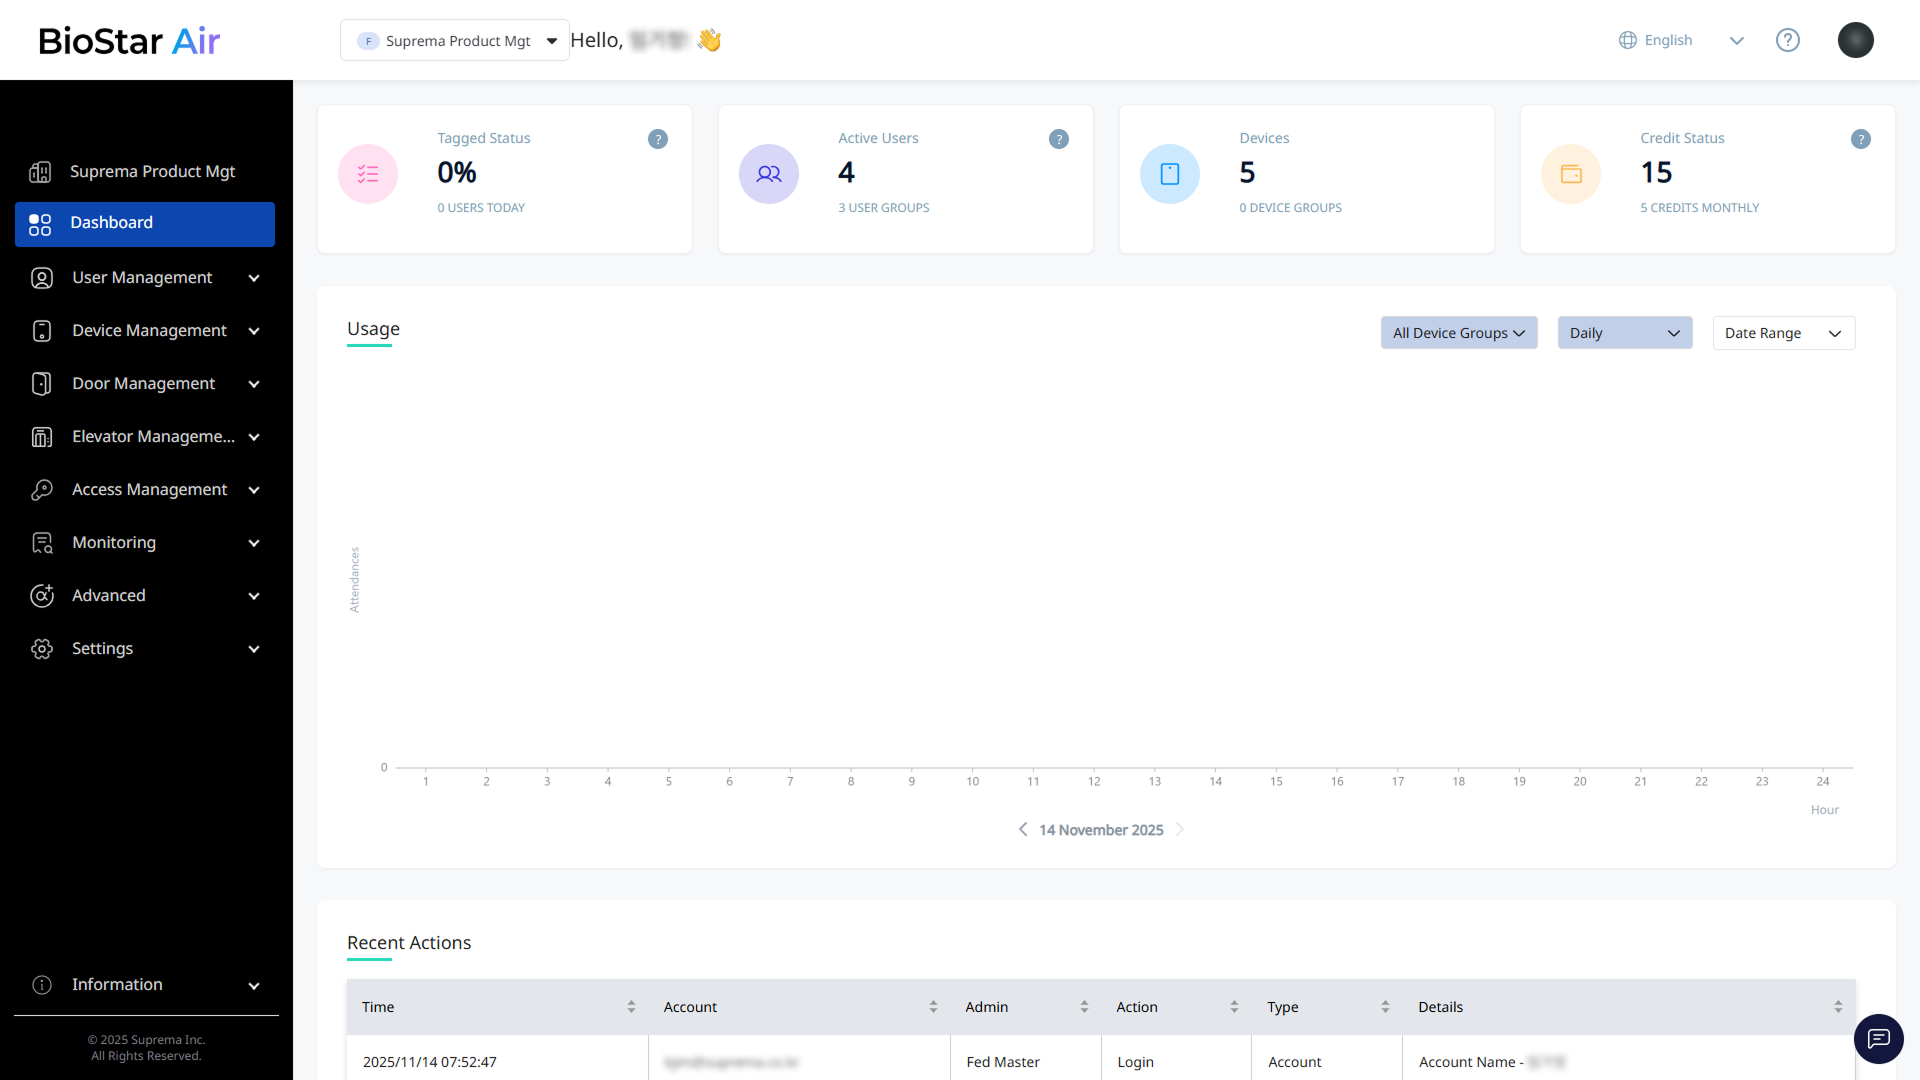
Review the dashboard
After logging in, the Dashboard appears and shows key site information.
-
Tagged Status: View the number of users who accessed the site today.
-
Active Users: View the total number of registered and active users. Click the card to open User Management.
-
Devices: View the number of registered devices. Click the card to open Device Management.
-
Credit Status: View the remaining account credits. Click the card to open Settings → Credit Center.
-
Usage: Sort usage by device group, frequency (daily, weekly, monthly), or custom date range.
-
Recent Actions: Shows an activity log of administrator actions such as sign-ins, device updates, and user creation.
Site setup guide
Follow these instructions to set up a new site.
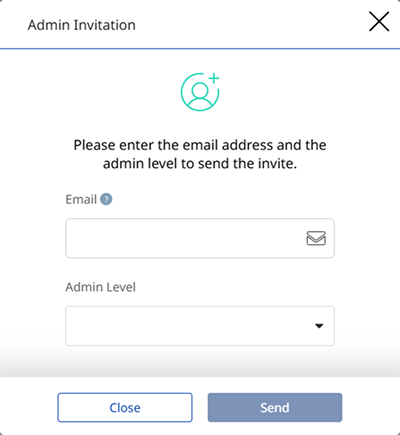
Add administrators
Invite administrators.
-
Click Settings → Admin in the left sidebar.

-
Click Invite at the top right of the screen.
-
When the Admin Invitation window appears, enter the administrator’s email address and assign a role.
-
Click Send.
Site administrators can manage the site, and authenticated users can only access the site through the Suprema Pass app.
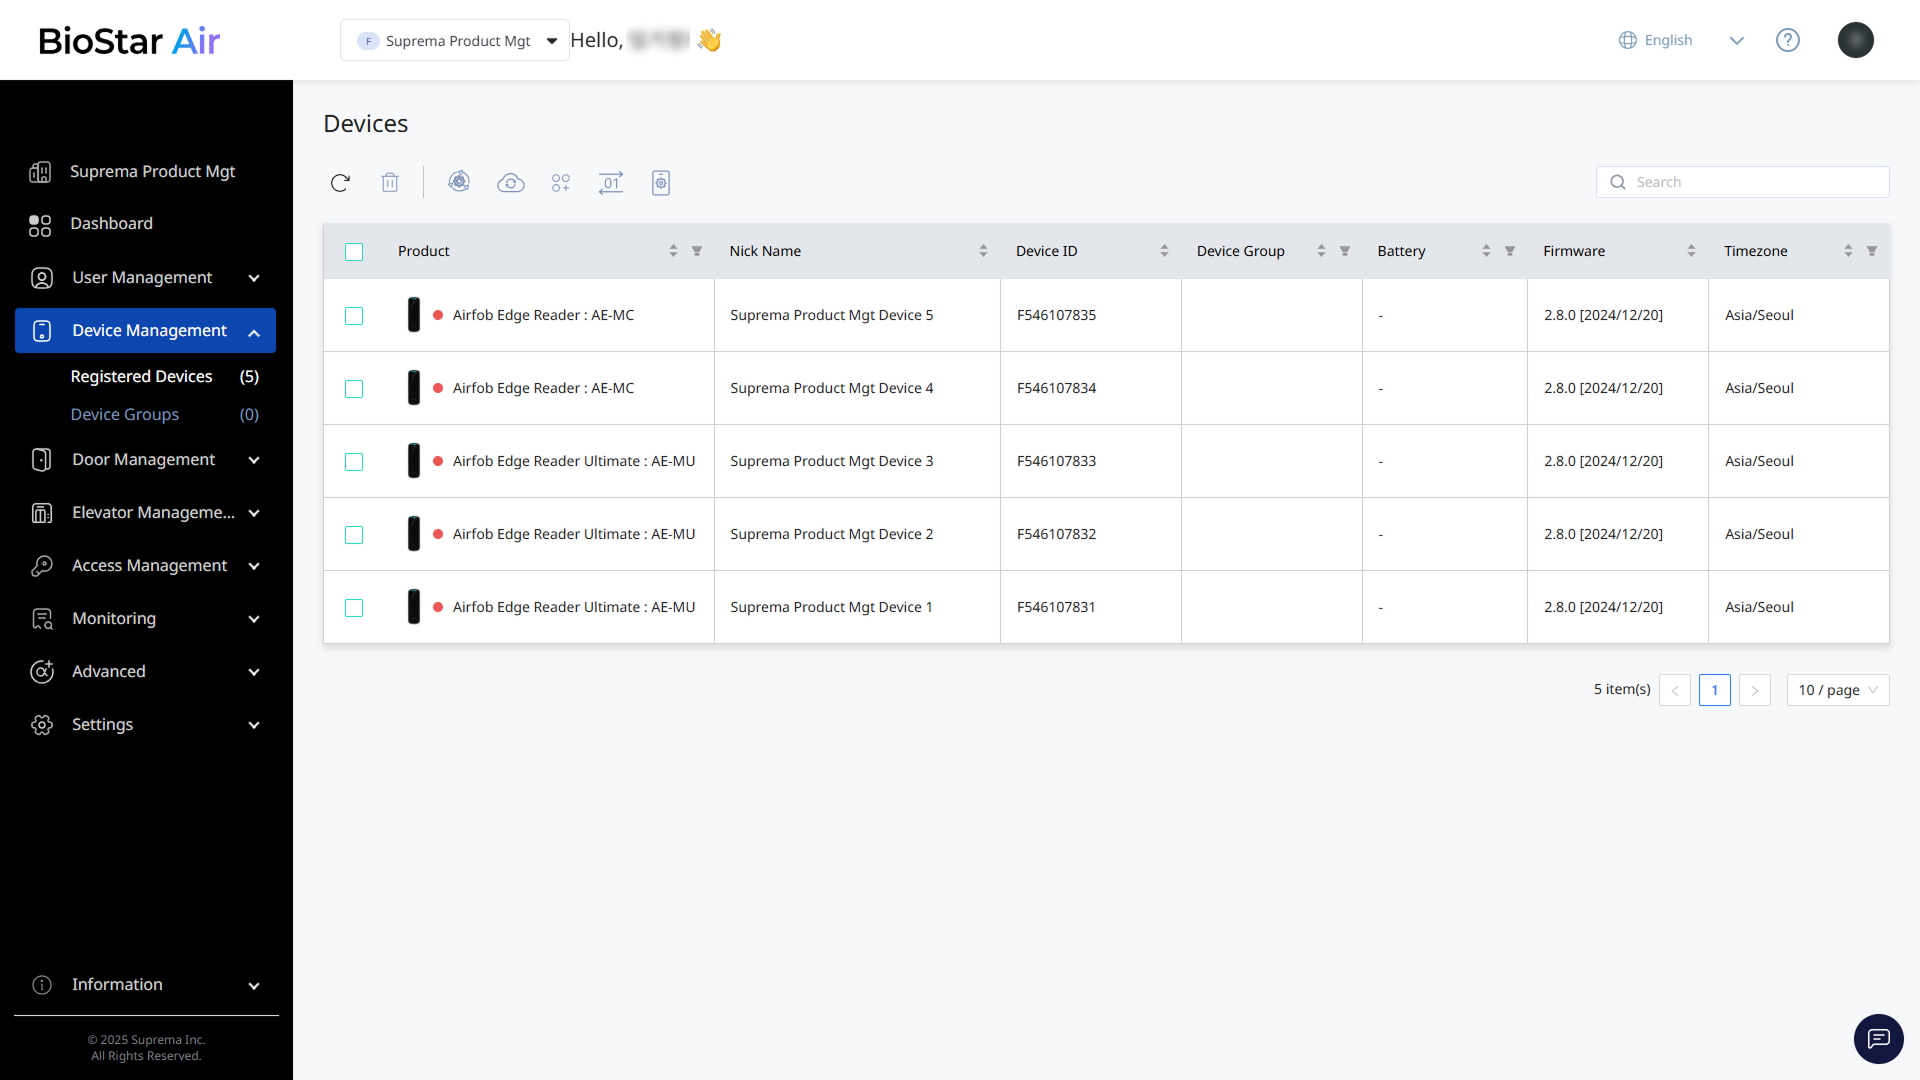
Register devices
Review registered devices or add new ones. Click Device Management → Registered Devices in the left sidebar.
-
If the device is not registered, ask another administrator to register it on-site with the BioStar Air mobile app.
-
In Registered Devices, delete devices, update firmware, and manage device groups.
Create and manage doors
Add doors and assign devices.
-
Click Door Management → Registered Doors in the left sidebar.
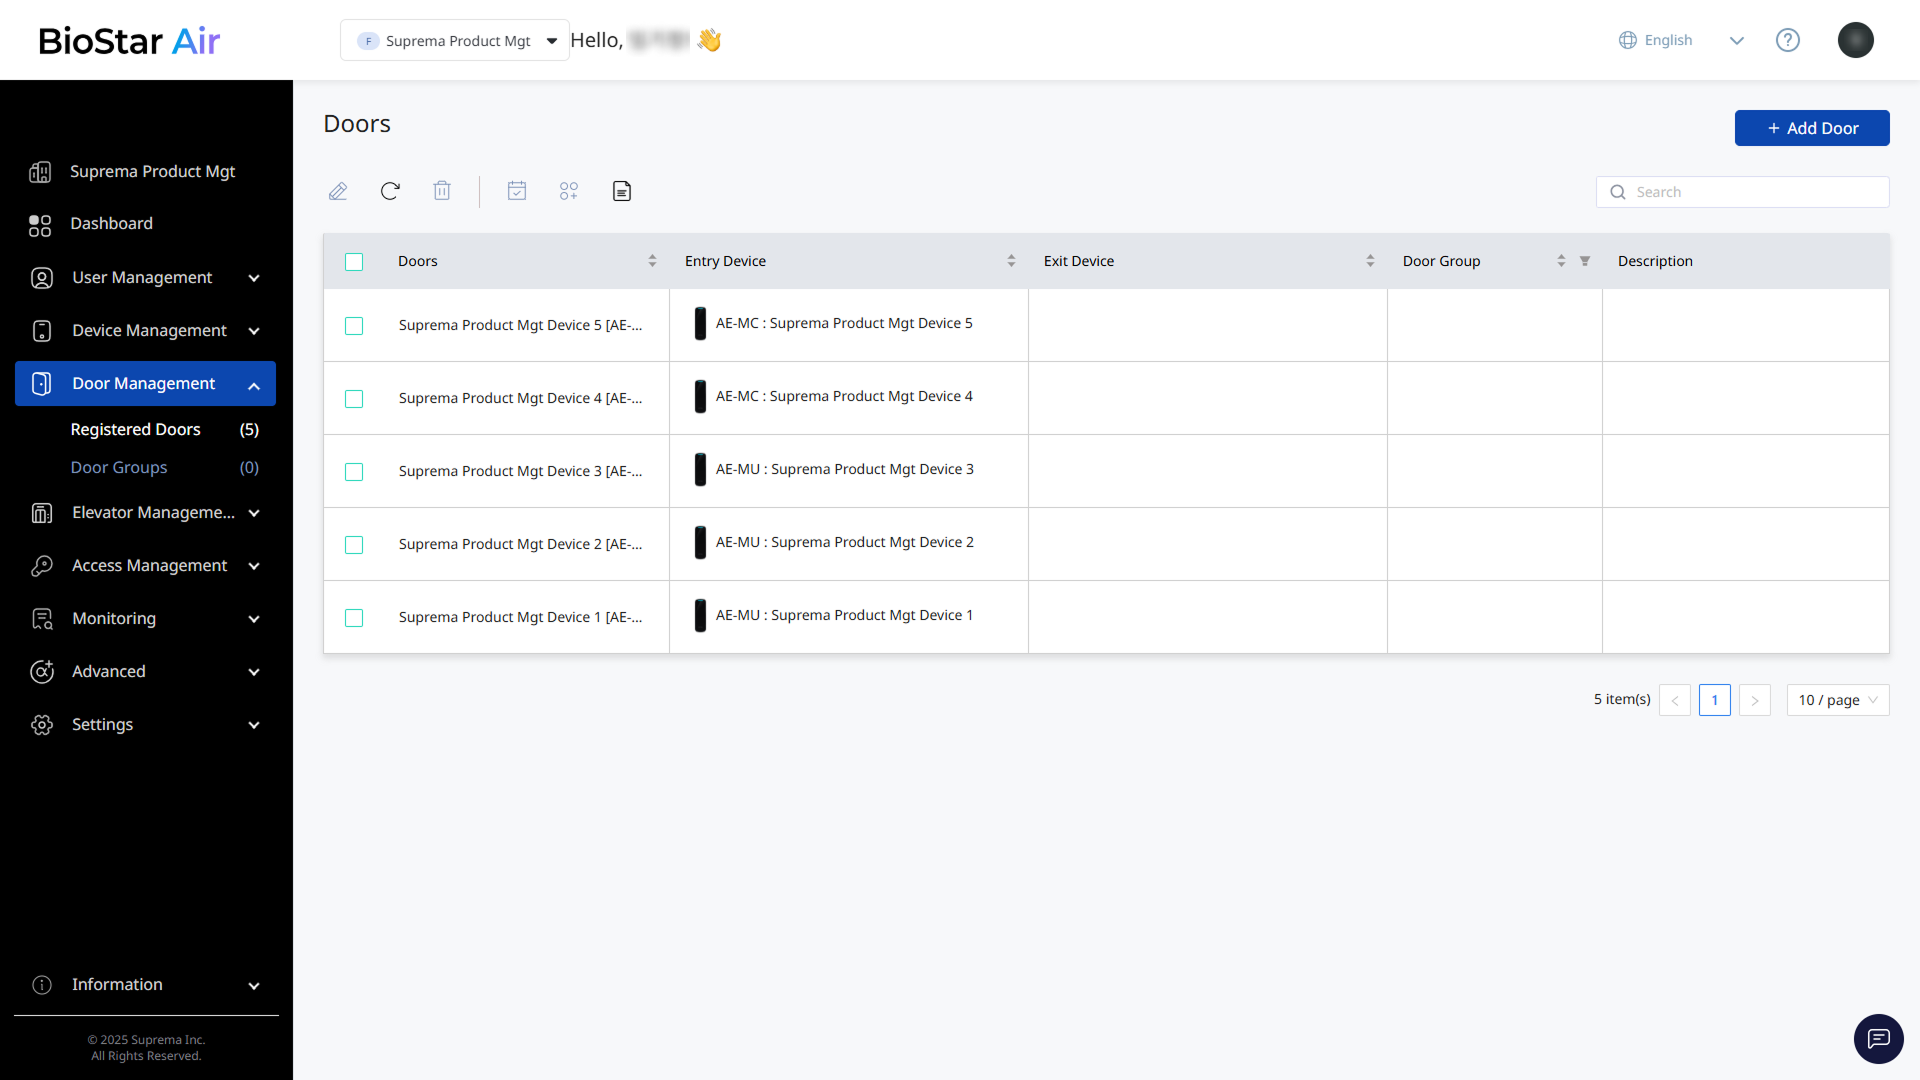
-
If no doors are listed, click Add Door in the upper-right corner.
-
When the Add New Door panel appears, enter a name and description.
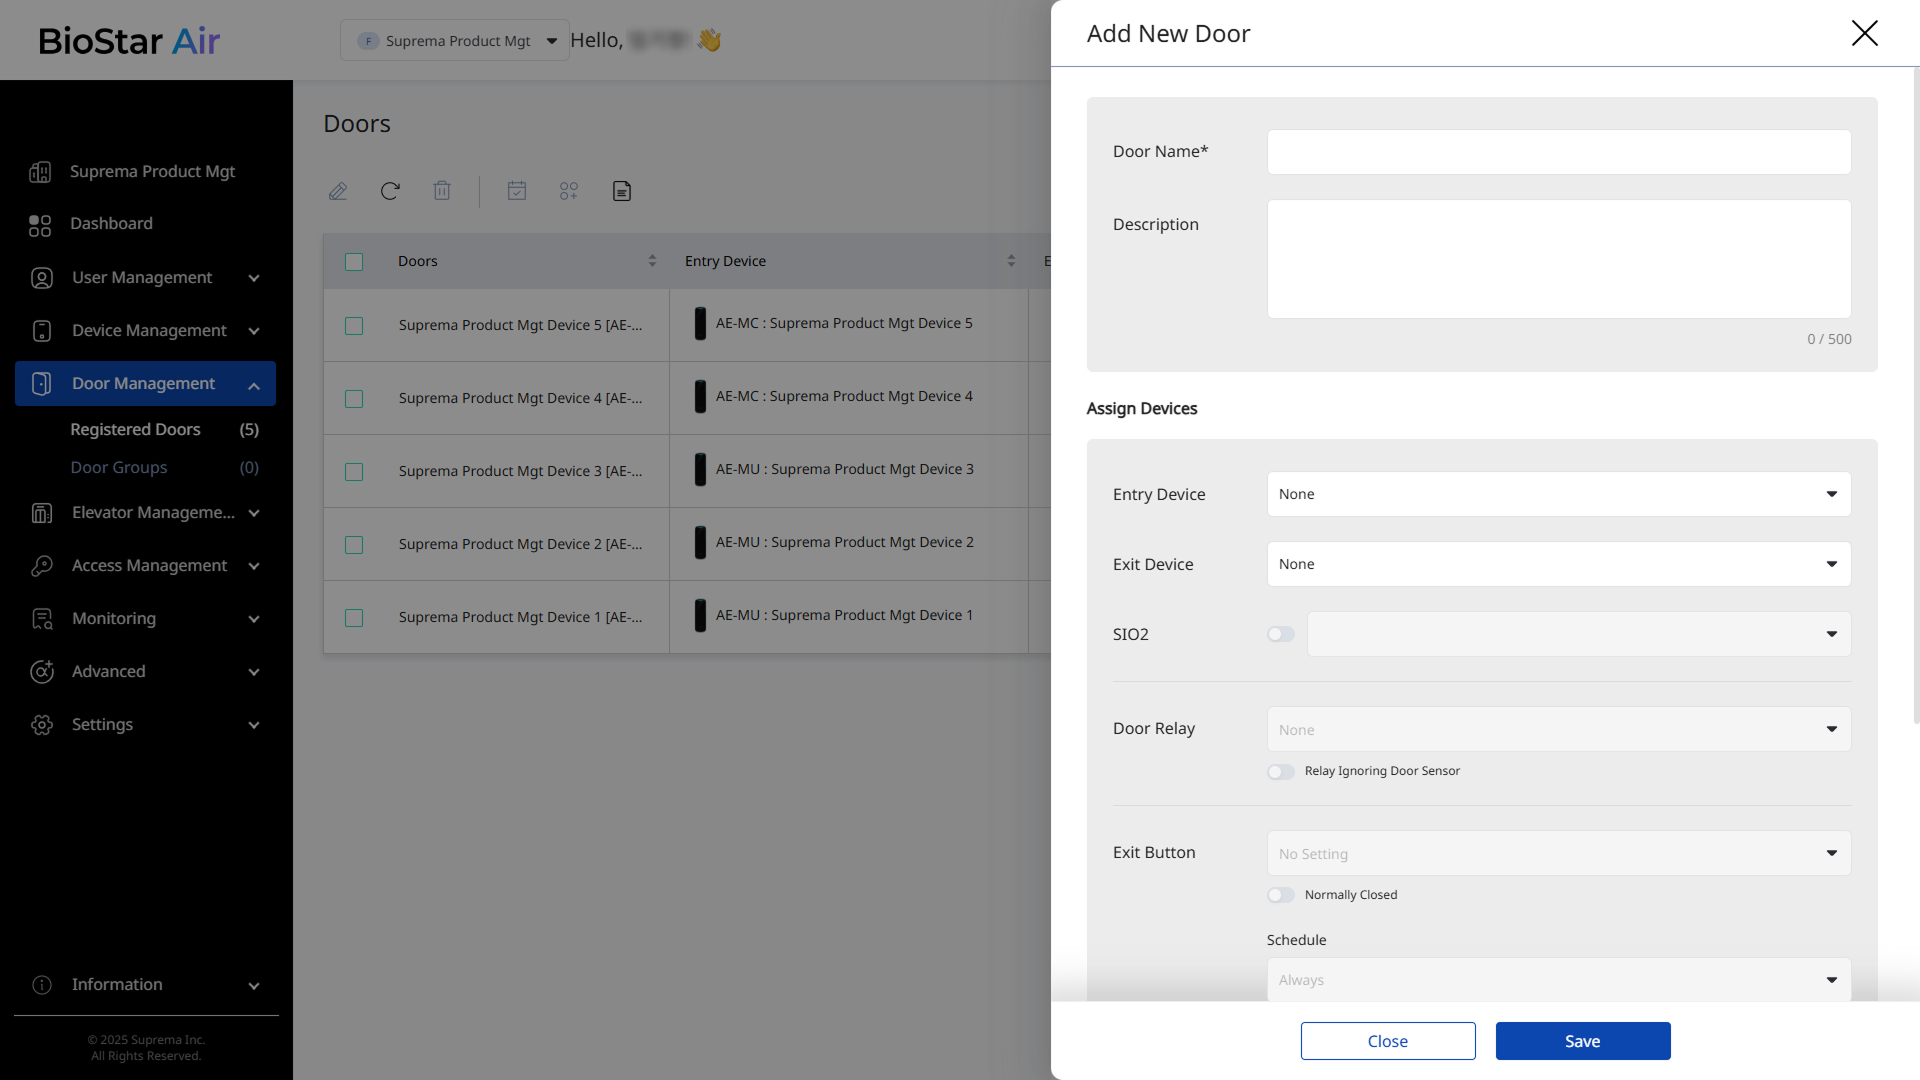
-
Assign registered devices to Entry Device and Exit Device.
In Door Management, edit or delete doors, configure door schedules, and manage them by group.
Categorize doors into groups
Categorize doors into groups.
-
Click Door Management → Door Groups in the left sidebar.
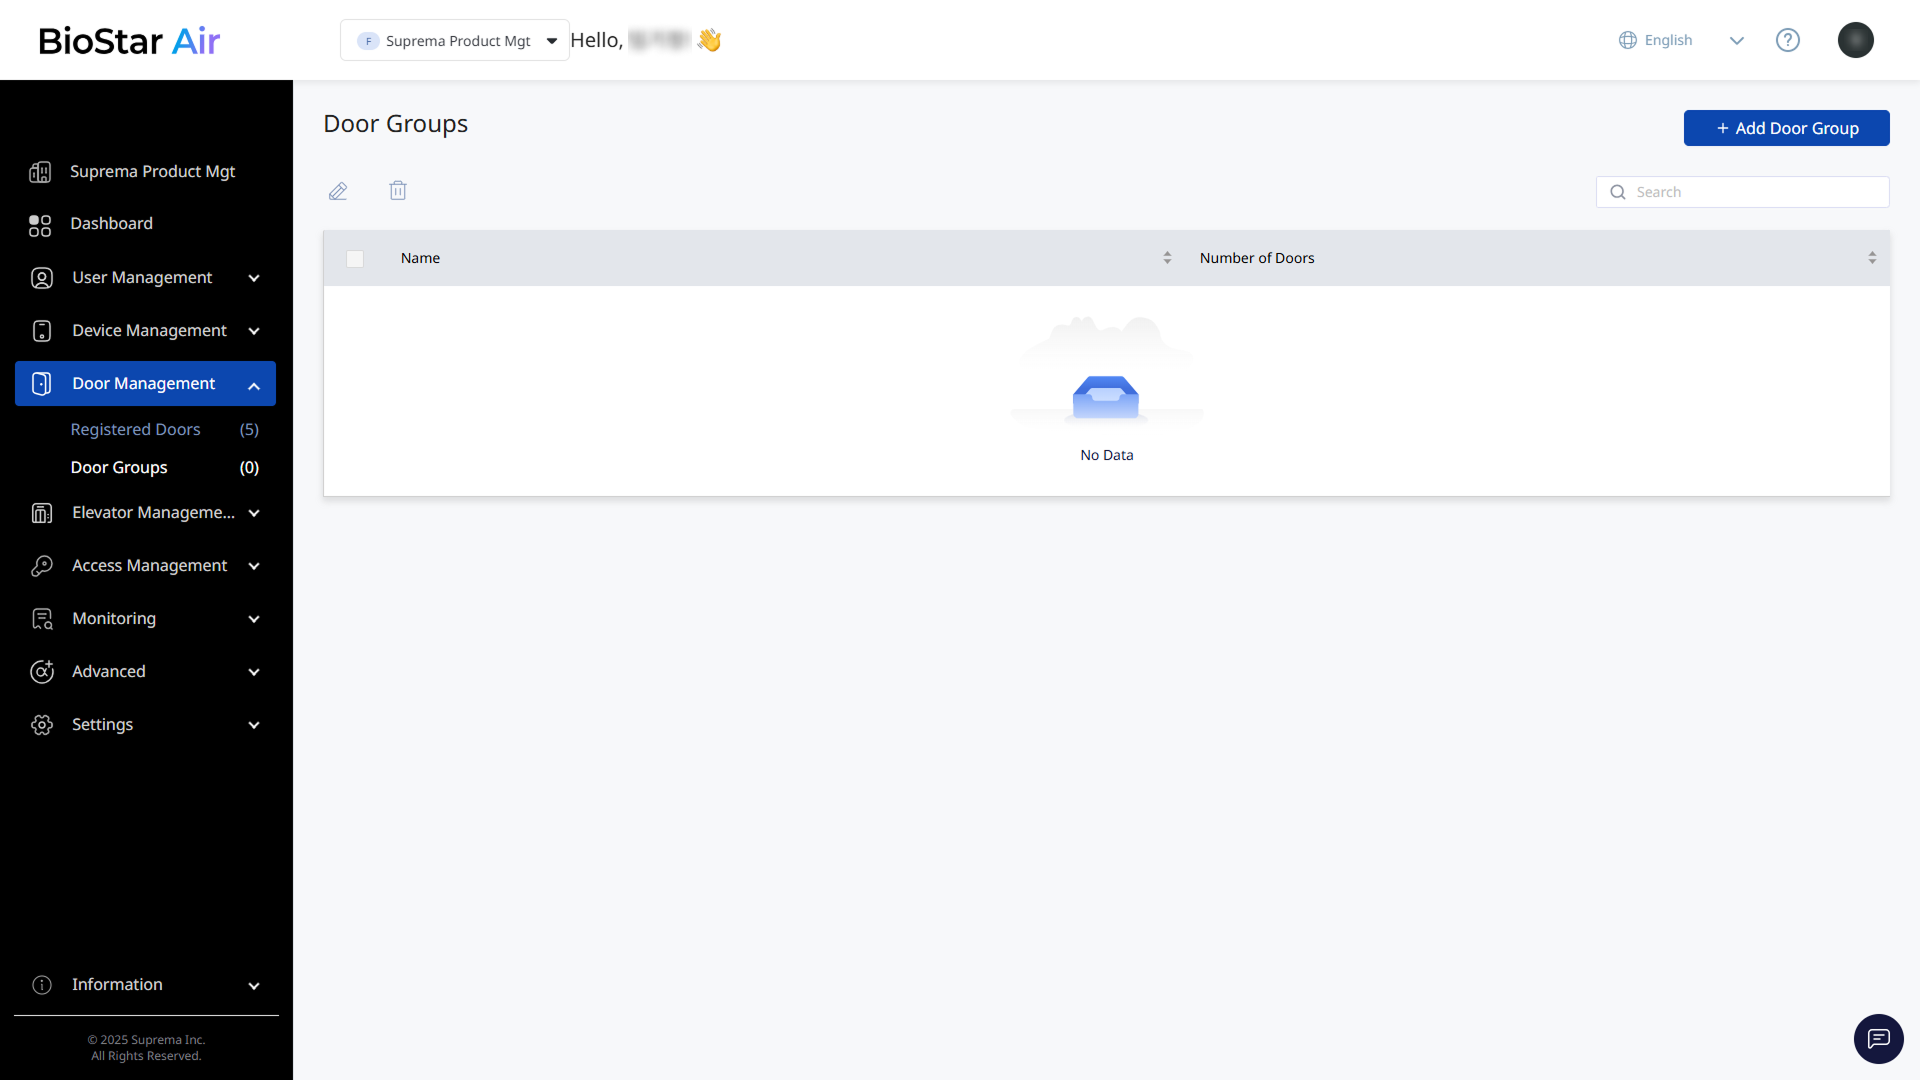
-
Click Add Door Group at the top right of the screen.
-
When the Add Door Group window appears, enter a group name such as Indoor, Outdoor, or Trap Doors, and select the desired doors.
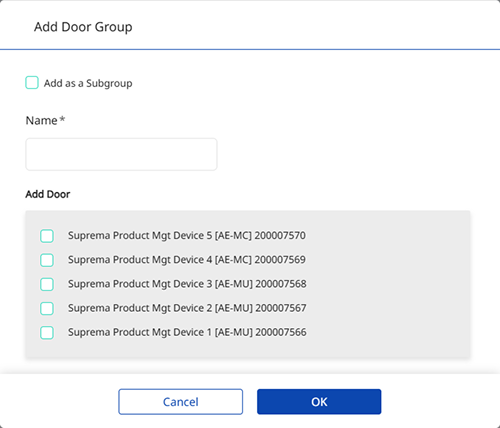
-
After selecting all doors, click OK.
Configure access rights
Follow these steps to manage access rights.
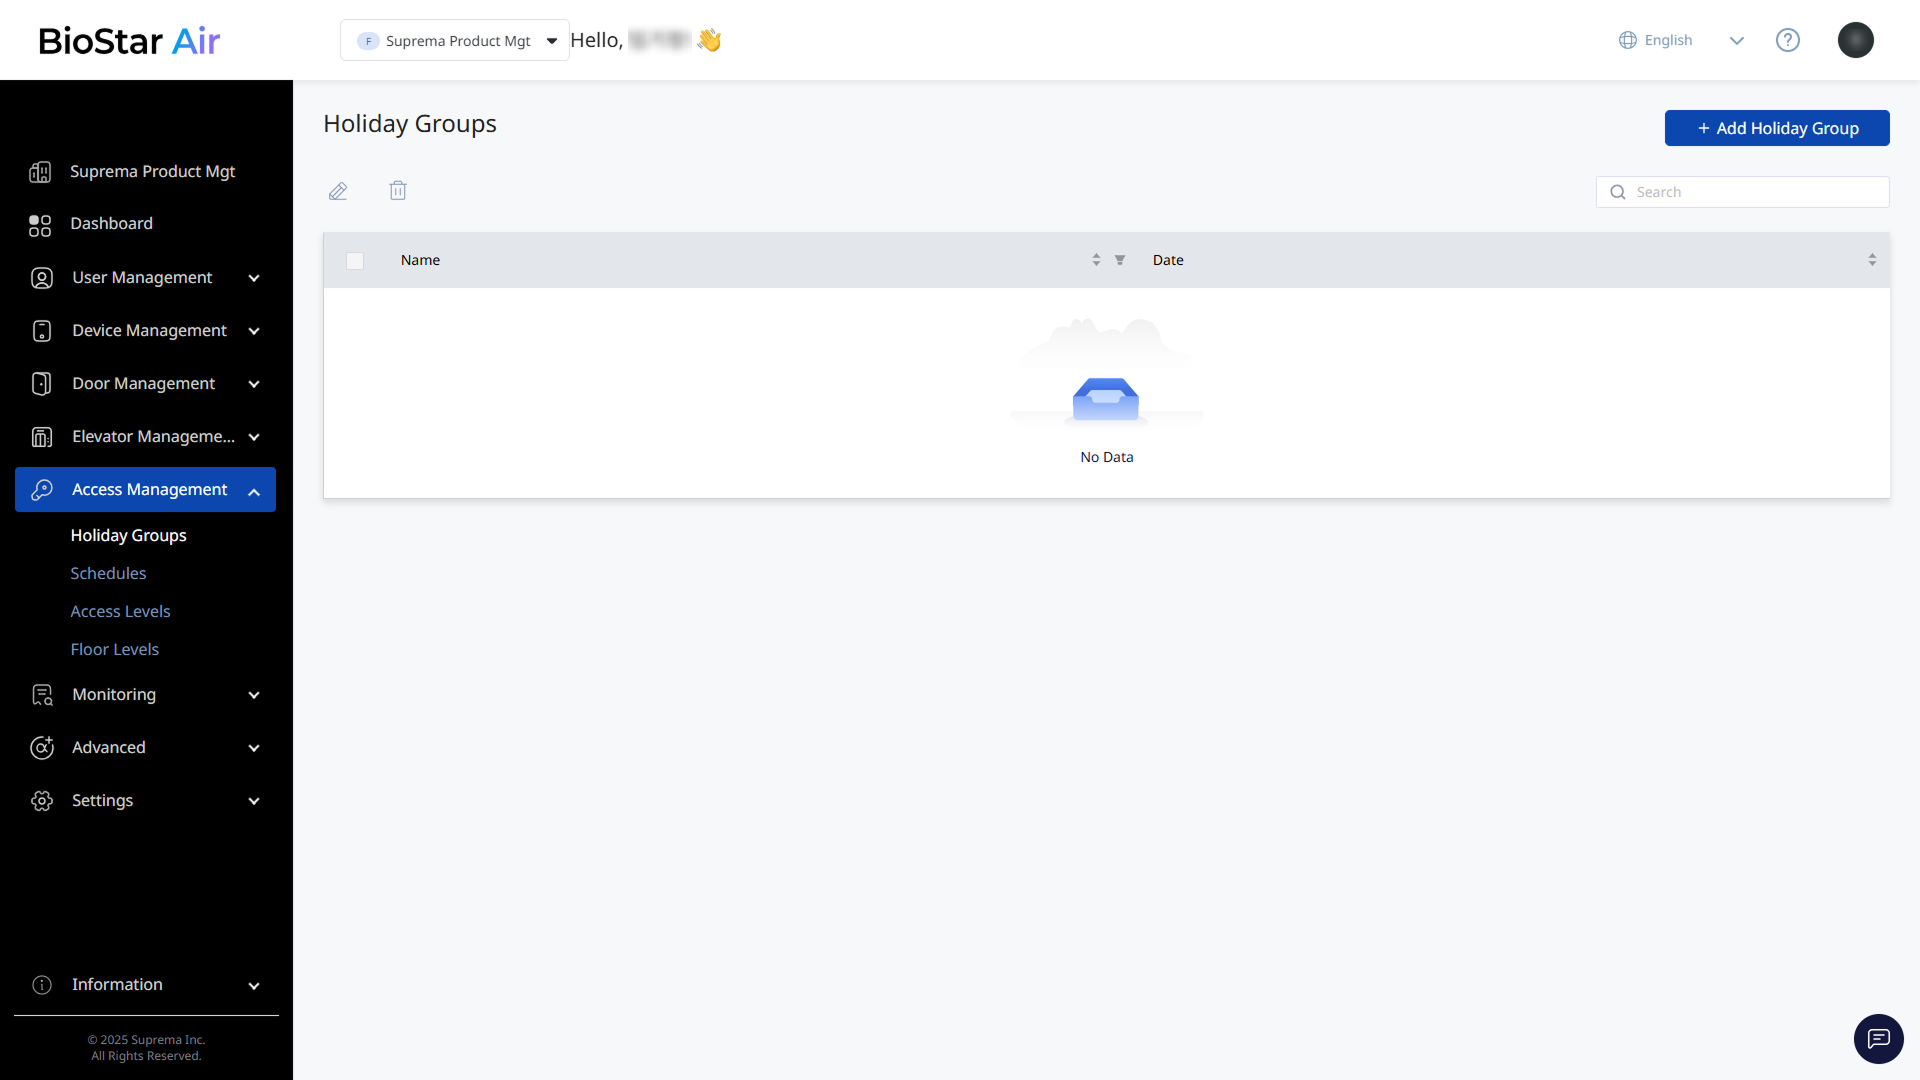
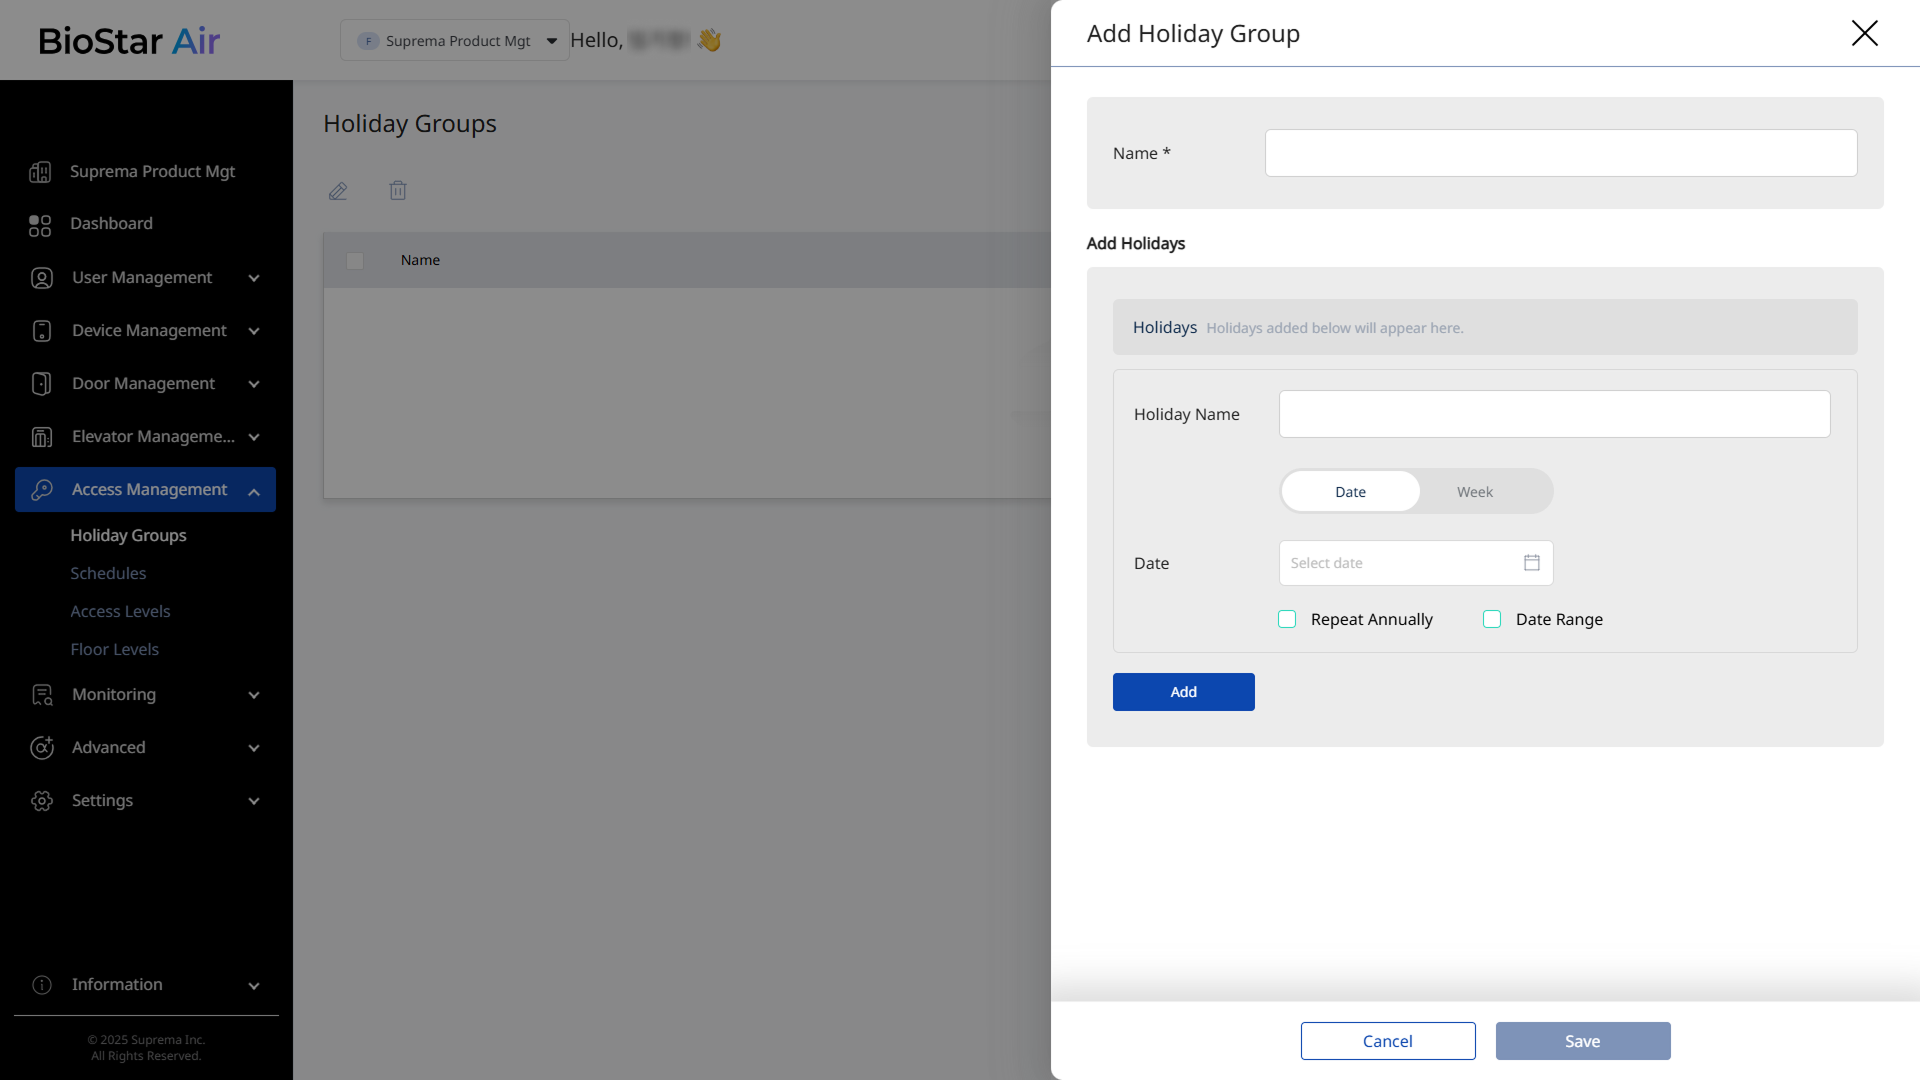
Set up holiday groups
-
In the left sidebar, click Access Management → Holiday Groups.
-
Click Add Holiday Group at the top right of the screen.
-
When the Add Holiday Group panel appears, enter a name (for example, "Korea Holidays").
-
In the Add Holidays section, set the holidays on which to restrict access, and click Add.
-
After adding all holidays, click Save.
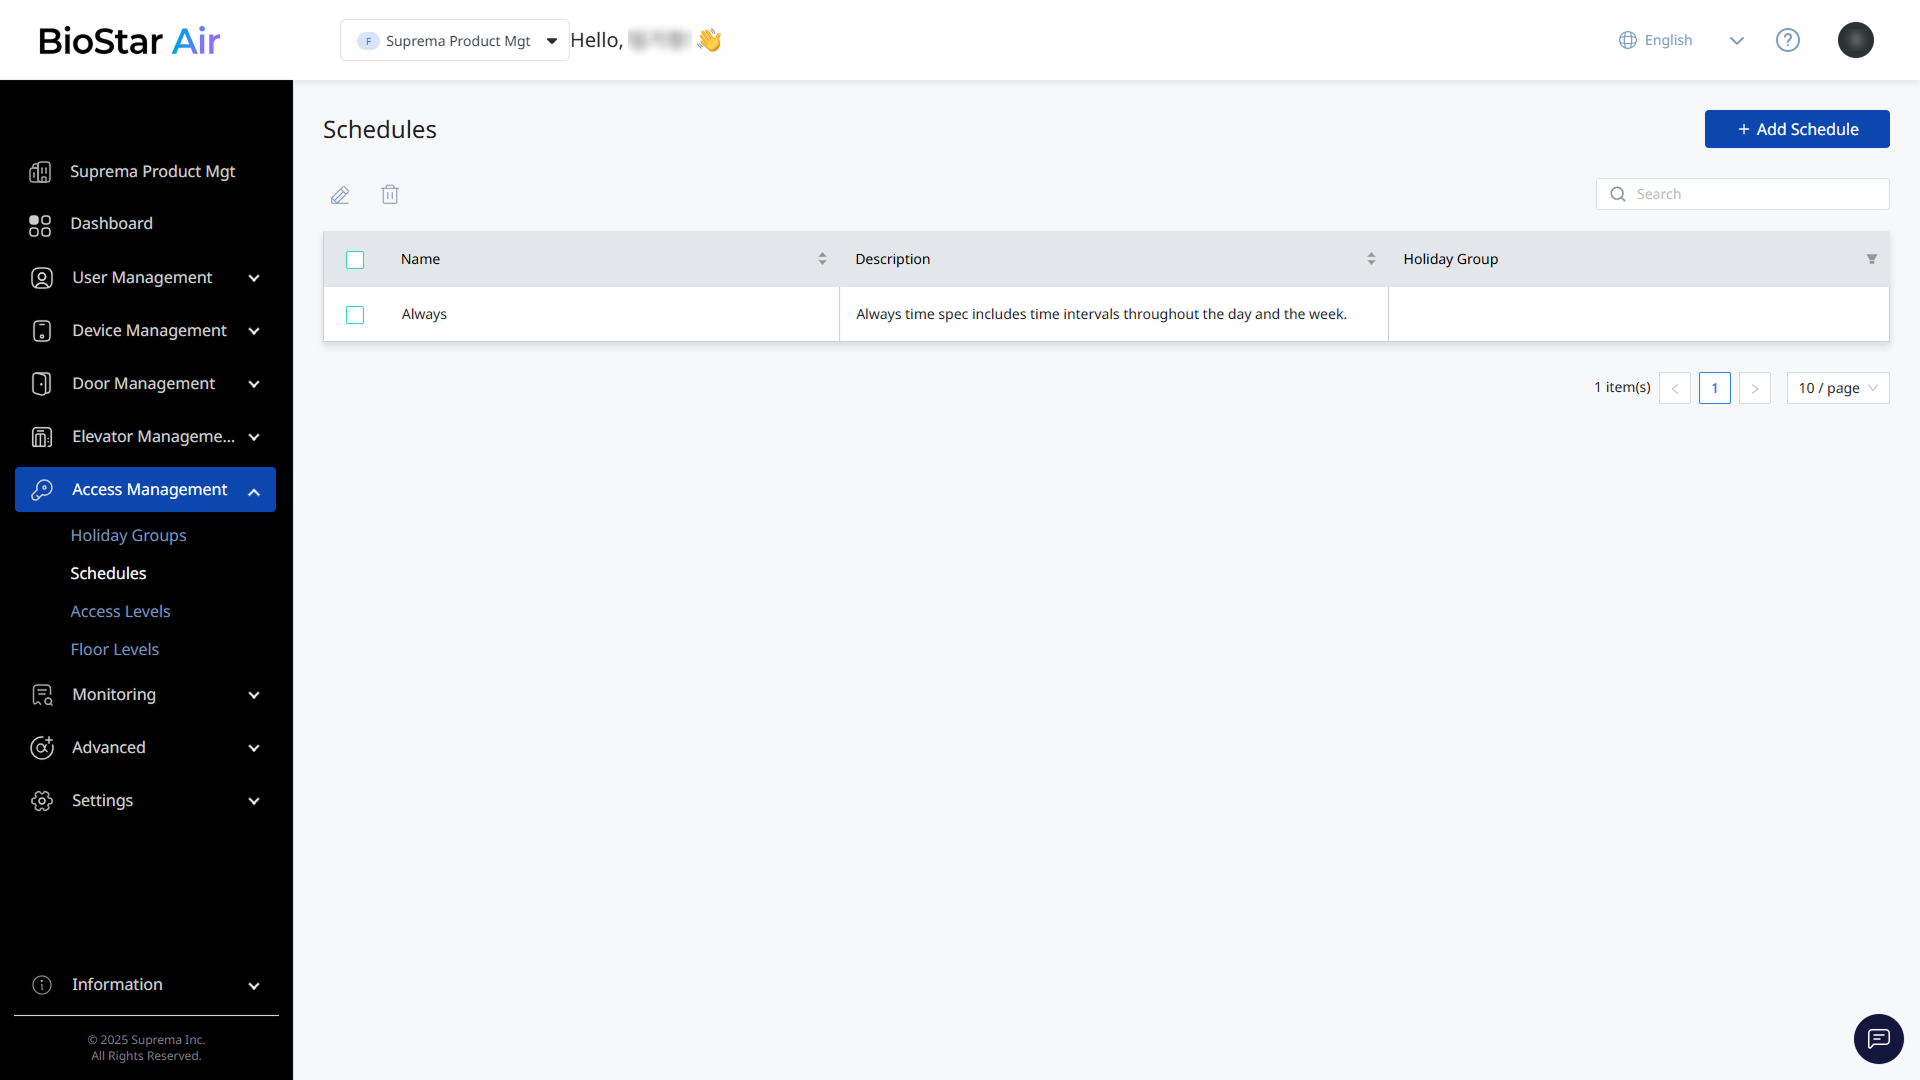
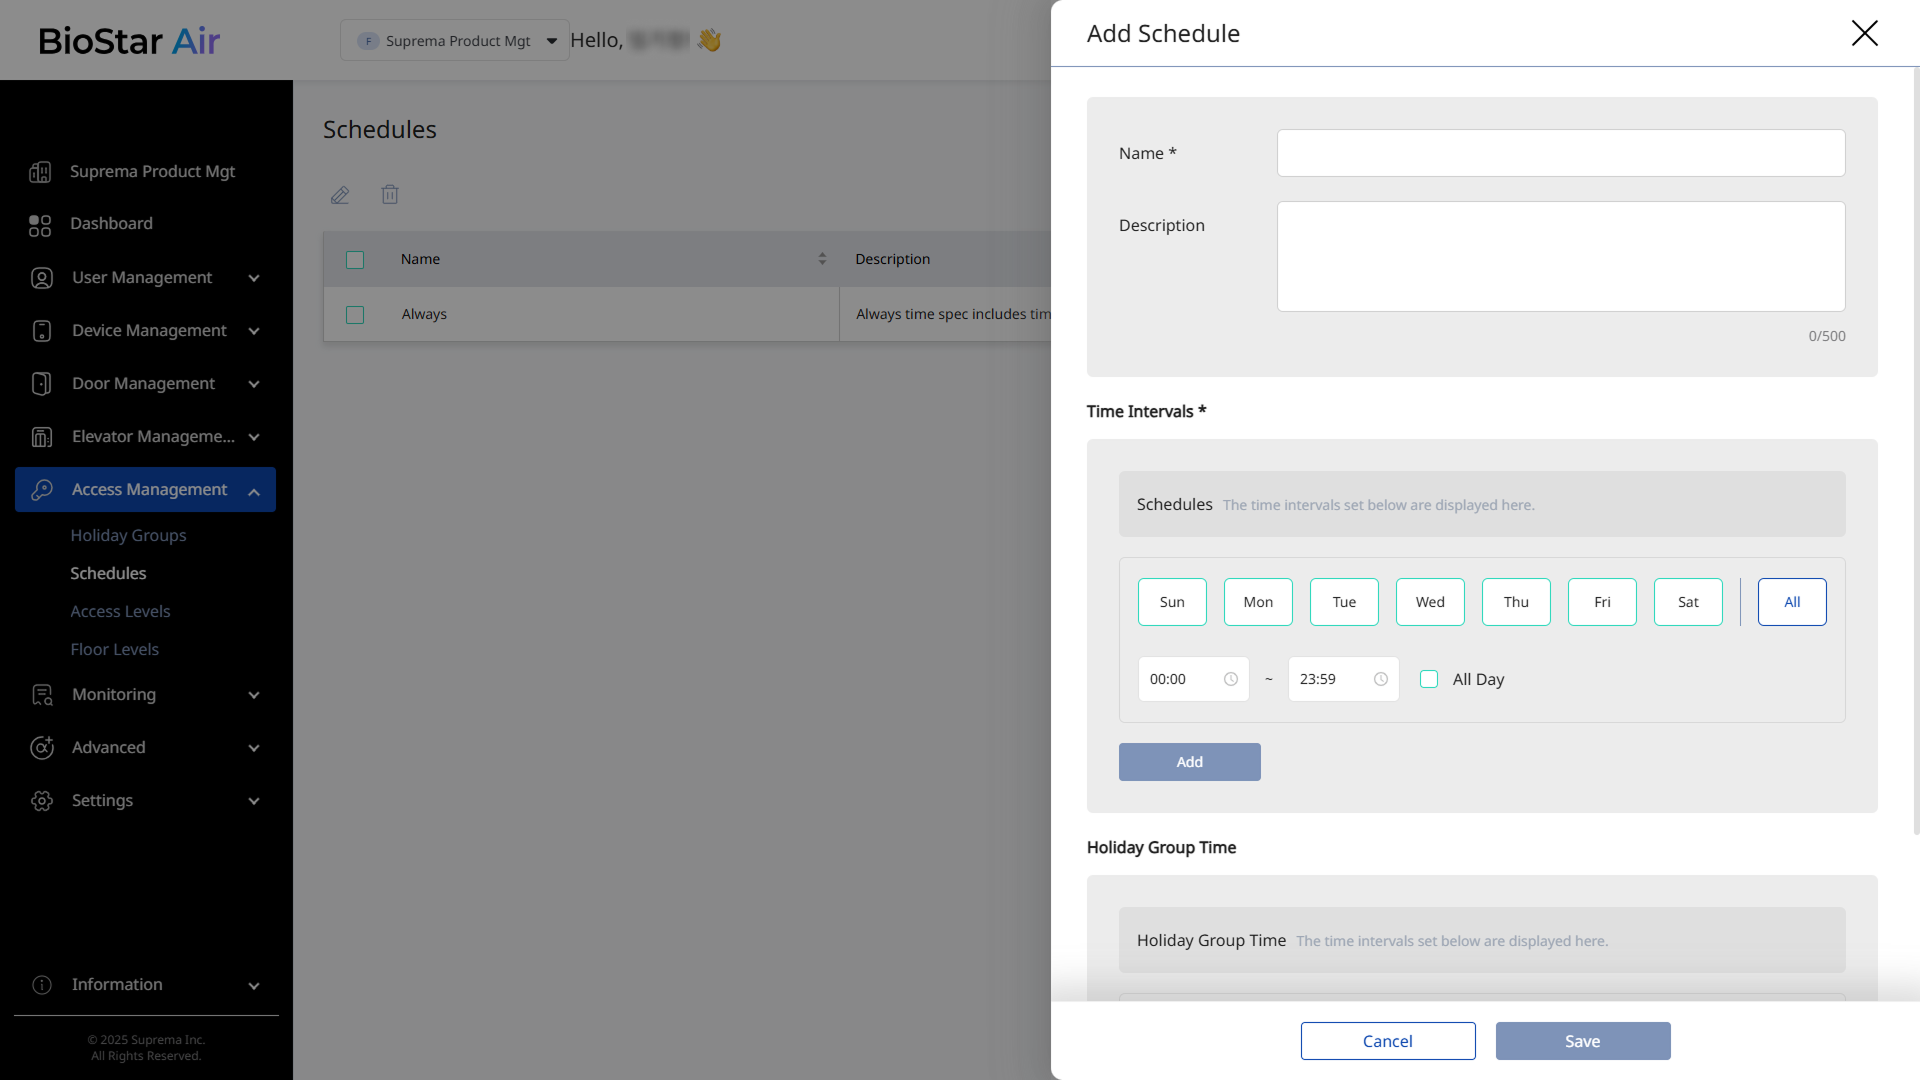
Create schedules
-
Click Access Management → Schedules in the left sidebar.
-
Click Add Schedule at the top right of the screen.
-
When the Add Schedule panel appears, enter a name.
-
Select the days to activate and link a holiday group.
-
When the schedule is complete, click Save.
Define access levels
-
Click Access Management → Access Levels in the left sidebar.
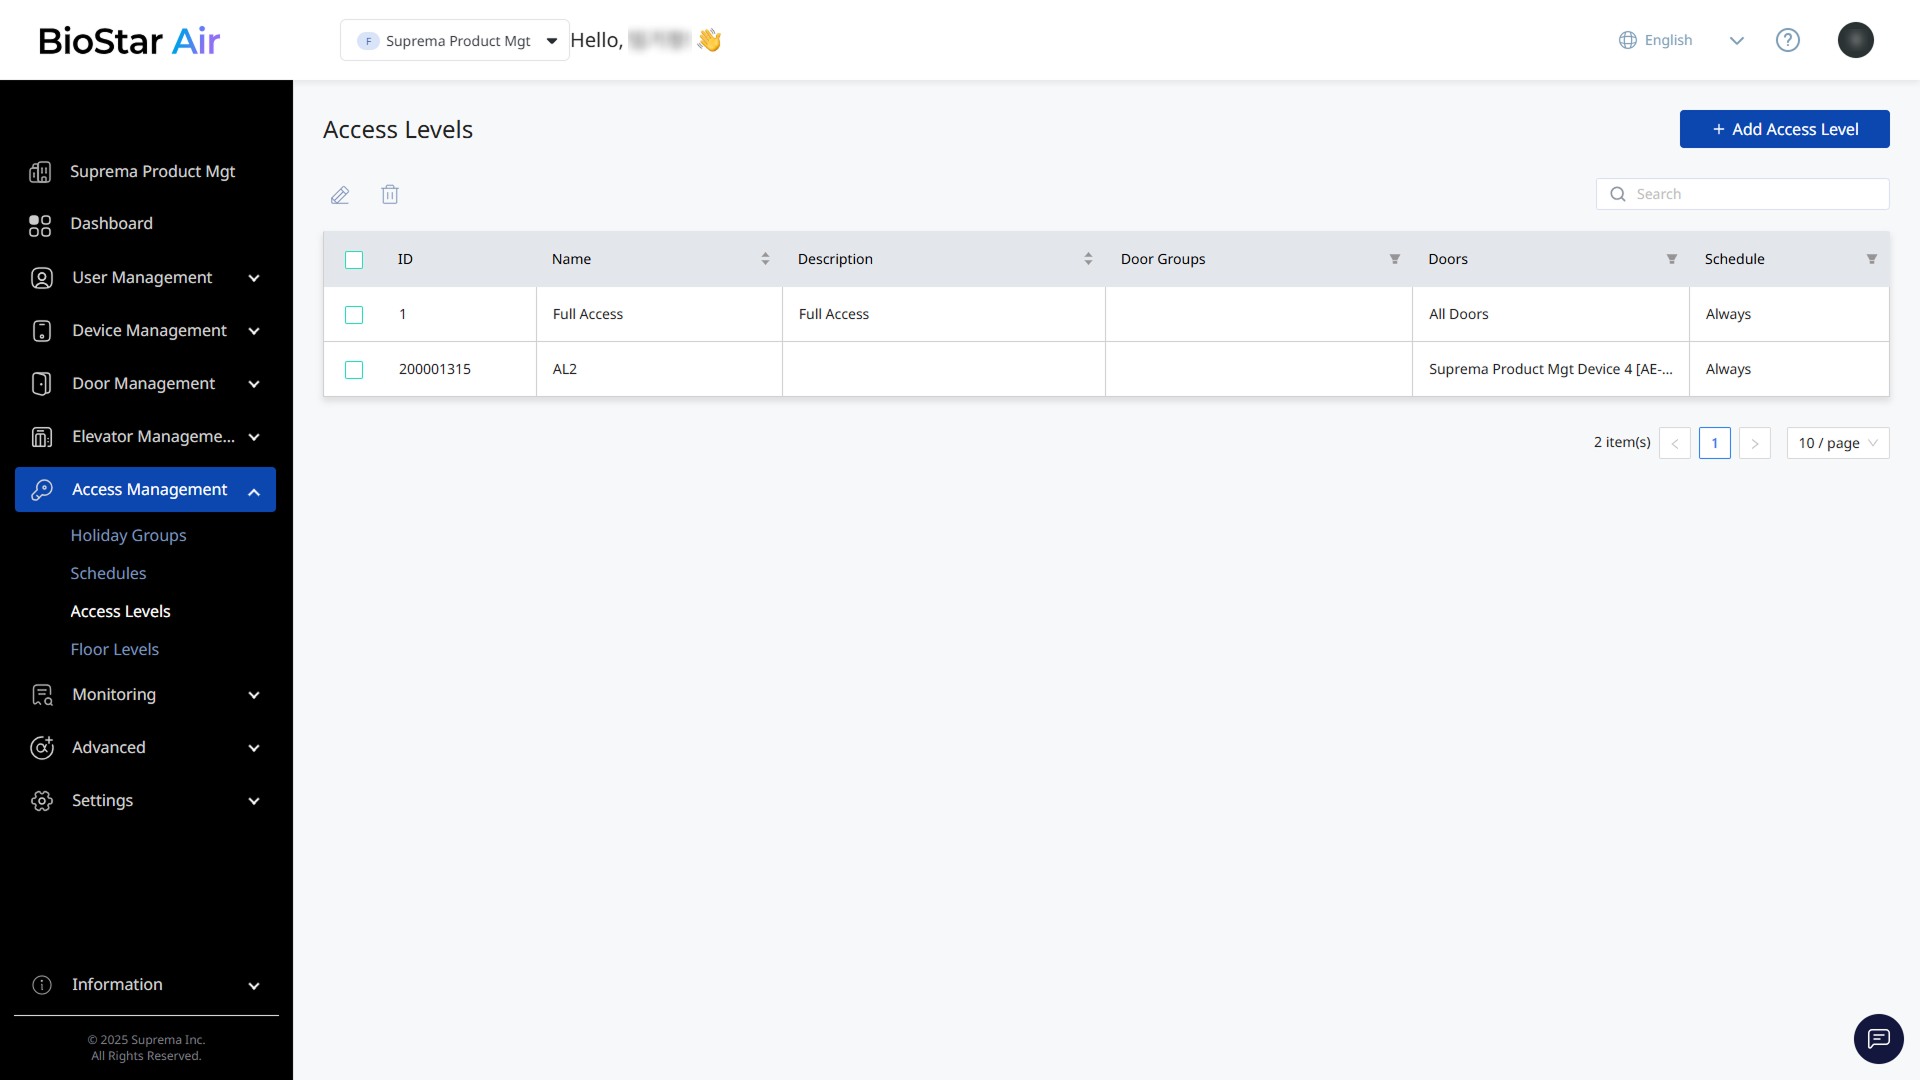
-
Click Add Access Level at the top right of the screen.
-
When the Access Level panel appears, enter a name, and assign door groups, individual doors, and schedules.
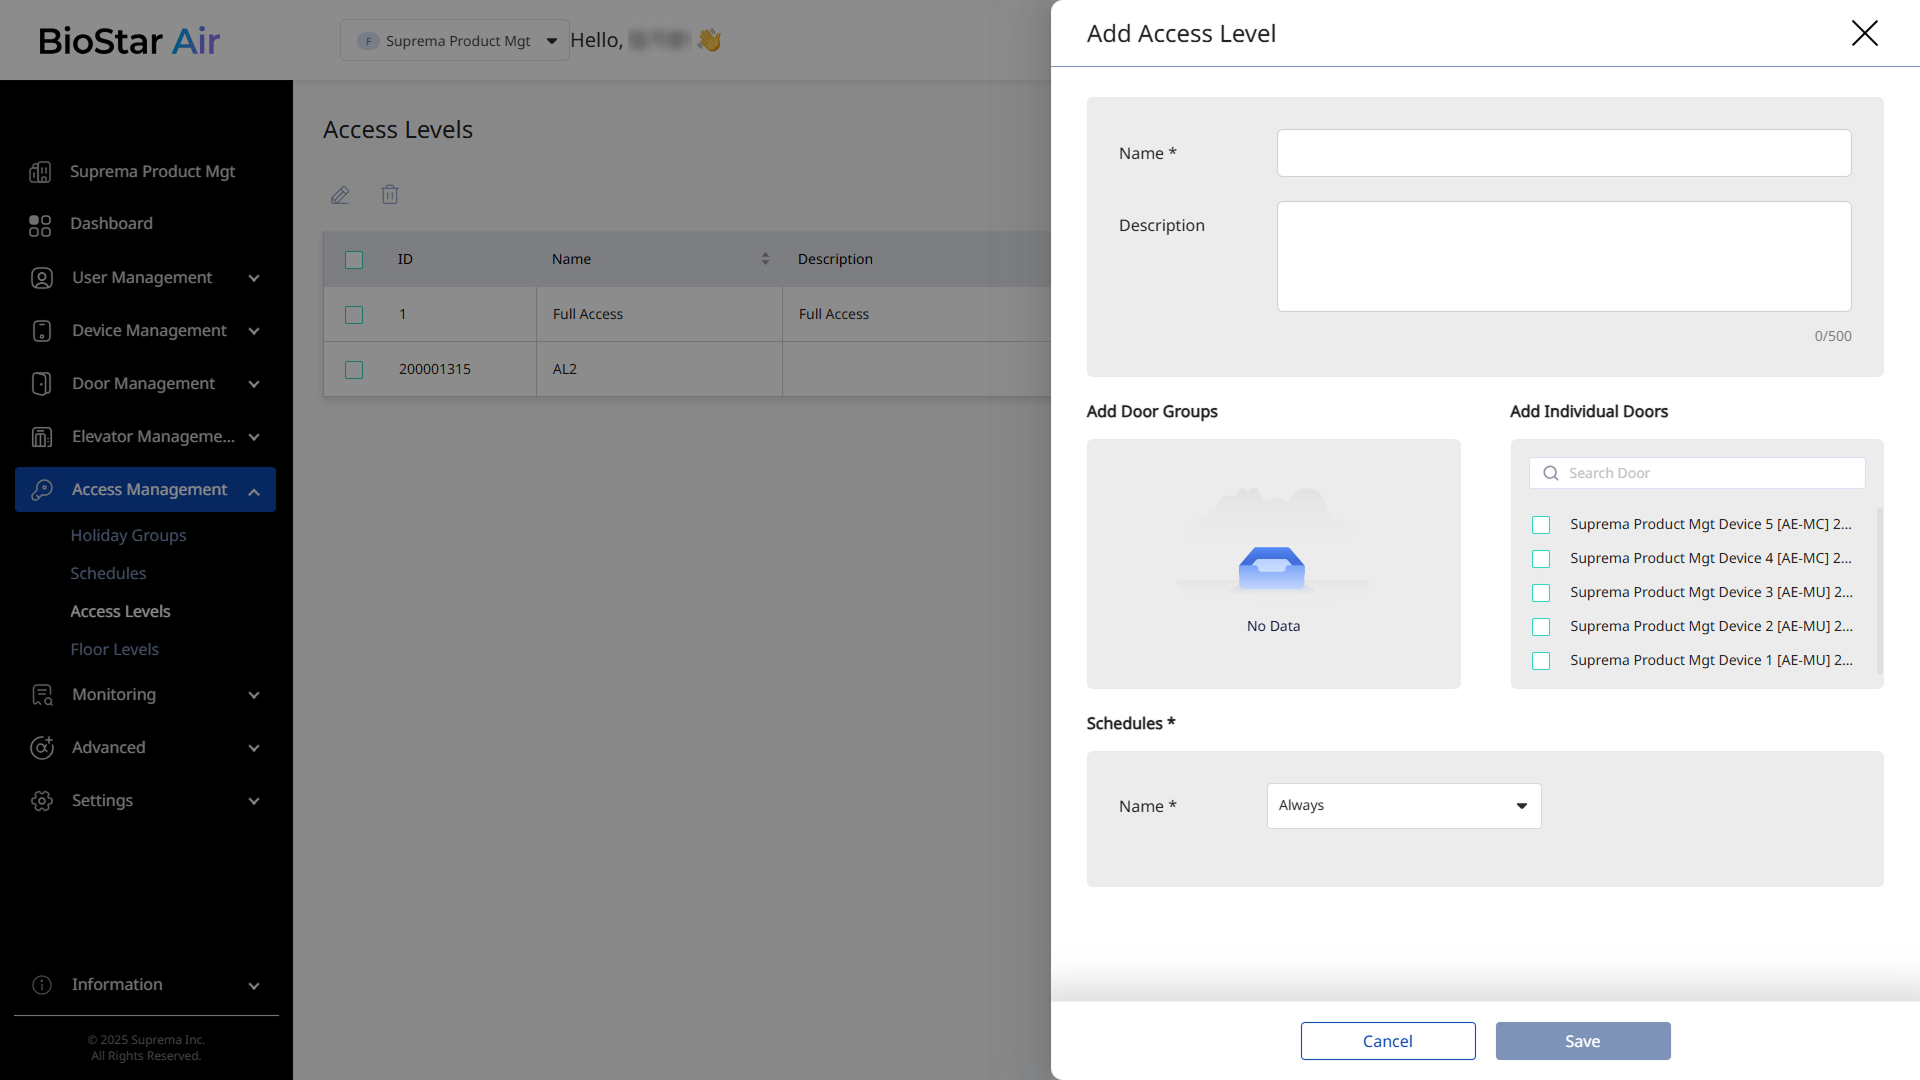
-
When the access level is configured, click Save.
Create user groups and add users
Create a user group and add users to the new group.
-
Click User Management → User Groups in the left sidebar.
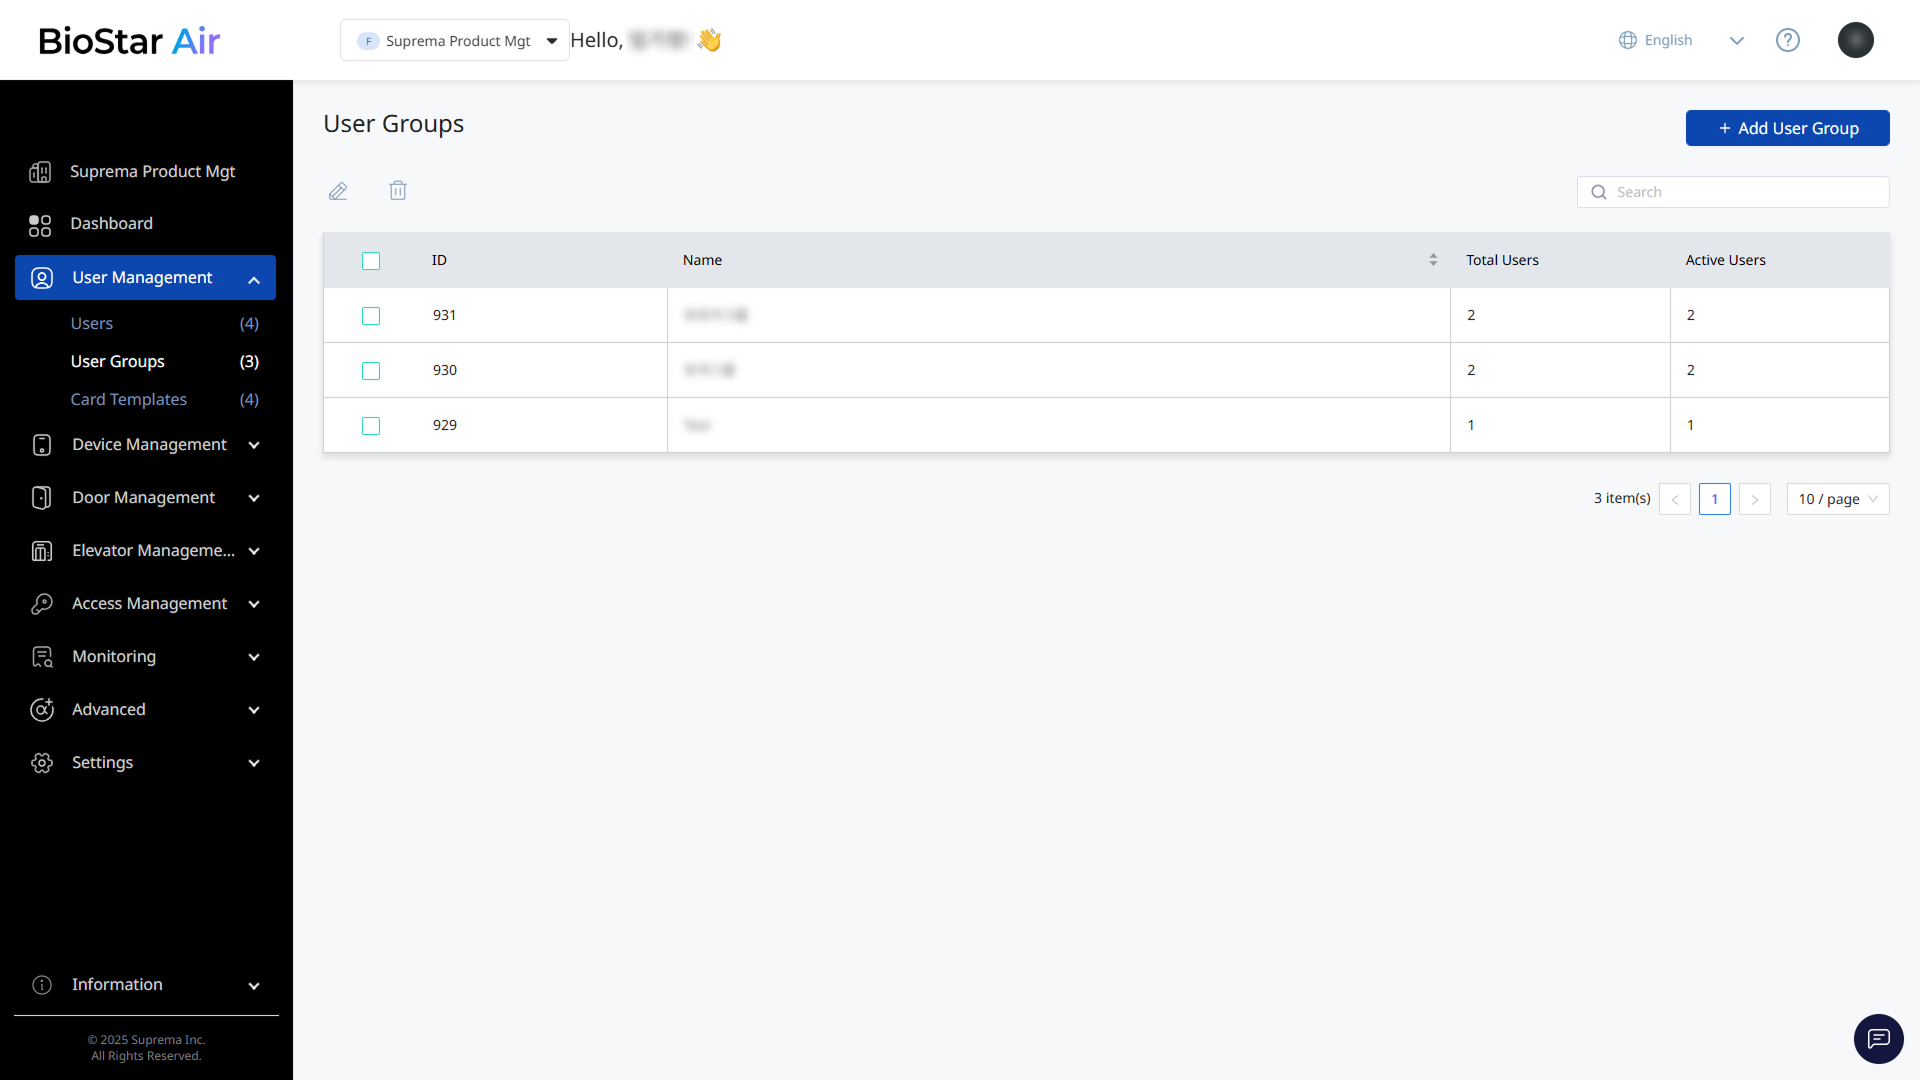
-
Click Add User Group at the top right of the screen.
-
When the Add User Group window appears, enter the user group name.
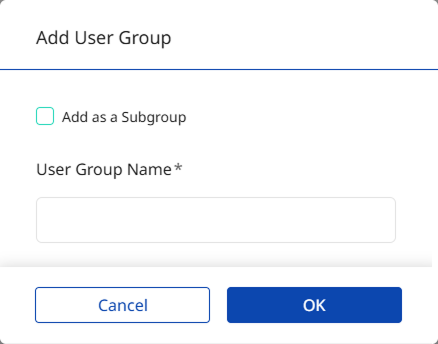
-
Click OK to save the user group.
-
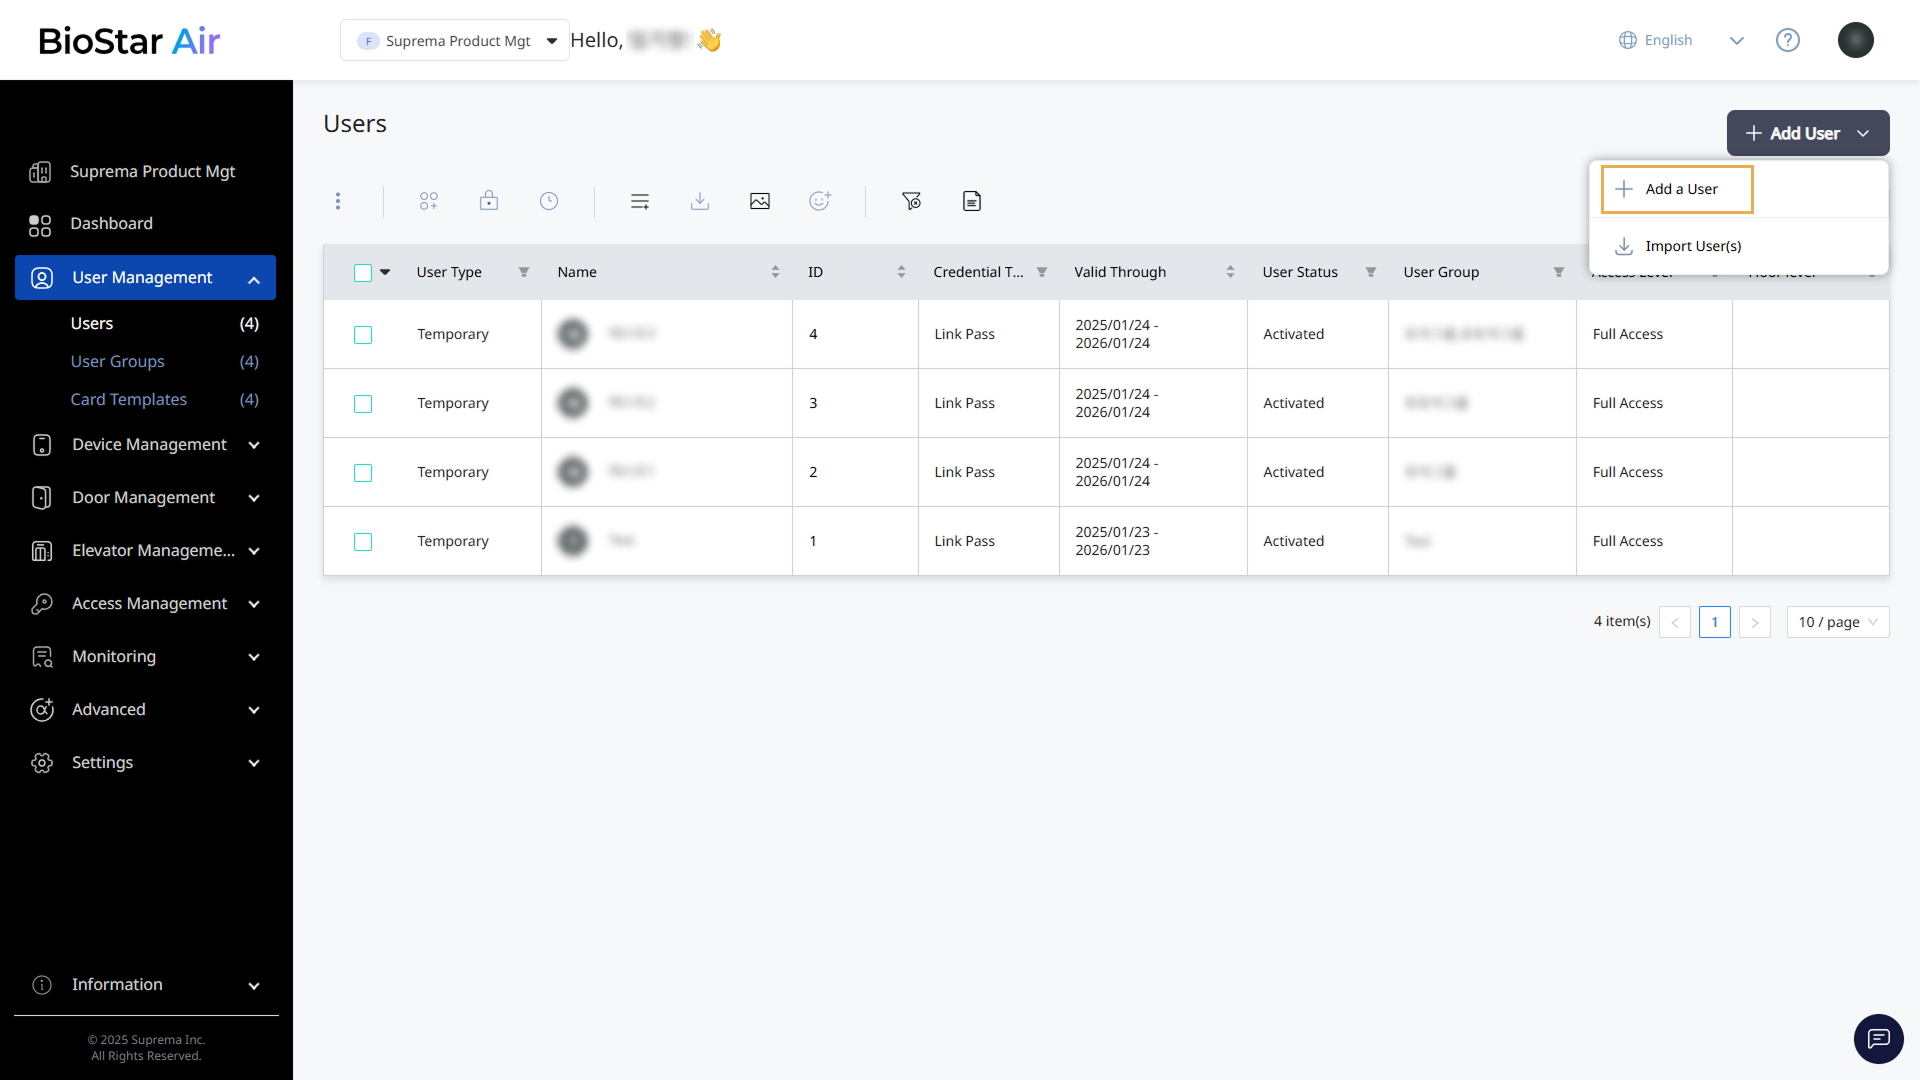
Click User Management → Users in the left sidebar.
-
Click Add User → Add a User at the top right of the screen.
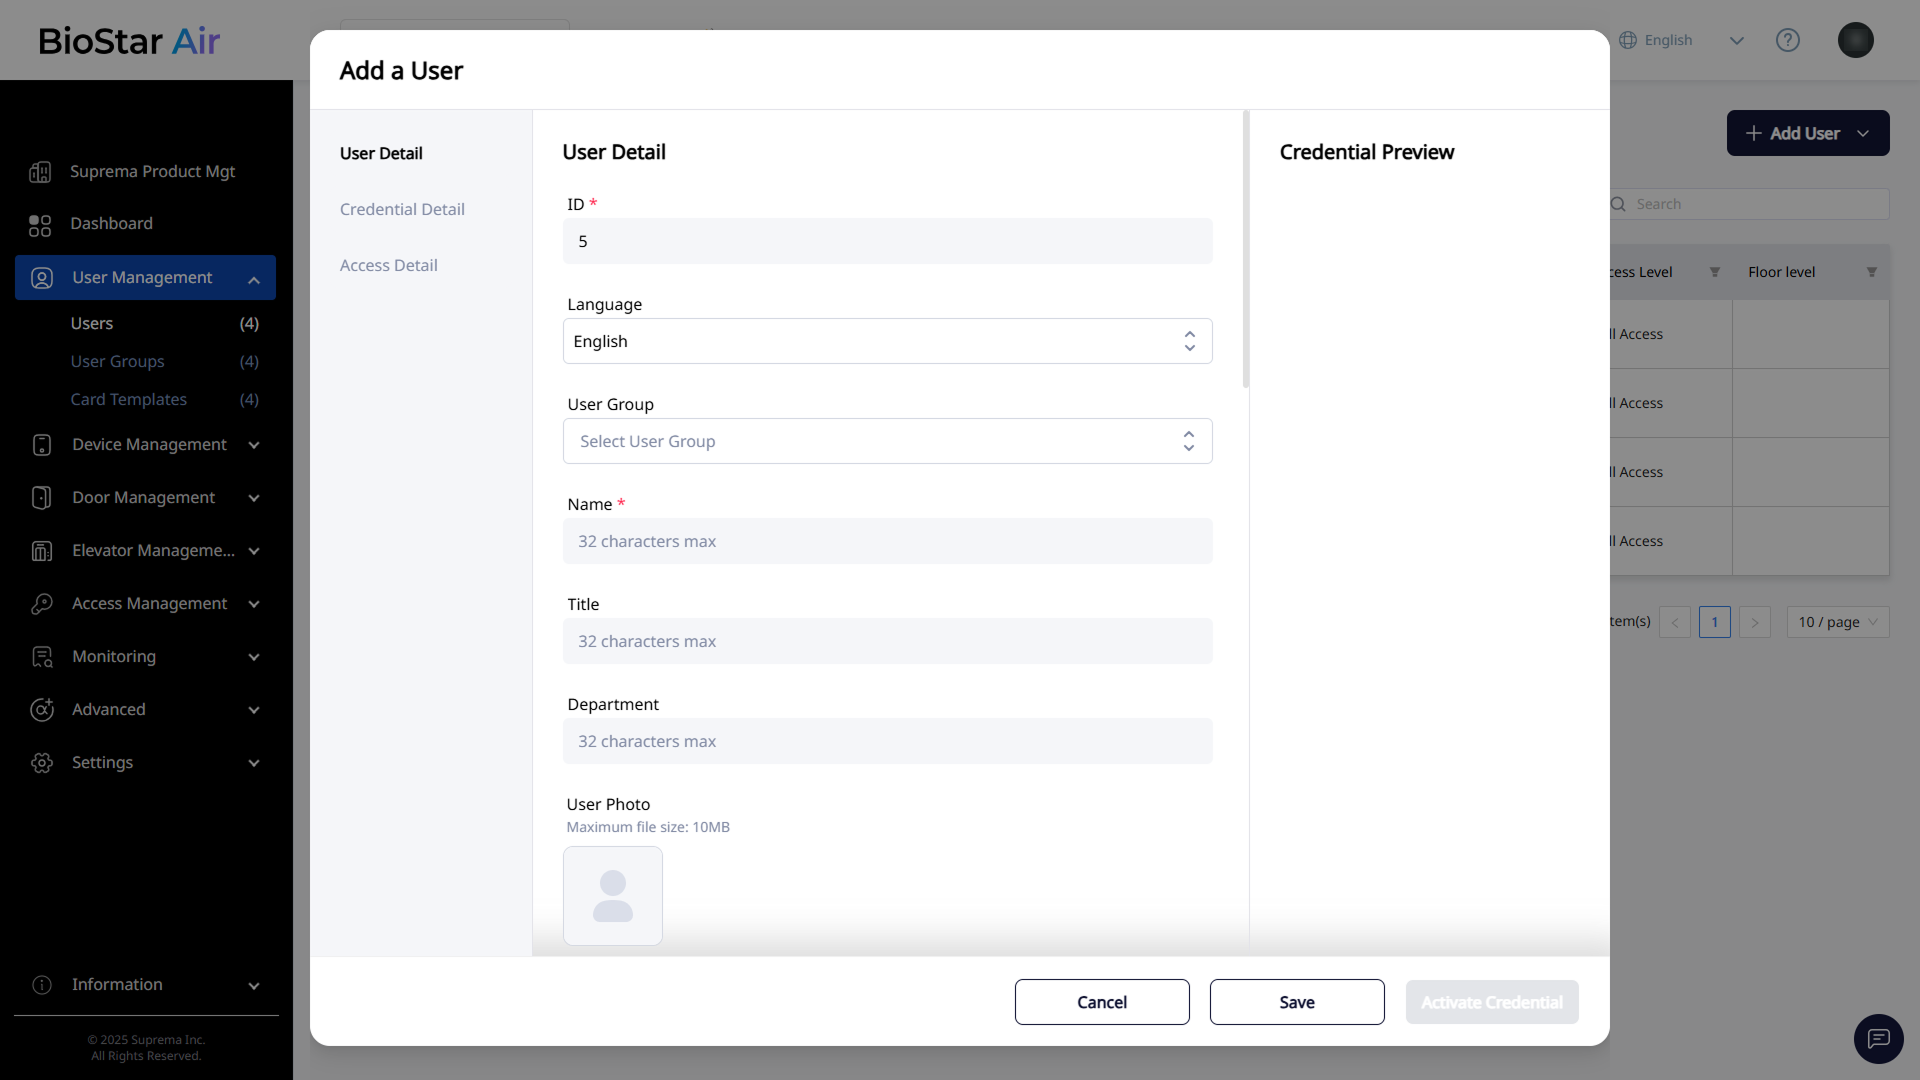
-
When the Add a User window appears, enter the user ID, name, and so on in the User Detail section.
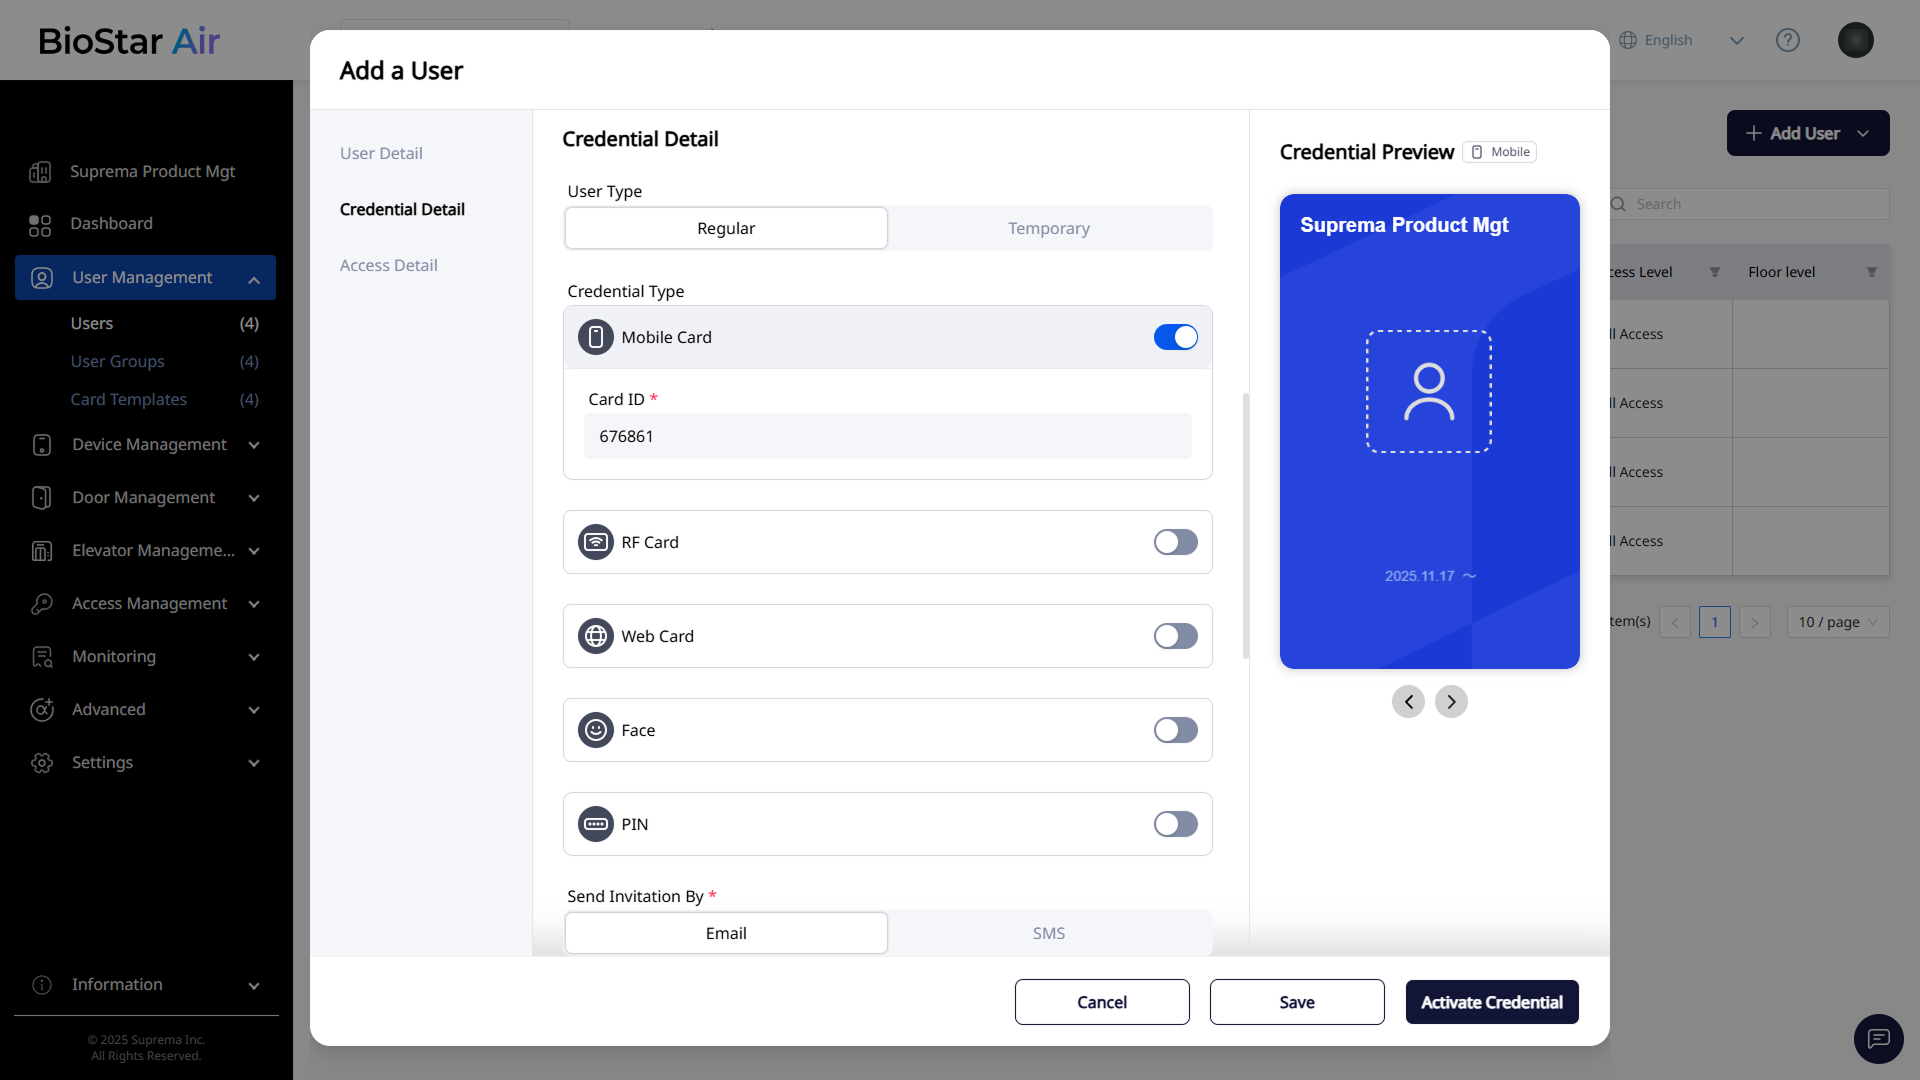
-
In the Credential Detail section, enable one or more credential types.
-
In the Access Detail section, select an access level.

-
To finish configuring the user’s access, click Activate Credential in the lower-right corner.
In the User Management → User Groups menu, bulk-manage users, reissue, suspend, or delete them, export data, and upload profile images in bulk.
Checklist
To summarize, follow these steps.
-
Add administrators.
-
Register devices.
-
Create doors and assign devices.
-
Categorize doors into groups.
-
Configure access rights (holidays, schedules, access levels).
-
Create user groups and add users.
Following these steps sets up the BioStar Air site smoothly. Refer to the individual video tutorials in the user guide for more details.