IP Camera Support and Setup
BioStar Air automatically detects IP cameras connected to the same network as readers compatible with BioStar Air. Because the cameras use the device as a gateway, a network video recorder (NVR) is not required. Instead, the cameras use the built-in SD card storage.
With a reader compatible with BioStar Air installed, BioStar Air can display the following concurrent live view streams.
-
Up to two cameras at Full HD resolution (1080p)
-
Up to four cameras at HD resolution (720p)
These specifications double when X-Station 2 is used.
If a recorded video does not play after you register the camera in BioStar Air, see Troubleshoot Video Playback Issues.
Compatibility
-
Onvif profiles: The IP camera must be compatible with Onvif profile S or G.
-
Onvif profile S: Live video streaming
-
Onvif profile G: Recorded video stored on the SD card
-
-
SD card: The IP camera must have a built-in SD card so that recorded footage can be played back later.
Use SanDisk microSDXC Class10 Max Endurance 256 GB or 512 GB.
-
Encoding: The camera must support H.264 (AVC) and it must be set as the active codec. BioStar Air currently does not support H.265.
-
Recommended brands: HanwhaVision, Hikvision, and Dahua cameras are highly compatible. Compatibility with other brands may vary depending on Onvif profile compliance. For details on the list of tested and verified devices, see #tested-devices.
-
Contact the service team to test other camera brands.
Functionality overview
Perform the following actions in the BioStar Air portal or mobile app.
-
View live camera feeds.
-
View recorded camera footage.
-
Access camera footage related to access events.
Instructions
Connect IP cameras
-
Network connection: Ensure that the IP camera is on the same network as the reader compatible with BioStar Air.
-
Enable Onvif: Make sure Onvif is enabled on the camera.
-
Device registration: Make sure the device is registered in the BioStar Air portal.
Log in to BioStar Air
Master administrators can change site settings such as enabling Video Management. Log in to the BioStar Air portal with master privileges.
Enable video management
-
Click Settings → Site in the left sidebar.
-
Click the Additional Features tab.
-
Enable Video Management.
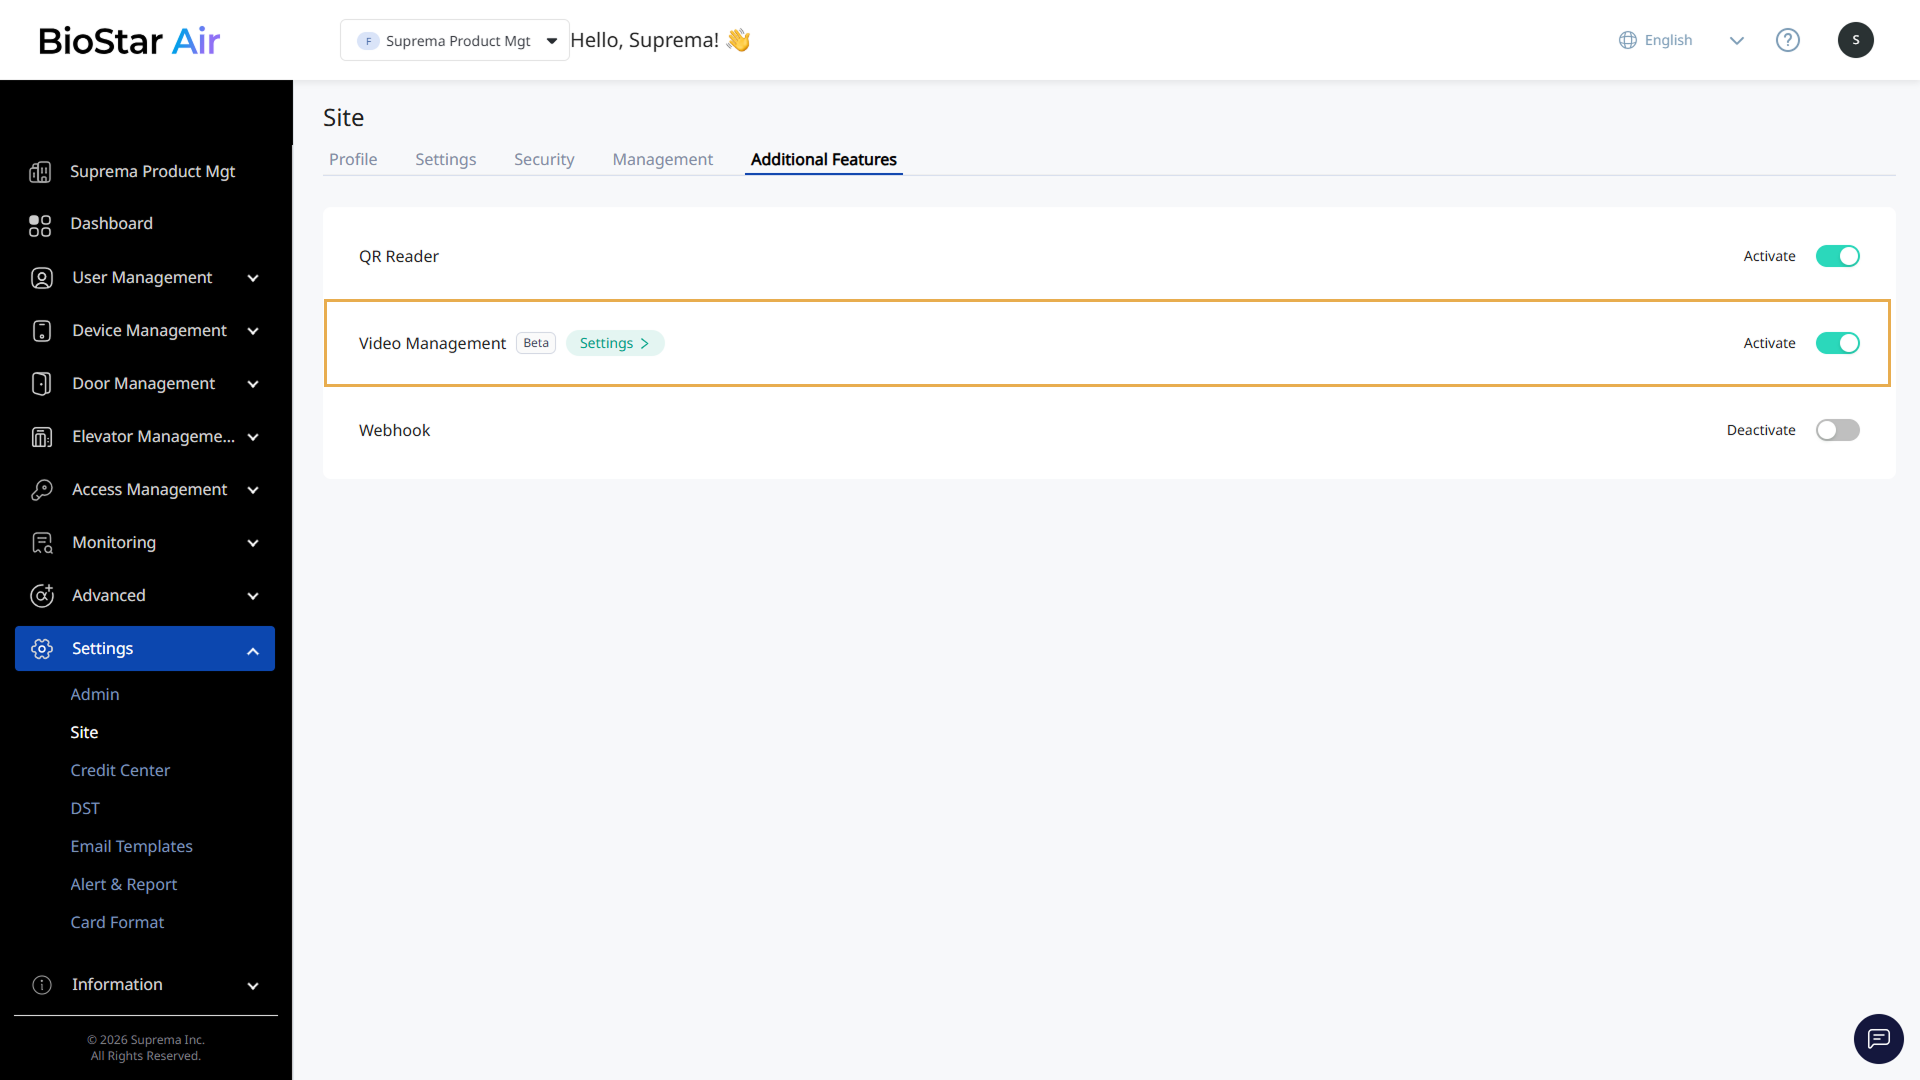
Only master-level administrators can enable this feature.
Add camera
-
Click Device Management → Cameras in the left sidebar.
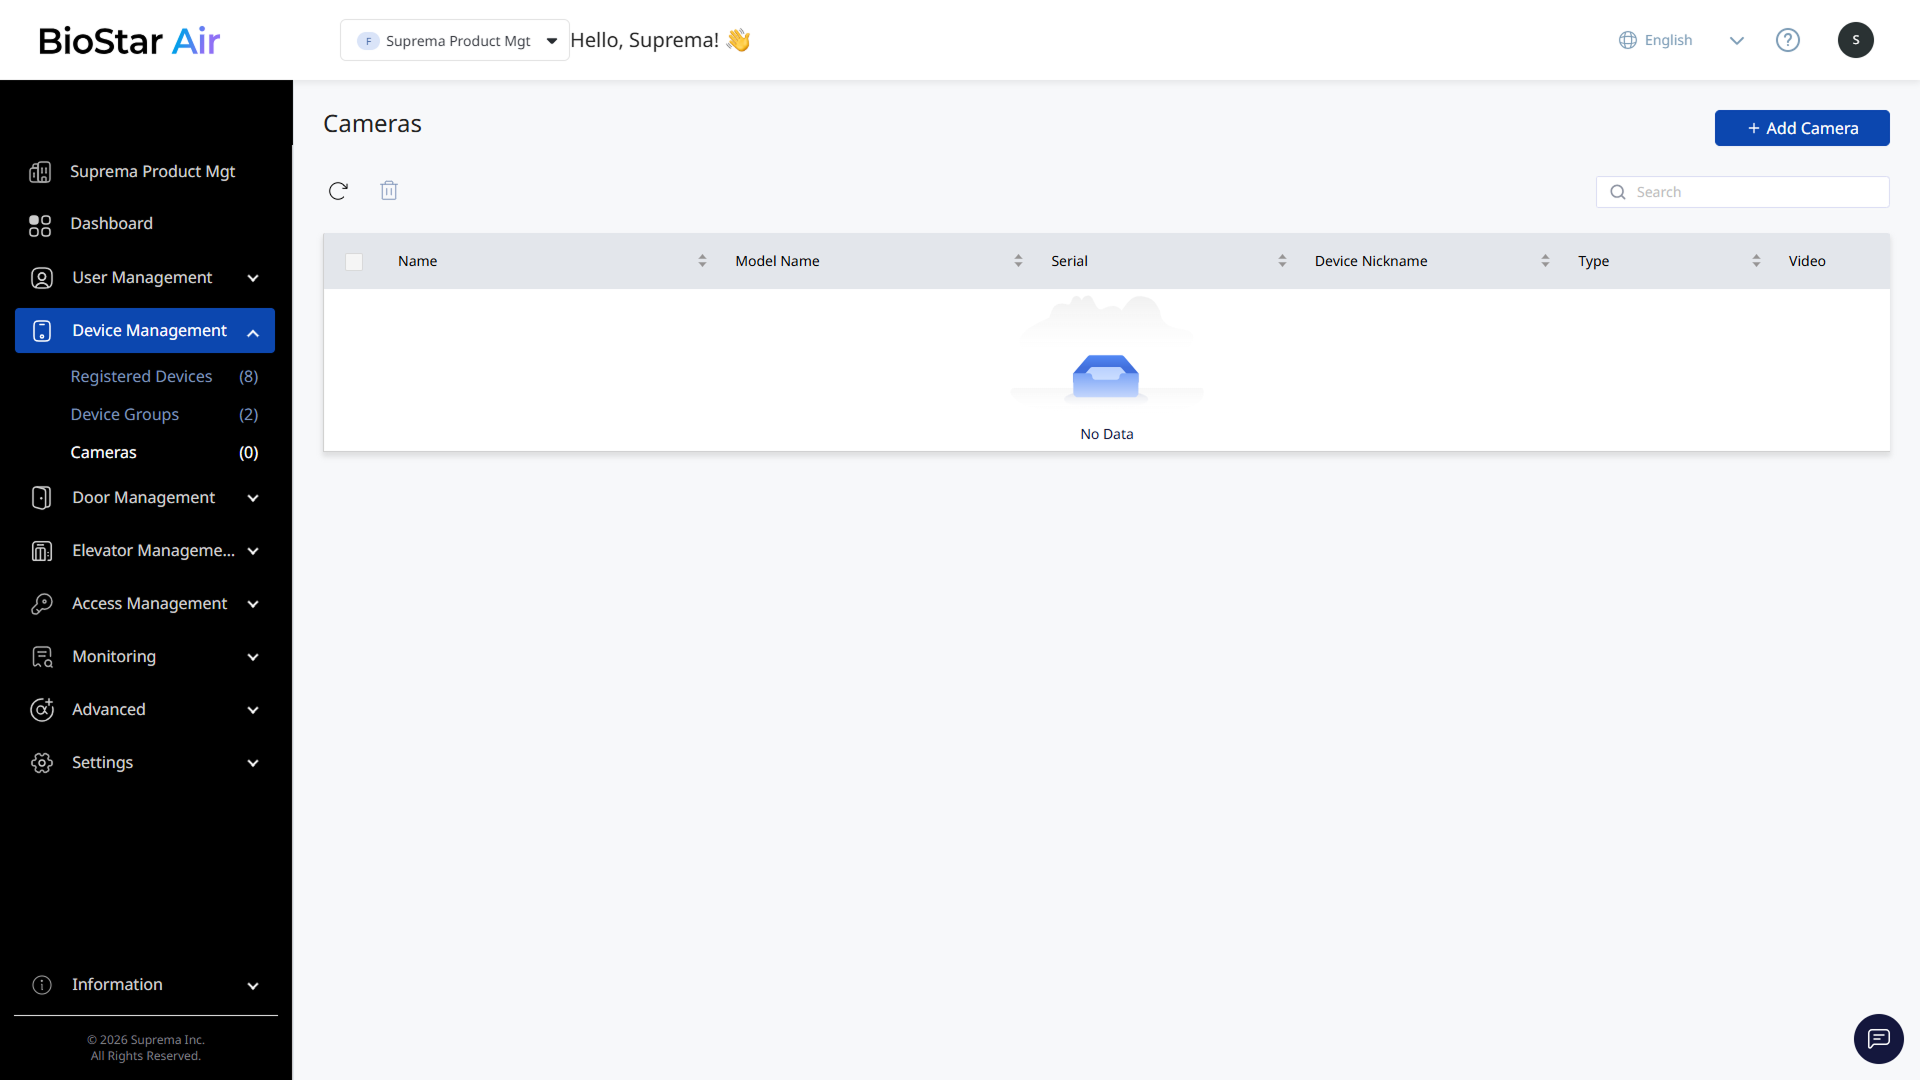
-
Click Add Camera at the top right of the screen.
-
When the Add Camera window appears, select the device that will act as the gateway.
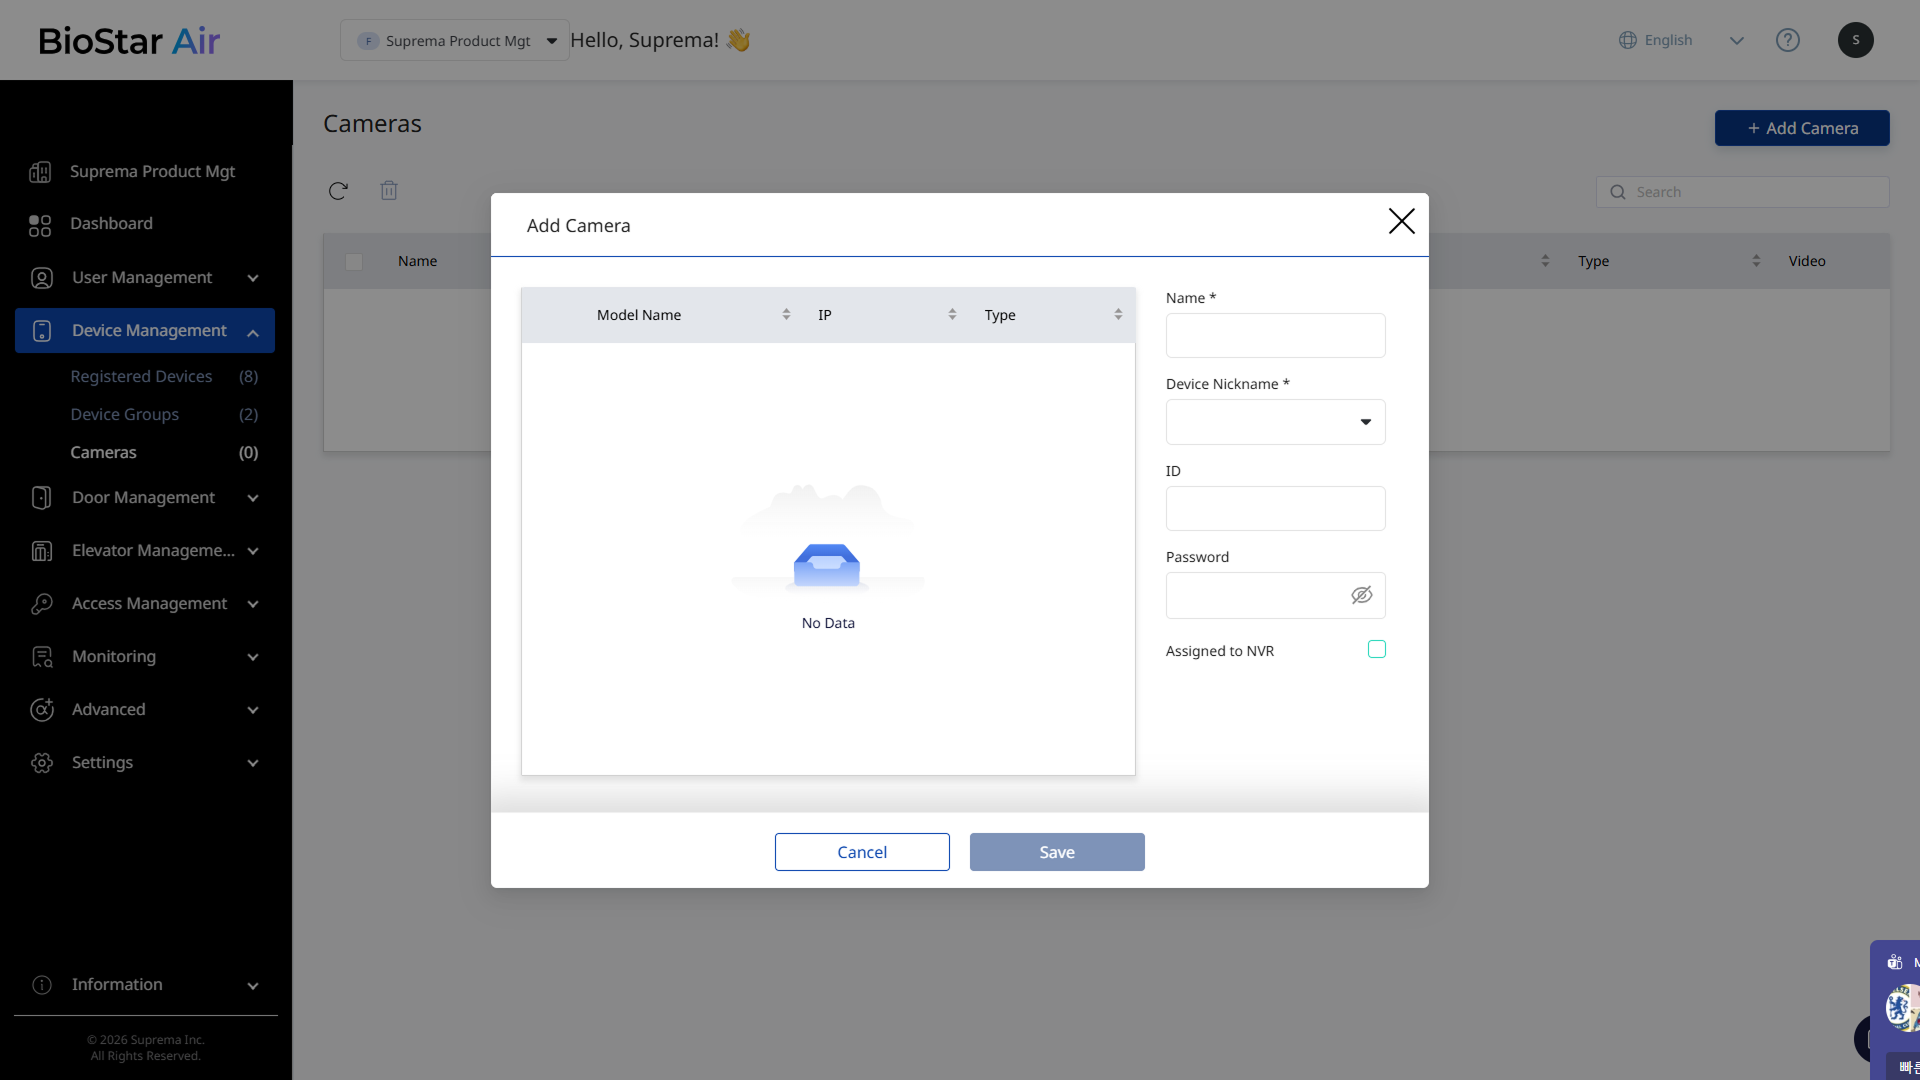
The image above is an example screen and may differ from the actual screen. -
Set the following information to add the camera.
-
Name: Enter the camera name.
-
Device Nickname: Select a name to identify the camera.
-
ID: Enter the ID to connect to the camera.
-
Password: Enter the password to connect to the camera.
-
-
Click Save to add the selected camera.
-
The device must run firmware version 2.5.1 or later and be on the same network as the camera.
-
BioStar Air automatically discovers cameras on the network.
Link to a door
Link the added camera to a door to associate video with access events.
-
Click Door Management → Registered Doors in the left sidebar.
-
Click the door in the list to assign a camera.
-
When the Edit Door panel appears, scroll to Auxiliary Device.
-
Select the camera you added from Camera.
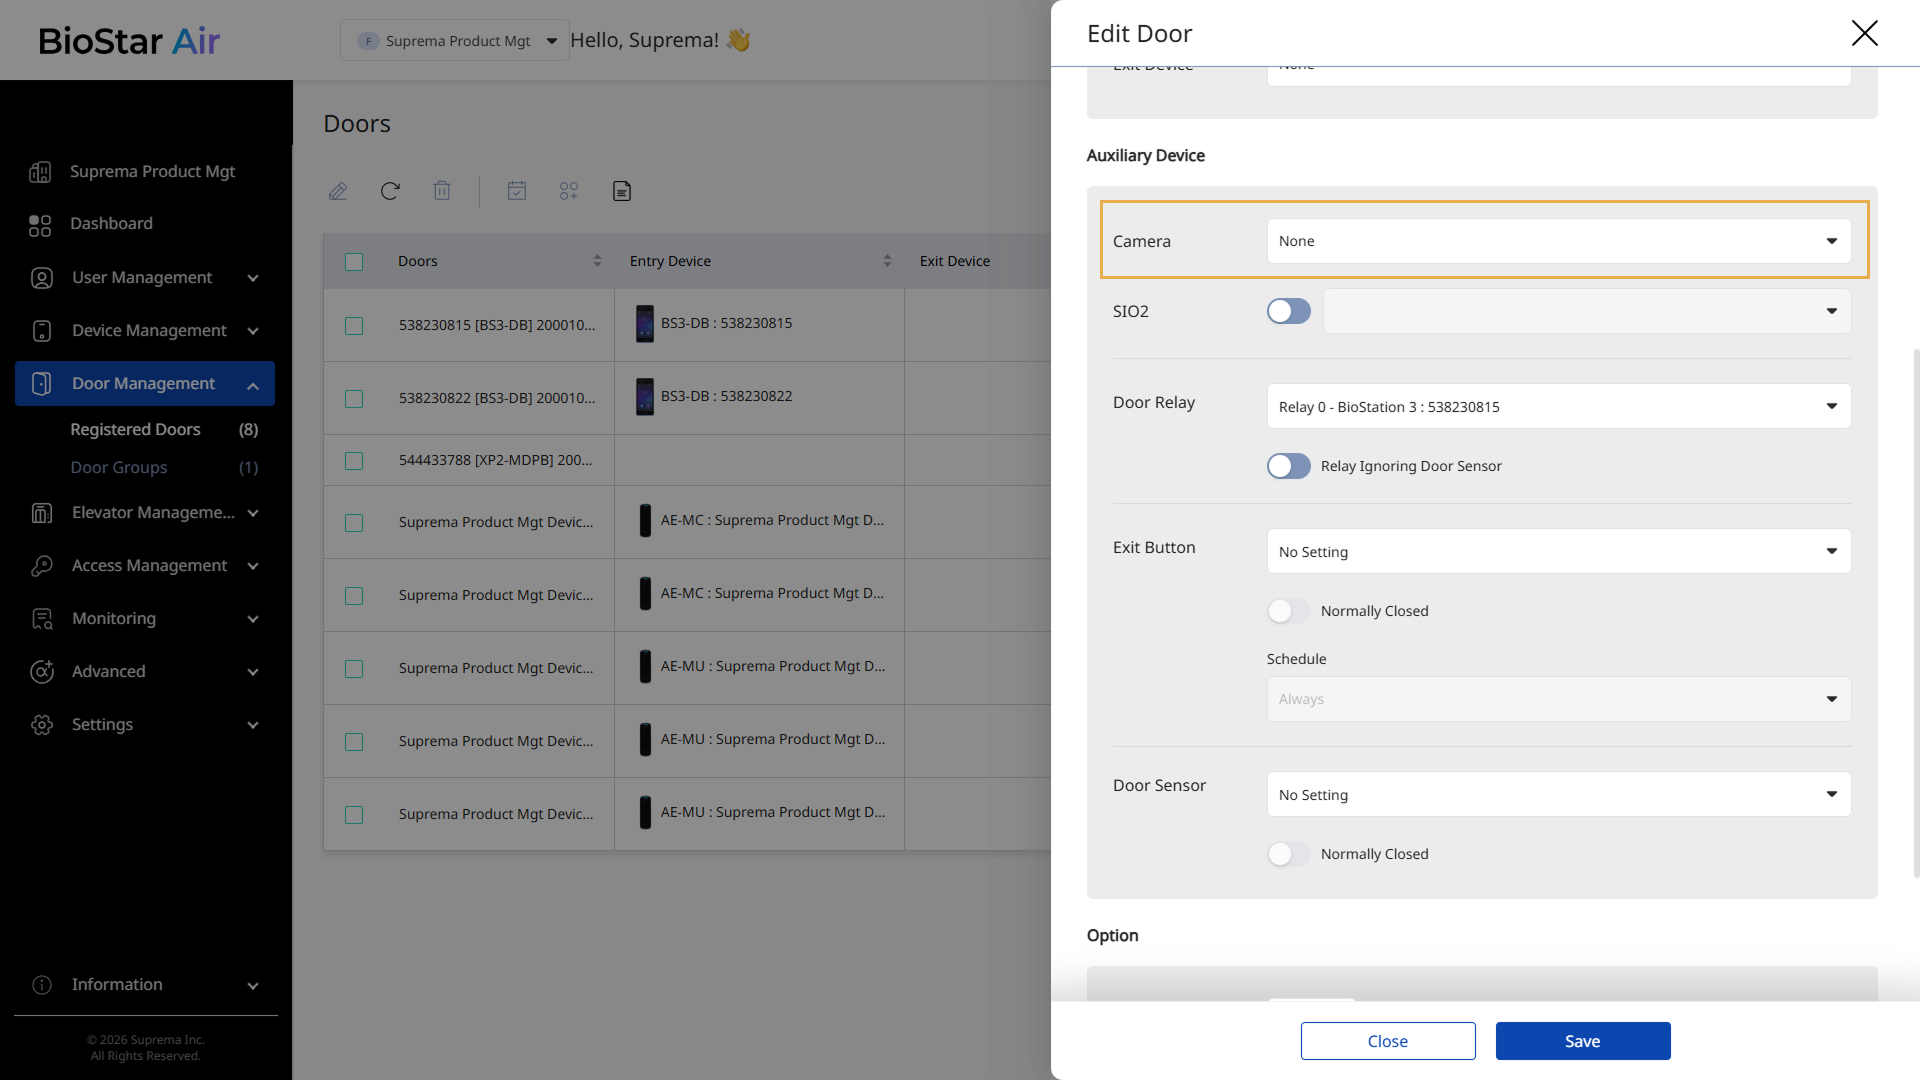
-
Click Save to save the changes.
View live camera video
View live video from the added cameras. Click Monitoring → Real-Time Video in the left sidebar.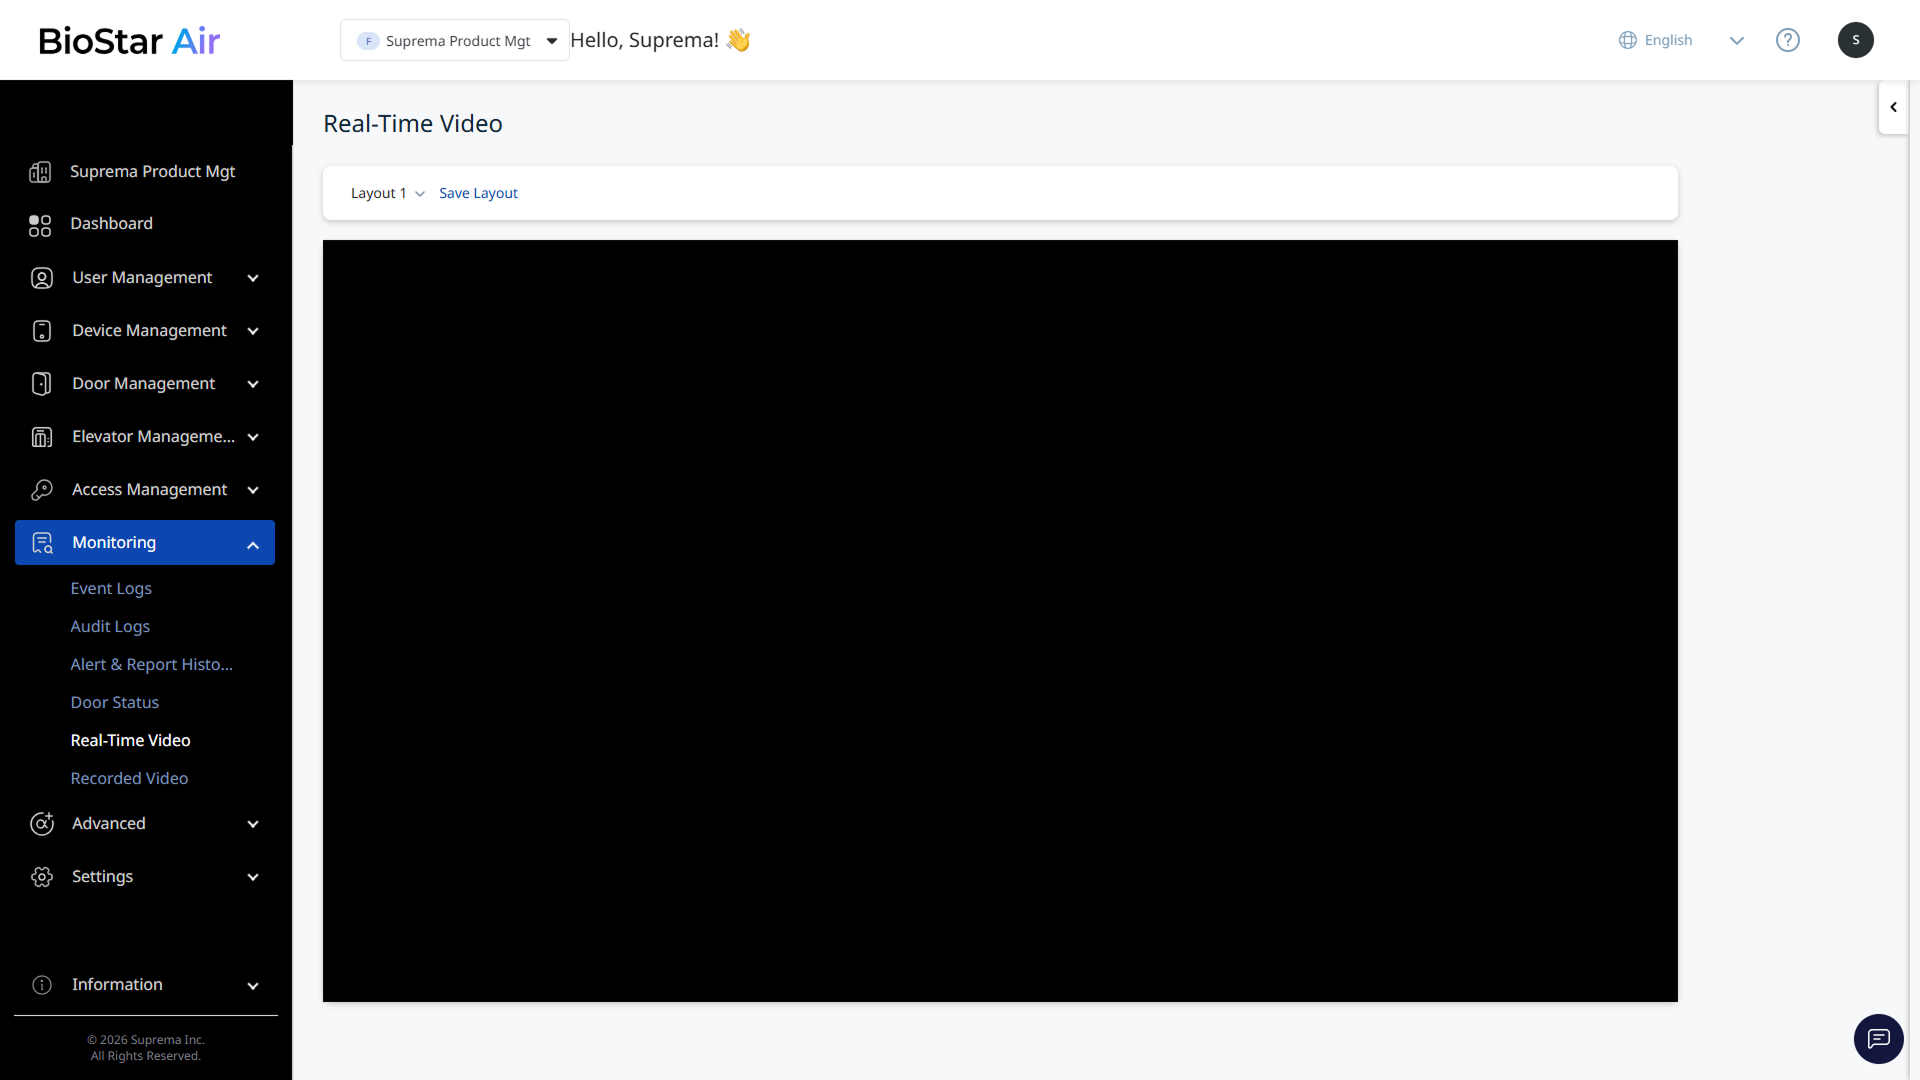
-
View up to two Full HD (1080p) live streams per installed reader compatible with BioStar Air.
-
Add more devices or reduce camera resolution to view more live streams.
Device Management → Cameras → Click camera in the list → Video Profile
View recorded camera video
View recorded video streams. Click Monitoring → Recorded Video in the left sidebar.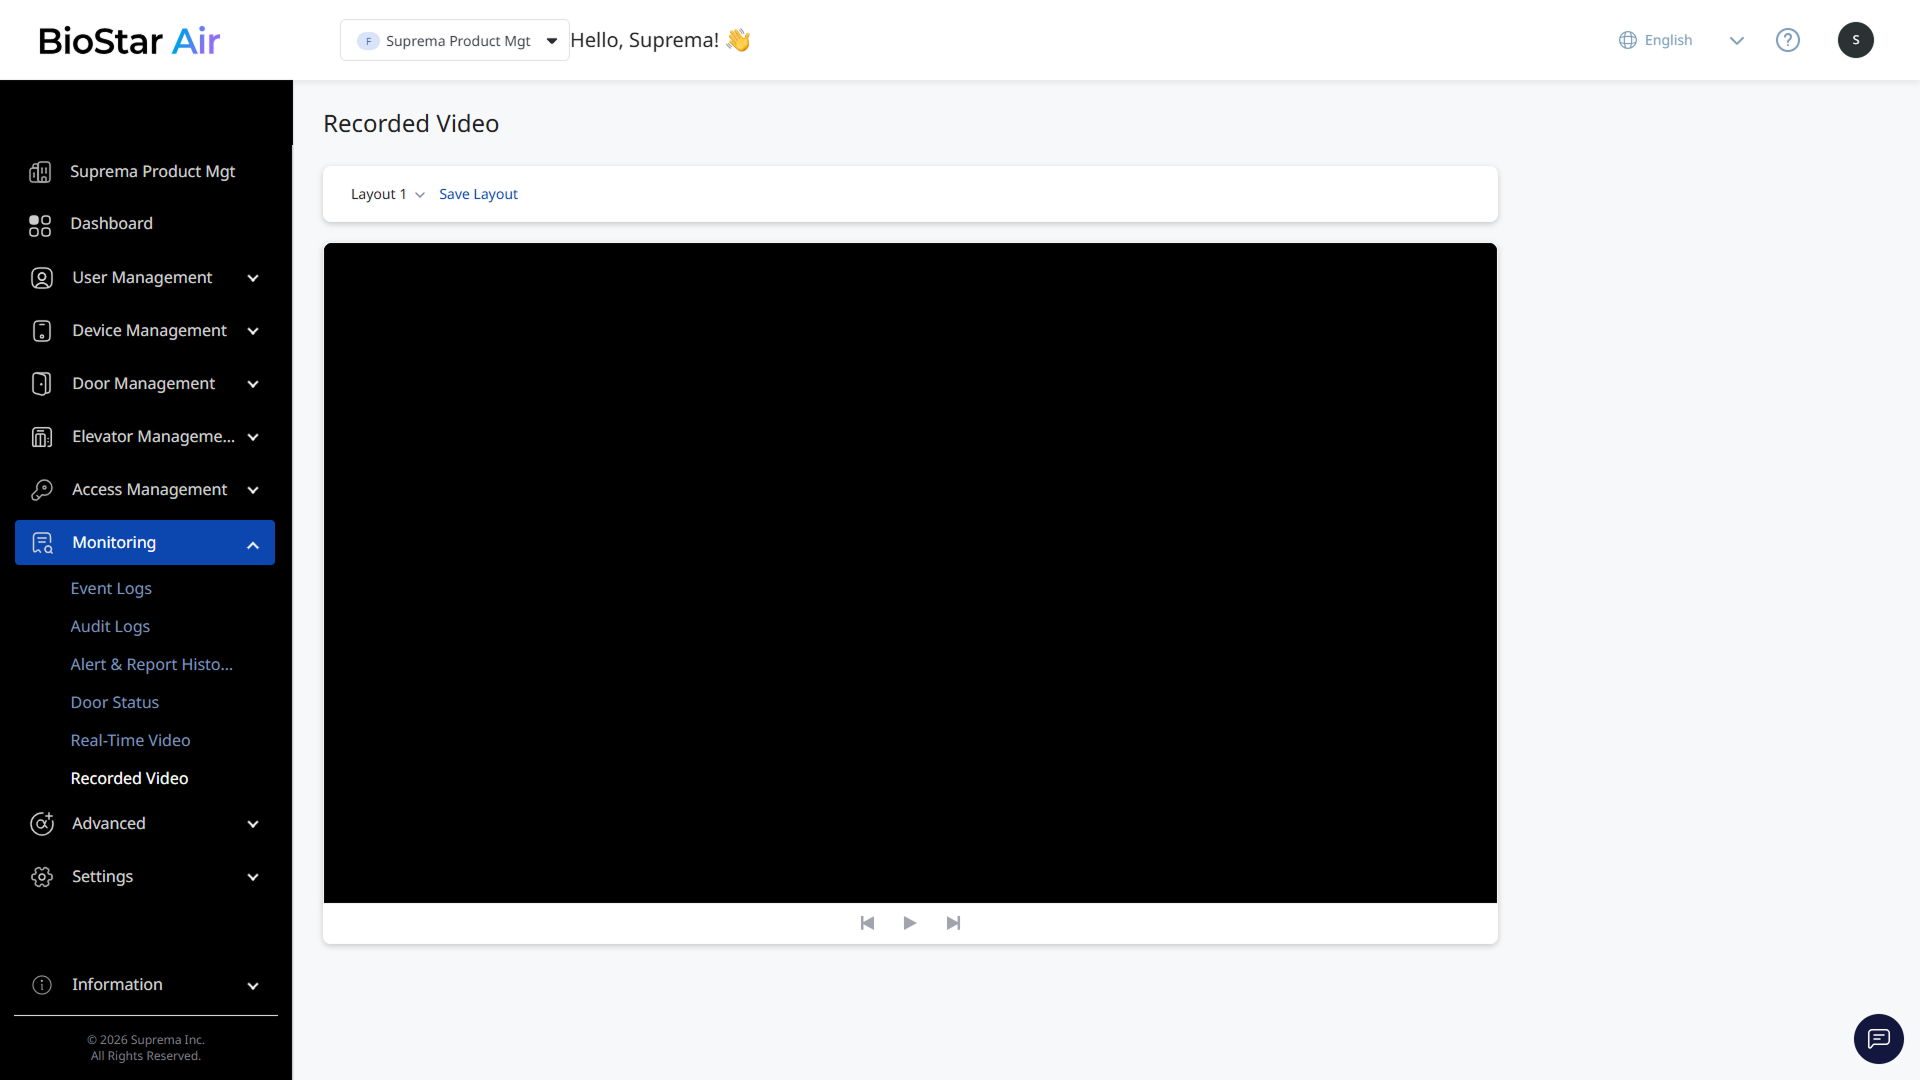
View event video
Click Monitoring → Event Logs in the left sidebar. Find an event log with an associated video clip and click play to watch it.
Tested and verified devices list
| No | Manufacturer | Model number | Device type | Onvif profile | Resolution |
|---|---|---|---|---|---|
| 1 | Hanwha Techwin | QNV-C8011R | Camera | S, G, T, M | 2592x1944 |
| 2 | Hanwha Techwin | QND-6022R | Camera | S, G, T | 1920x1080 |
| 3 | Hanwha Techwin | MMI-600R | Camera | S, T | 1920x1080 |
| 4 | HIKVISION | DS-2CD2025FWD-I | Camera | S, G, T | 1920x1080 |
| 5 | HIKVISION | DS-2CD2166G2-I | Camera | S, G, T | 3200×1800 |
| 6 | HIKVISION | DS-2CD1121-I | Camera | S | 1920x1080 |
| 7 | Dahua | DHI-NVR2104HS-P-S3 | NVR | S, G, T | 12MP |
| 8 | Dahua | IPC-HDBW3249E-AS-NI | Camera | S, G, T | 1920×1080 |
| 9 | Dahua | SD22204UEN-GN | Camera | S, G, T | 1920×1080 |
| 10 | Dahua | DH-IPC-HFW1230DT-STW-VN | Camera | S, T | 1920×1080 |
| 11 | Marruy | IPC-A32E-L | Camera | S, T | 2304×1296 |
| 12 | TP-Link | Tapo C210 | Camera | S | 2304×1296 |
Enable ONVIF on an IP camera
-
Open a web browser and enter the camera's IP address.
-
Authenticate with administrator credentials and log in.
-
Go to the Network or Configuration section.
-
Enable ONVIF or the open network video interface.
-
Create an ONVIF-only user profile if necessary.
-
Save the settings and test the ONVIF connection in BioStar Air.
-
Firmware update: Update the camera and the device to the latest firmware.
-
Port forwarding: Configure port forwarding for ONVIF if required.
-
Third-party tools: Use ONVIF Device Manager to verify camera settings and functionality.