Manage Floor Levels
Floor levels are used in elevator access control settings. Floor levels enable fine-grained control over access permissions for each floor. For example, configure certain user groups so they can access only specific floors.
Add floor levels
Assign users or groups that can access specific floors.
-
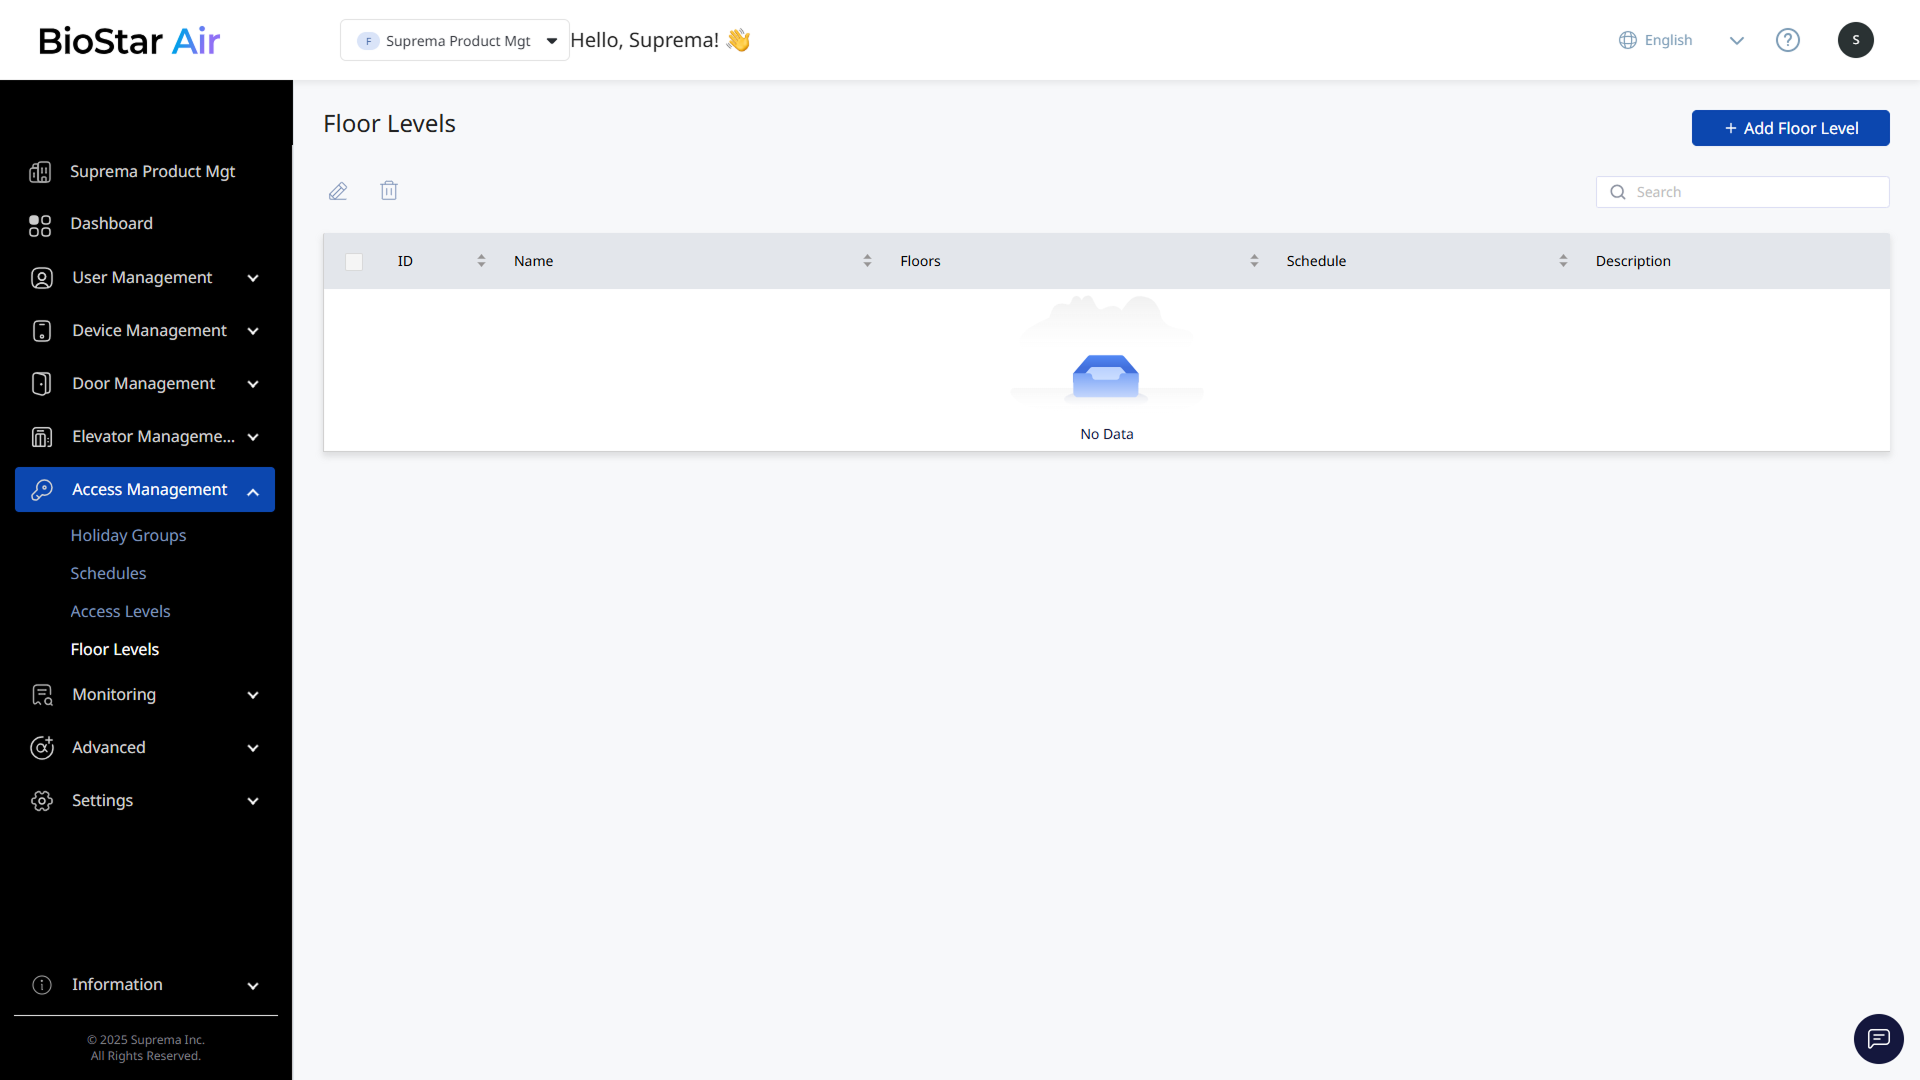
Click Access Management → Floor Levels in the left sidebar.
-
Click Add Floor Level at the top right of the screen.
-
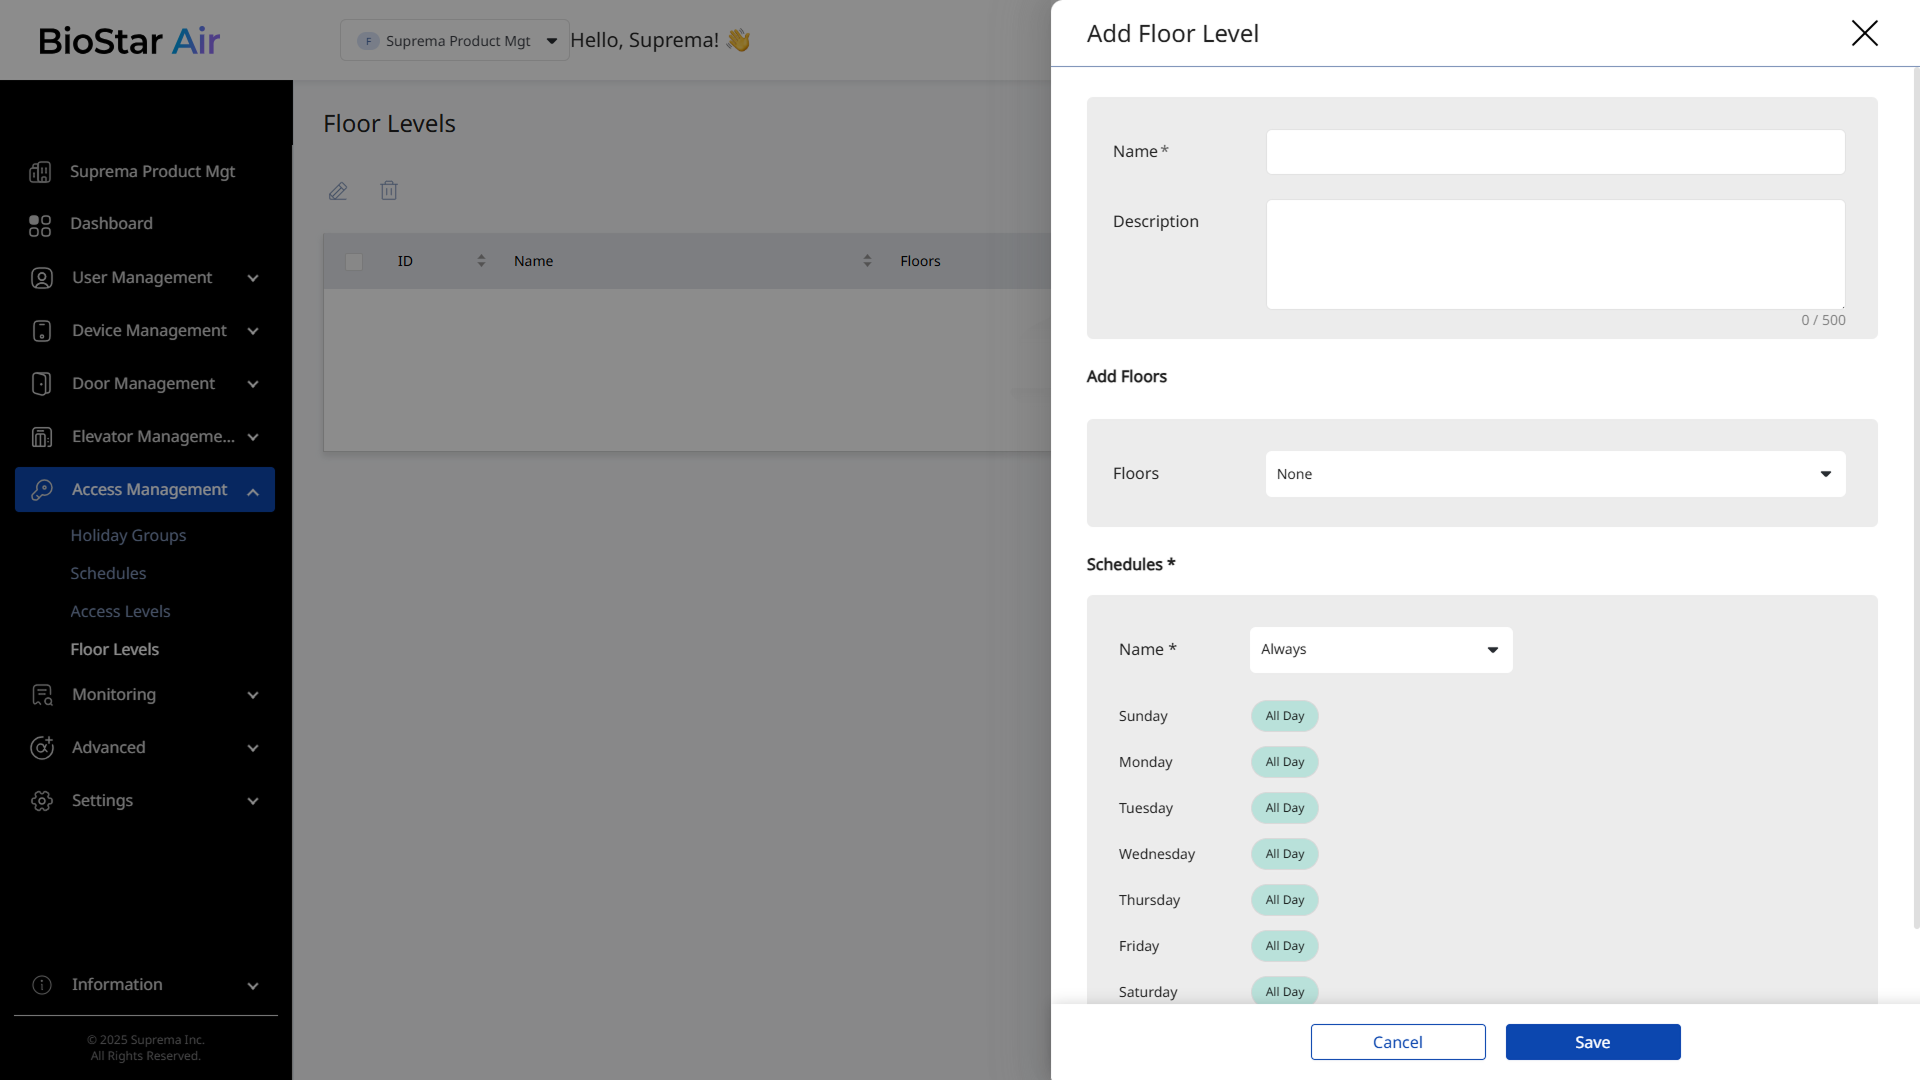
When the Add Floor Level panel appears, enter Name and Description (optional).
-
Select the floors to apply floor permissions in the Add Floors section.
-
Select the schedule to apply to the floor level in the Schedule section. Select Always to allow unrestricted access.
-
Click Save to add the floor level.
Edit floor levels
-
Click Access Management → Floor Levels in the left sidebar.
-
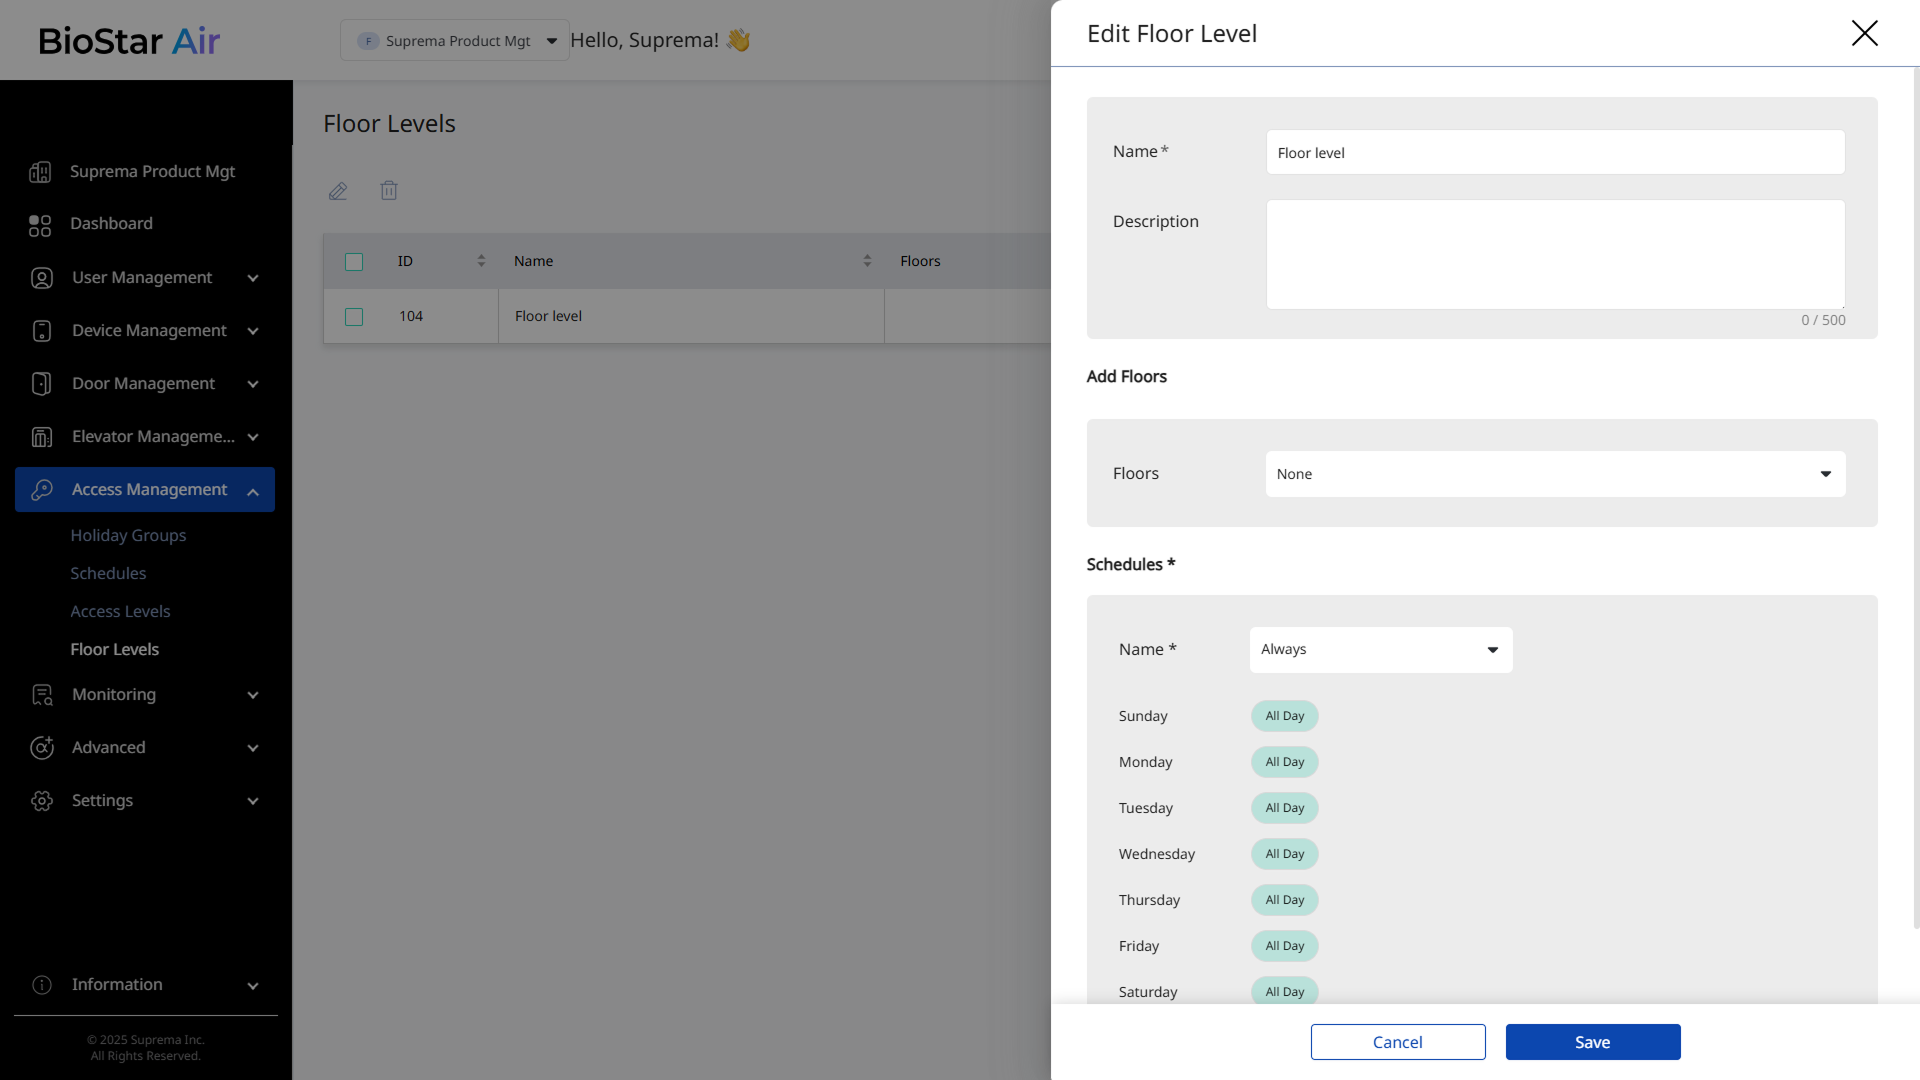
Click the floor level you want to edit from the list. Alternatively, select the checkbox of the floor level you want to edit, then click at the top of the list.
-
When the Edit Floor Level panel appears, modify the necessary information or change the settings.
-
Click Save to save the changes.
Delete floor levels
-
Click Access Management → Floor Levels in the left sidebar.
-
Select the checkbox of the floor level you want to delete from the list. More than one floor level can be selected.
-
Click at the top of the list.
-
When a warning message appears, click Yes.