Manage Schedules
Create schedules to allow or restrict access to doors or elevators on specific days and time periods. Use with holiday groups to fine-tune access rules.
-
Holiday groups take precedence over schedules. Grant unrestricted access to users who always need entry.
-
For more information about holiday group settings, see Manage Holiday Groups.
-
For more information about applying schedules to doors, see Manage Door Schedules.
-
For more information about configuring schedules to control access to each elevator floor, see Elevators.
Add schedule
-
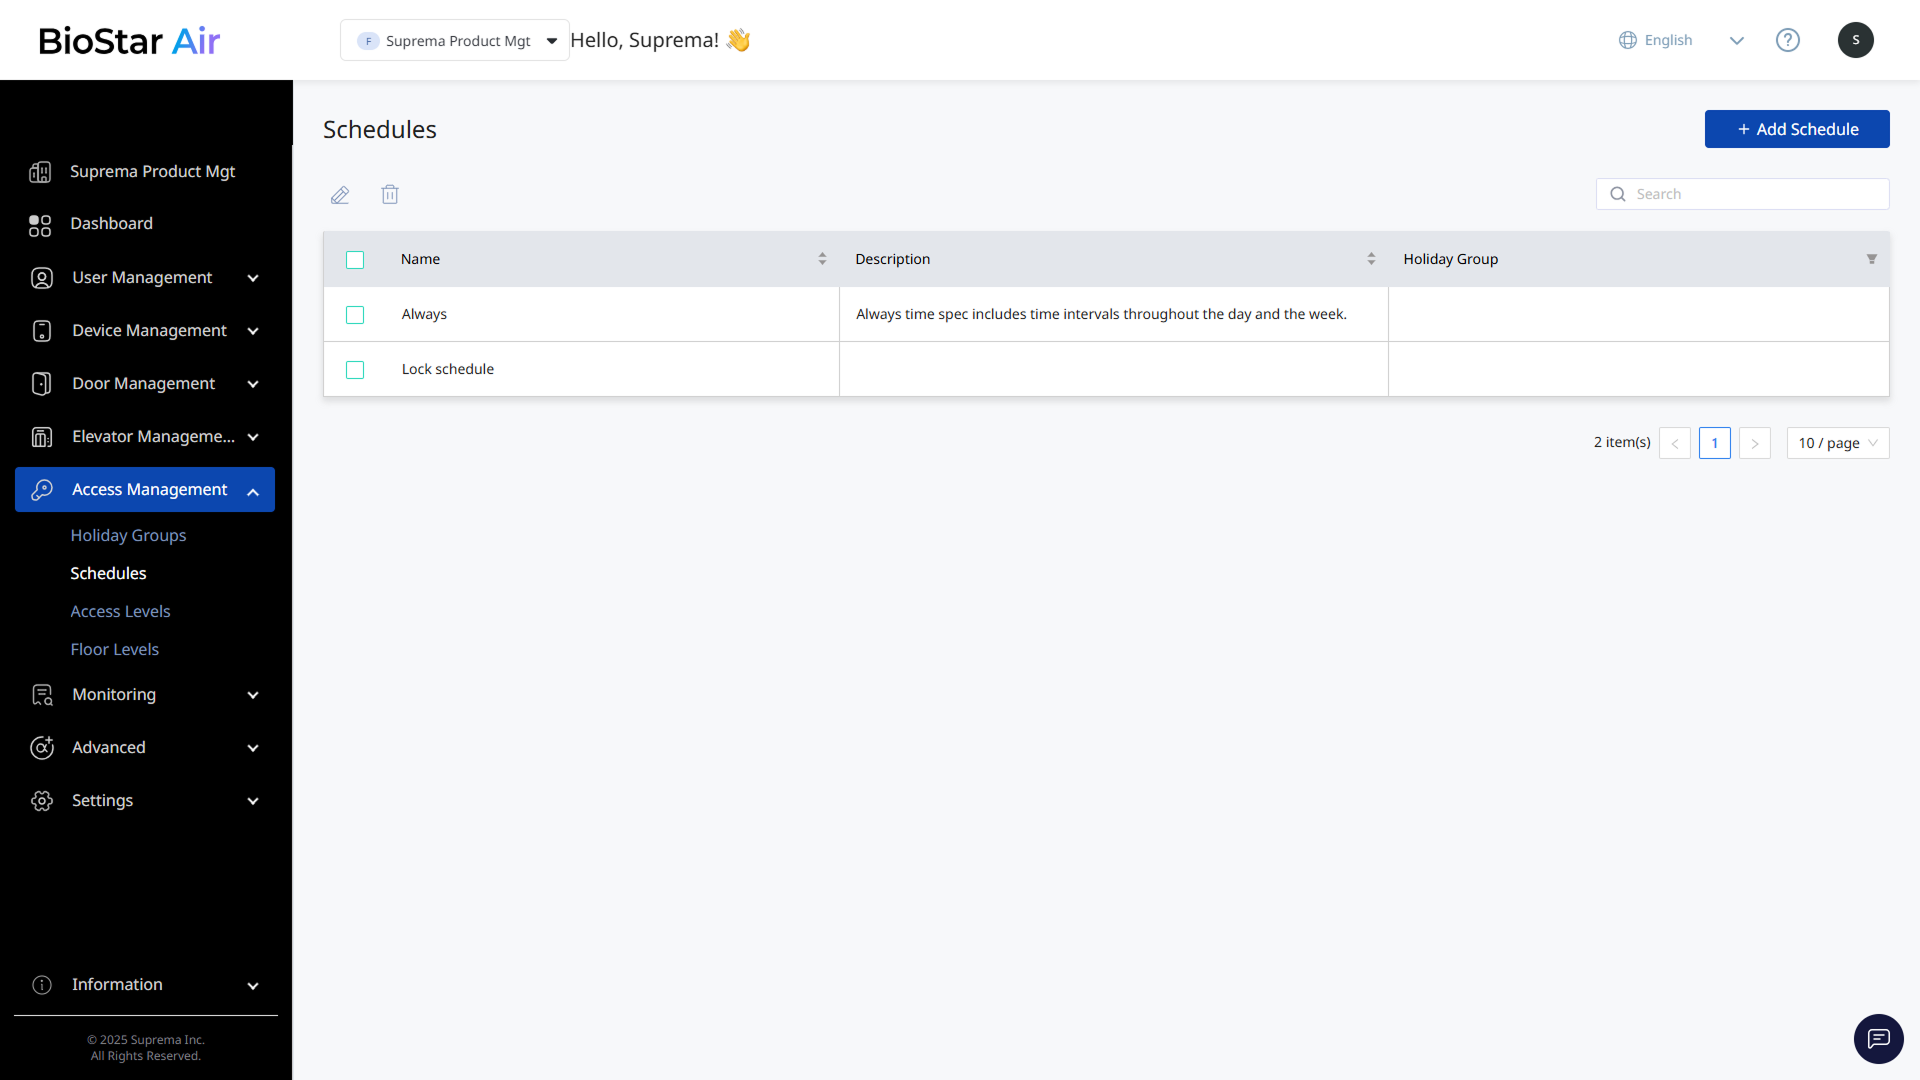
Click Access Management → Schedules in the left sidebar.
-
Click Add Schedule at the top right of the screen.
-
When the Add Schedule panel appears, enter Name and Description (optional).
-
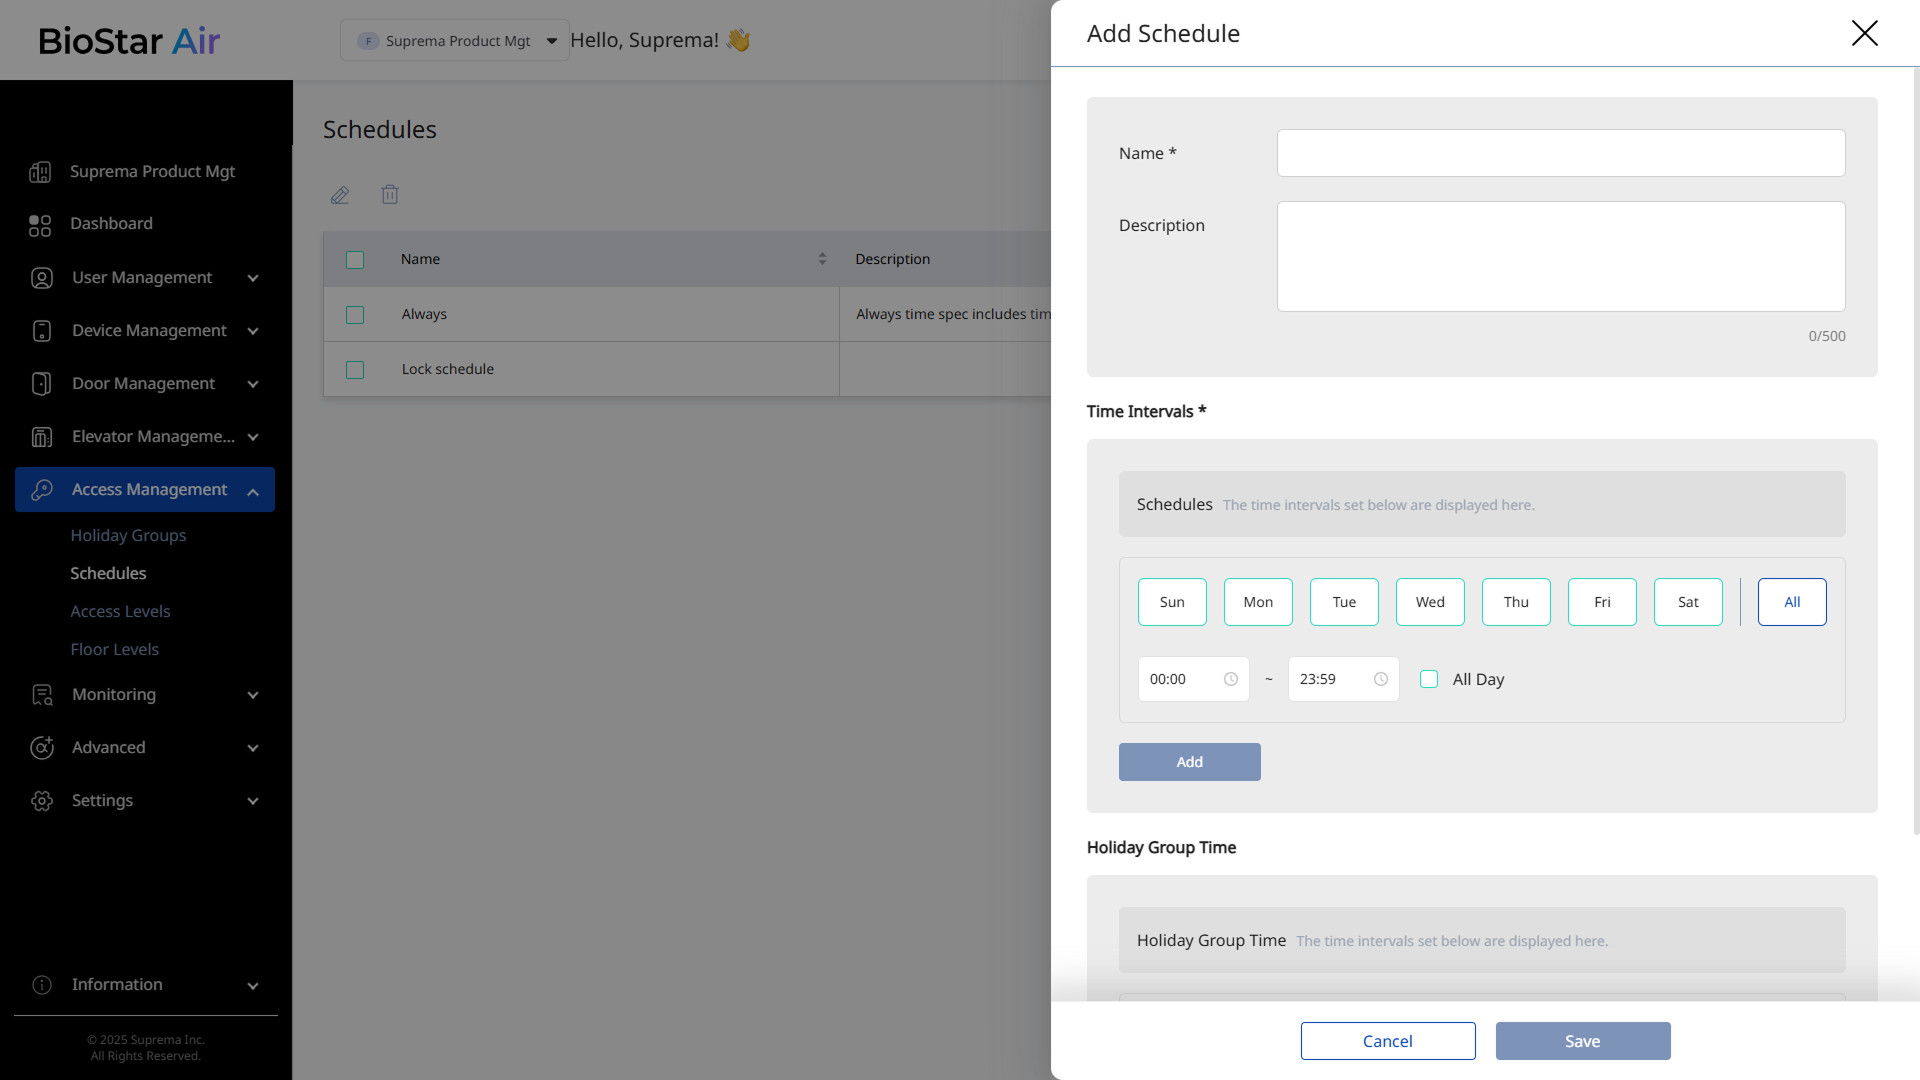
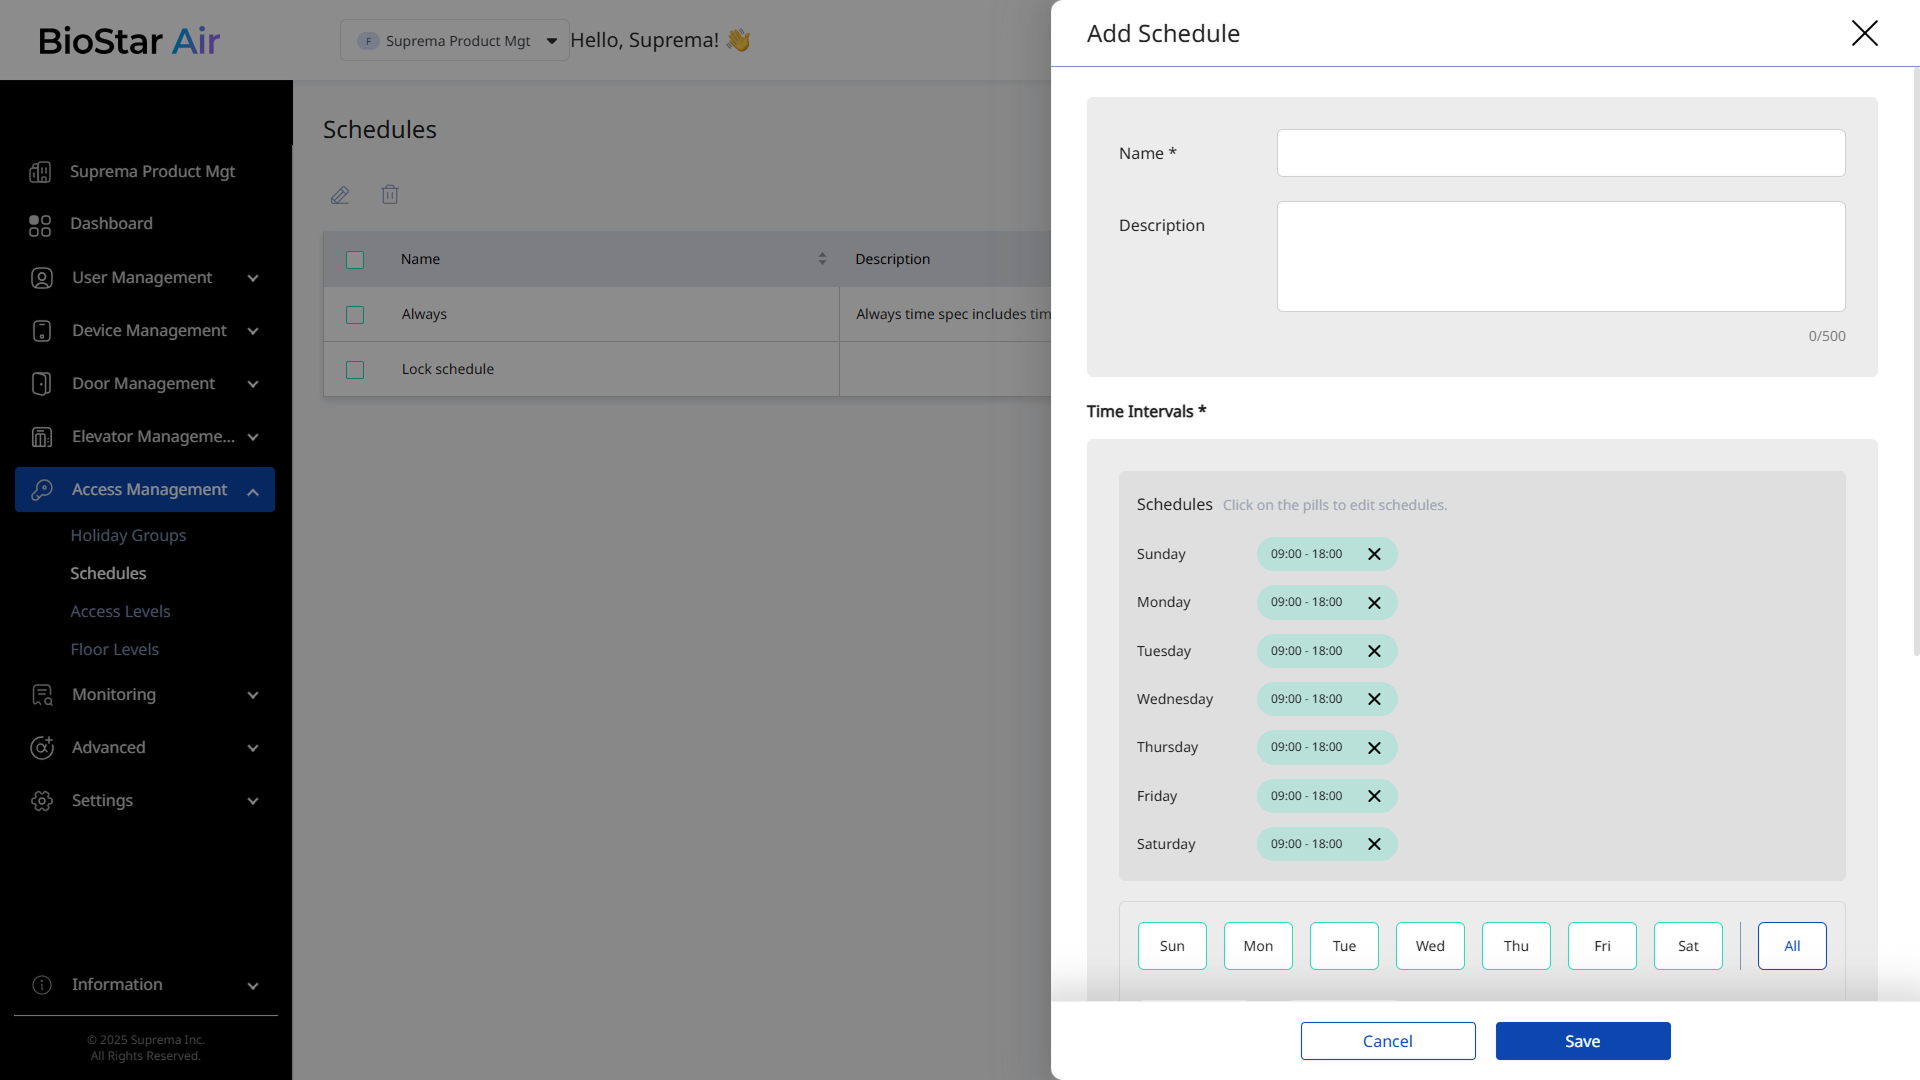
In the Time Intervals * section, select the days and times.
Select Monday to Friday and 9:00 AM to 6:00 PM to set working hours. Select Saturday and Sunday, or 6:00 PM to 9:00 AM daily, to set a schedule for non-working hours.
-
Click Add to apply the selected schedule.
-
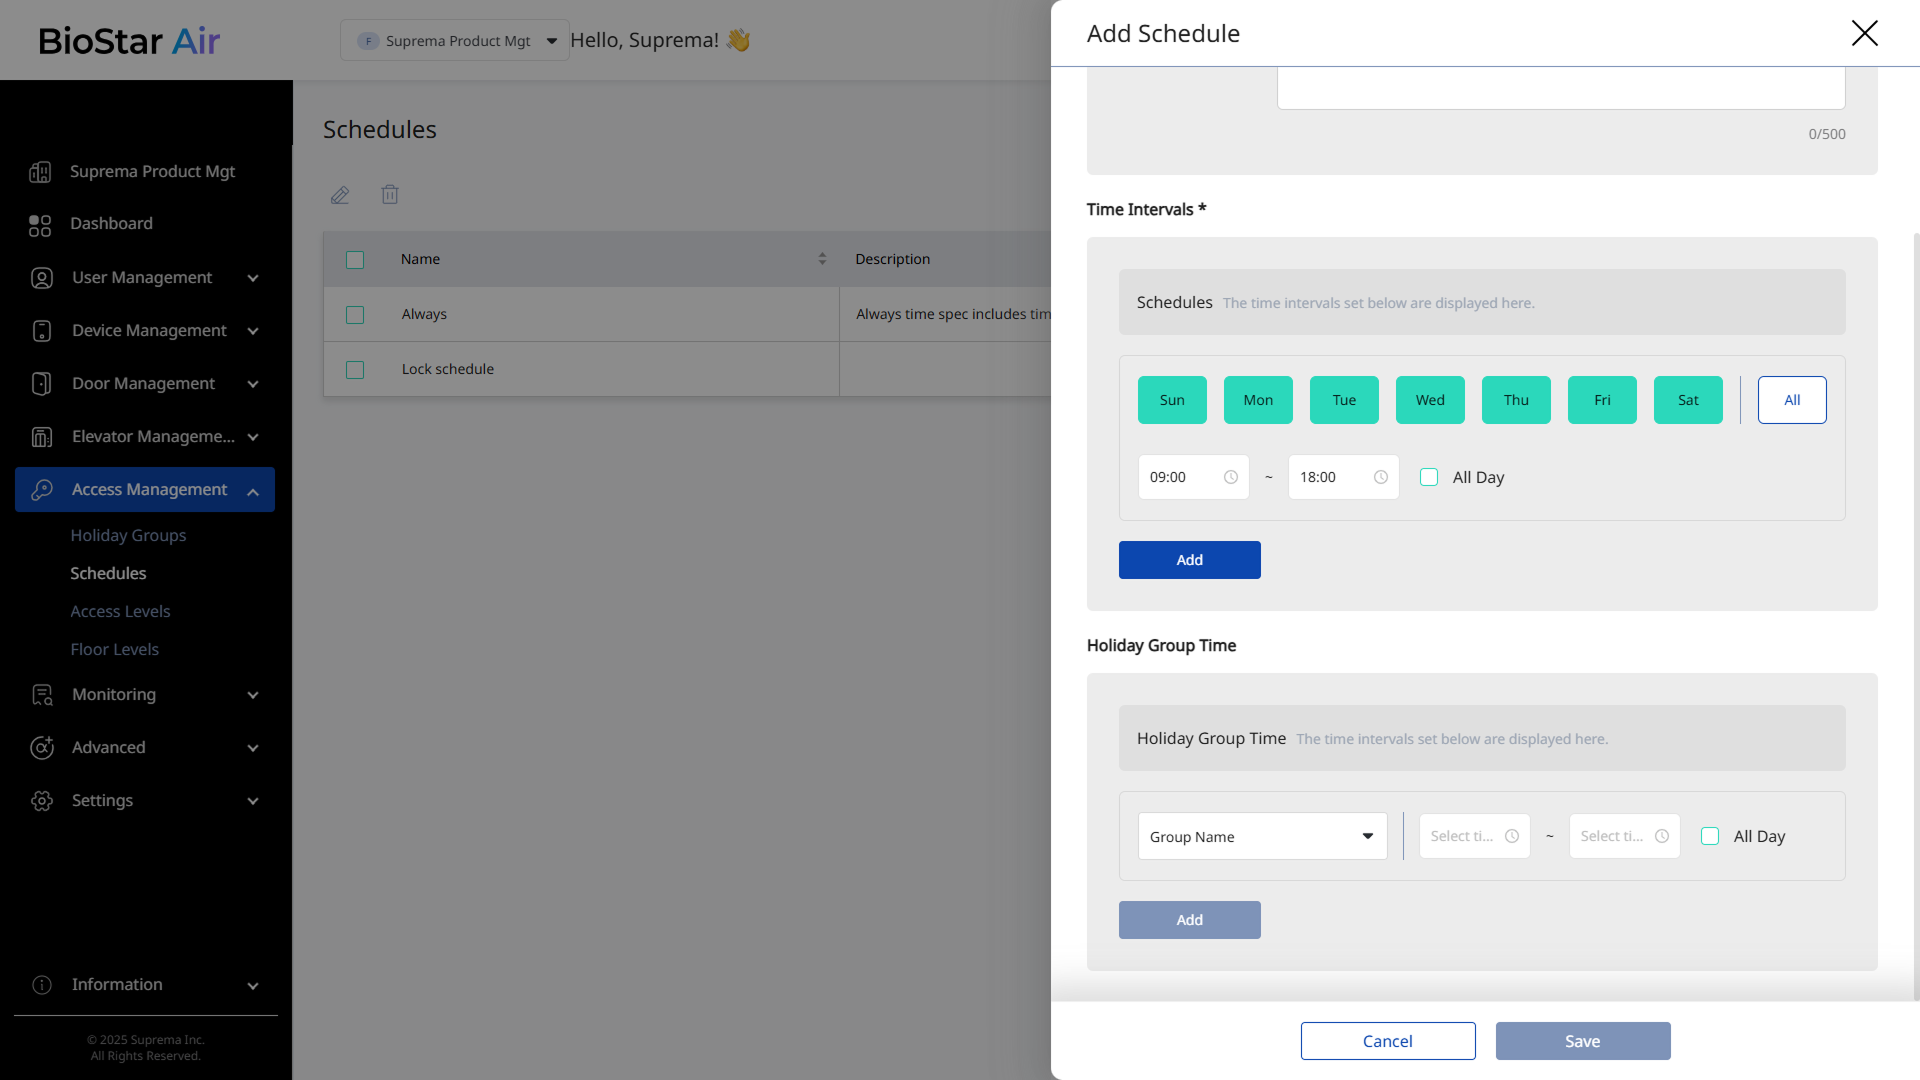
In the Holiday Group Time section, select the holiday group to apply to the schedule and set the times.
-
Click Add to apply the holiday group.
-
Click Save to add the schedule.
-
Add open schedules to allow access and locked schedules to restrict access, and apply them to doors. For more information about applying schedules to doors, see Manage Door Schedules.
-
For more information about configuring schedules to control access to each elevator floor, see Elevators.
Edit schedule
-
Click Access Management → Schedules in the left sidebar.
-
Click the schedule to edit in the list. Alternatively, select the schedule's checkbox and click at the top of the list.
-
When the Edit Schedule panel appears, update the required information or modify the schedule.
-
Click Save to save the changes.
Delete schedule
-
Click Access Management → Schedules in the left sidebar.
-
Select the checkbox of the schedule to delete in the list. Select one or more schedules.
-
Click at the top of the list.
-
When a warning message appears, click Yes.
Deleting a schedule removes it from all related sections. For example, if a schedule applied to a door or elevator is deleted, the schedule is no longer applied to that door or elevator.