Manage Door Group
By grouping doors, you can manage access control policies more efficiently. Apply consistent security policies across multiple doors by setting access levels and permissions for groups at once.
-
For more information on managing registered doors, see Manage Registered Doors.
-
For more information about access levels, see Manage Access Levels.
Add door group
-
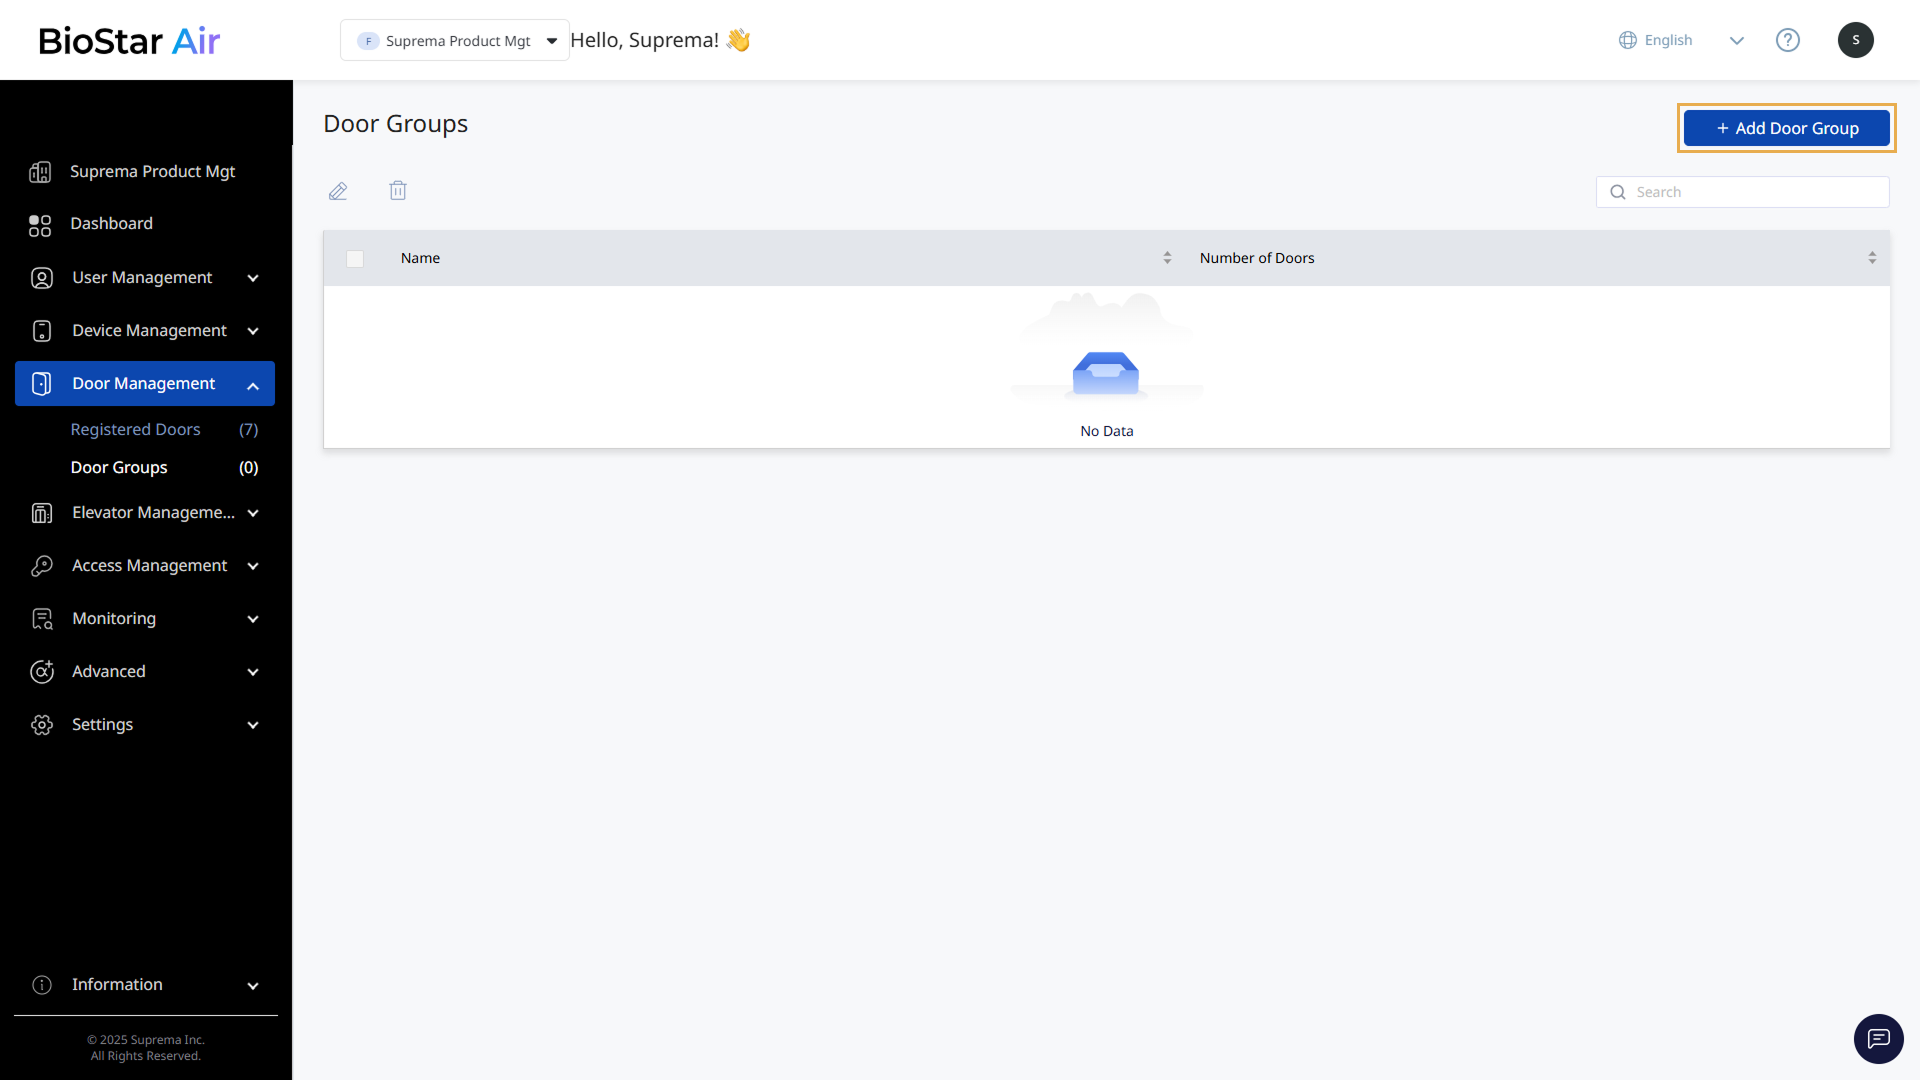
Click Door Management → Door Groups in the left sidebar.
-
Click Add Door Group at the top right of the screen.
-
When the Add Door Group window appears, enter the door group name.
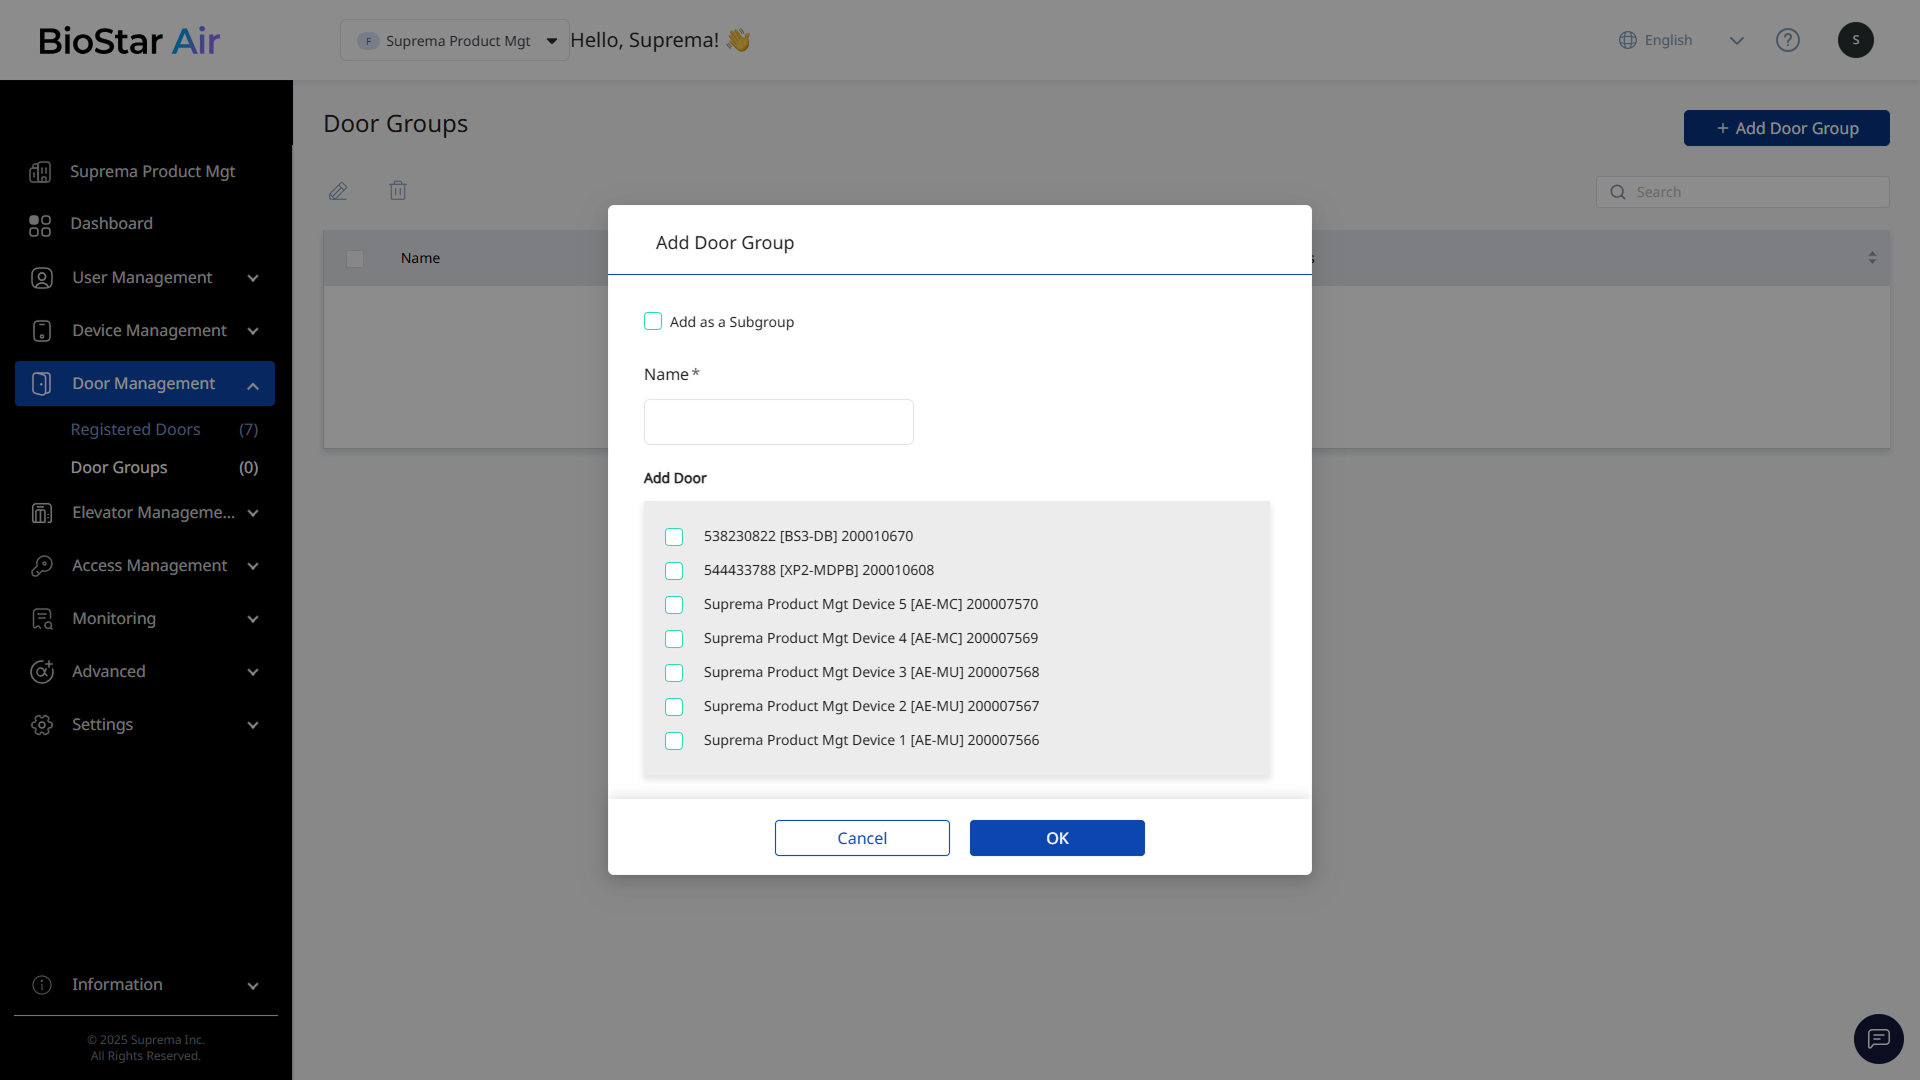
Click Add as a Subgroup and select the parent group to add the device group as a subgroup of a specific group.
-
In Add Door, select the doors to include in the group.
-
Click OK to save the door group.
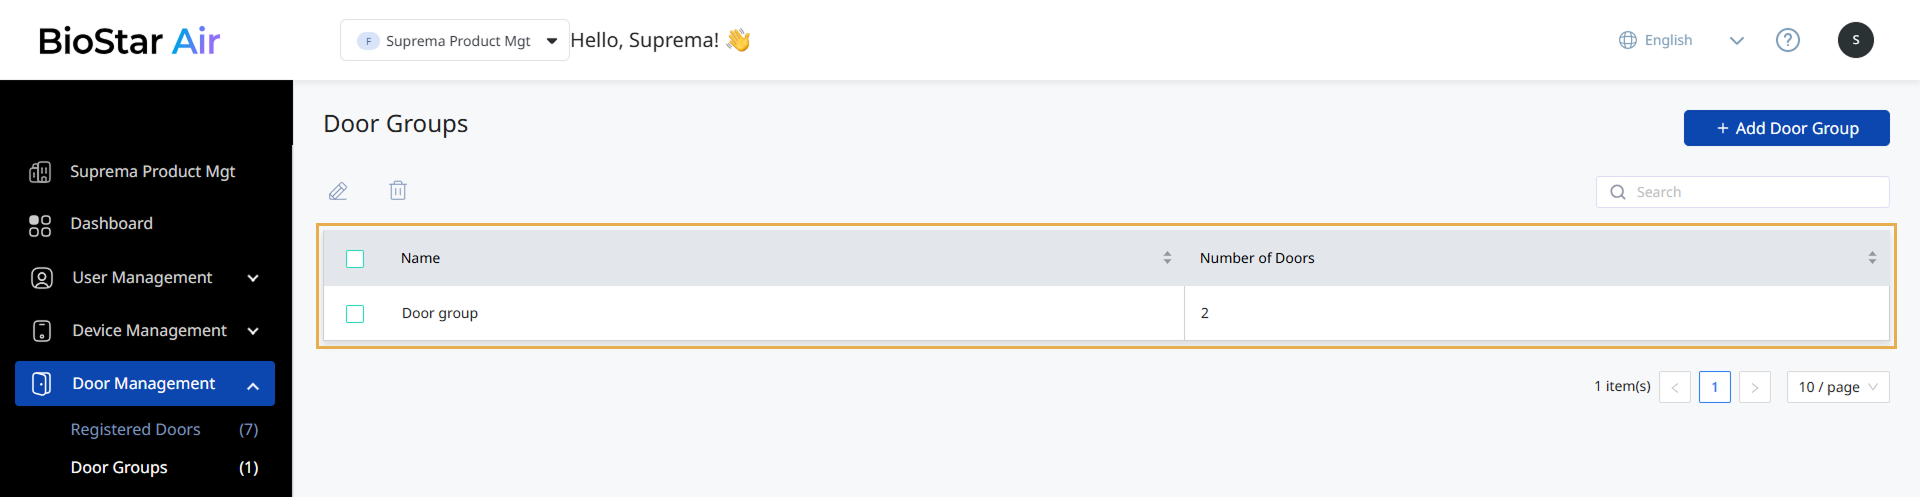
The door group list shows the newly added group and the number of doors it contains. Click a door group to view the doors it contains.
-
Doors added to a subgroup are not automatically included in the parent group.
-
Add an empty parent group without devices or doors.
Rename door group
-
Click Door Management → Door Groups in the left sidebar.
-
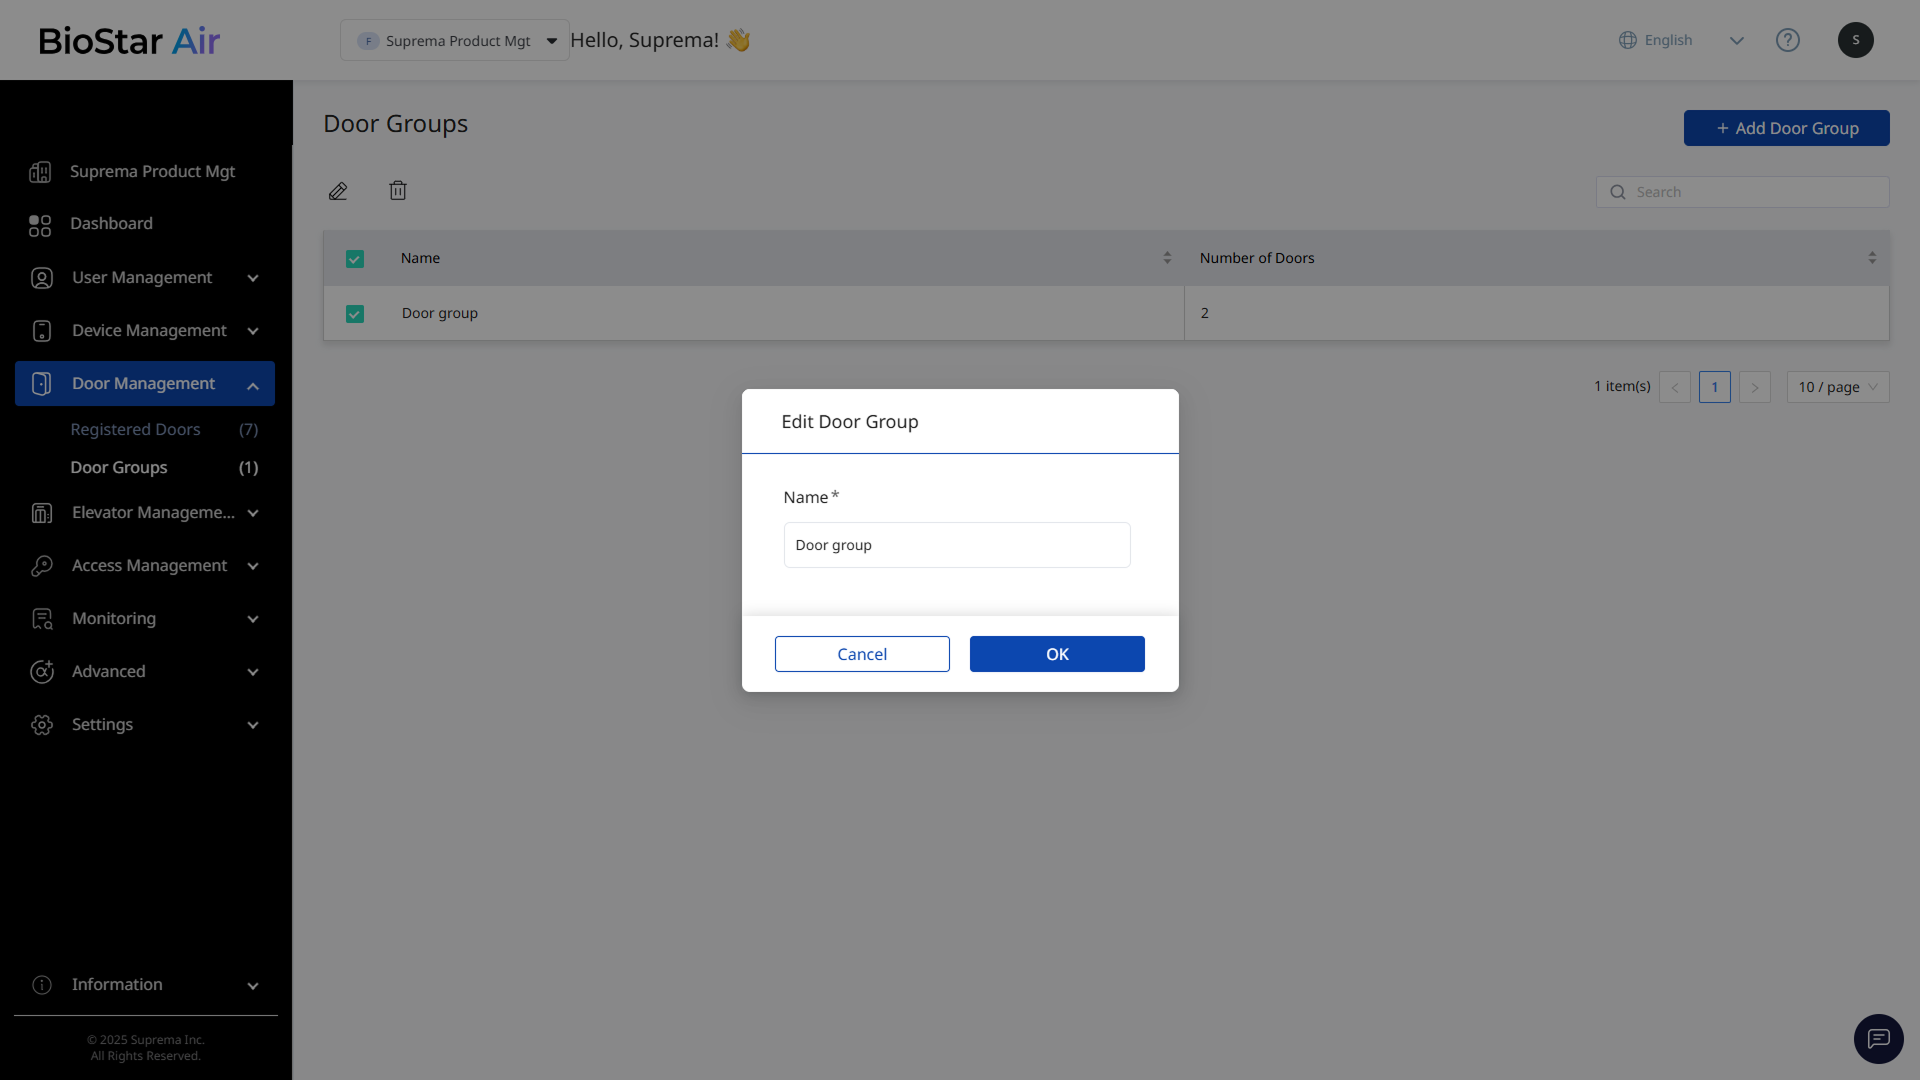
Check the checkbox for the door group you wish to rename in the list.
-
Click at the top of the door group list.
-
When the Edit Door Group window appears, enter the new group name.
-
Click OK to save the changed group name.
Delete door group
-
Click Door Management → Door Groups in the left sidebar.
-
Check the checkbox for the door group you wish to delete in the list.
-
Click at the top of the door group list.
-
When a warning message appears, click Yes.
The selected door group is removed from the list. Its subgroups are also deleted. The access doors will not be deleted even if the group is deleted.