Use Event and Audit Logs
One of the key advantages of a cloud access control platform is the ability to monitor site activity anytime, anywhere. This document explains how to monitor and analyze event and audit logs in BioStar Air.
Watch the following video for a tutorial on event and audit logs.
Event Logs
- Web
- Mobile
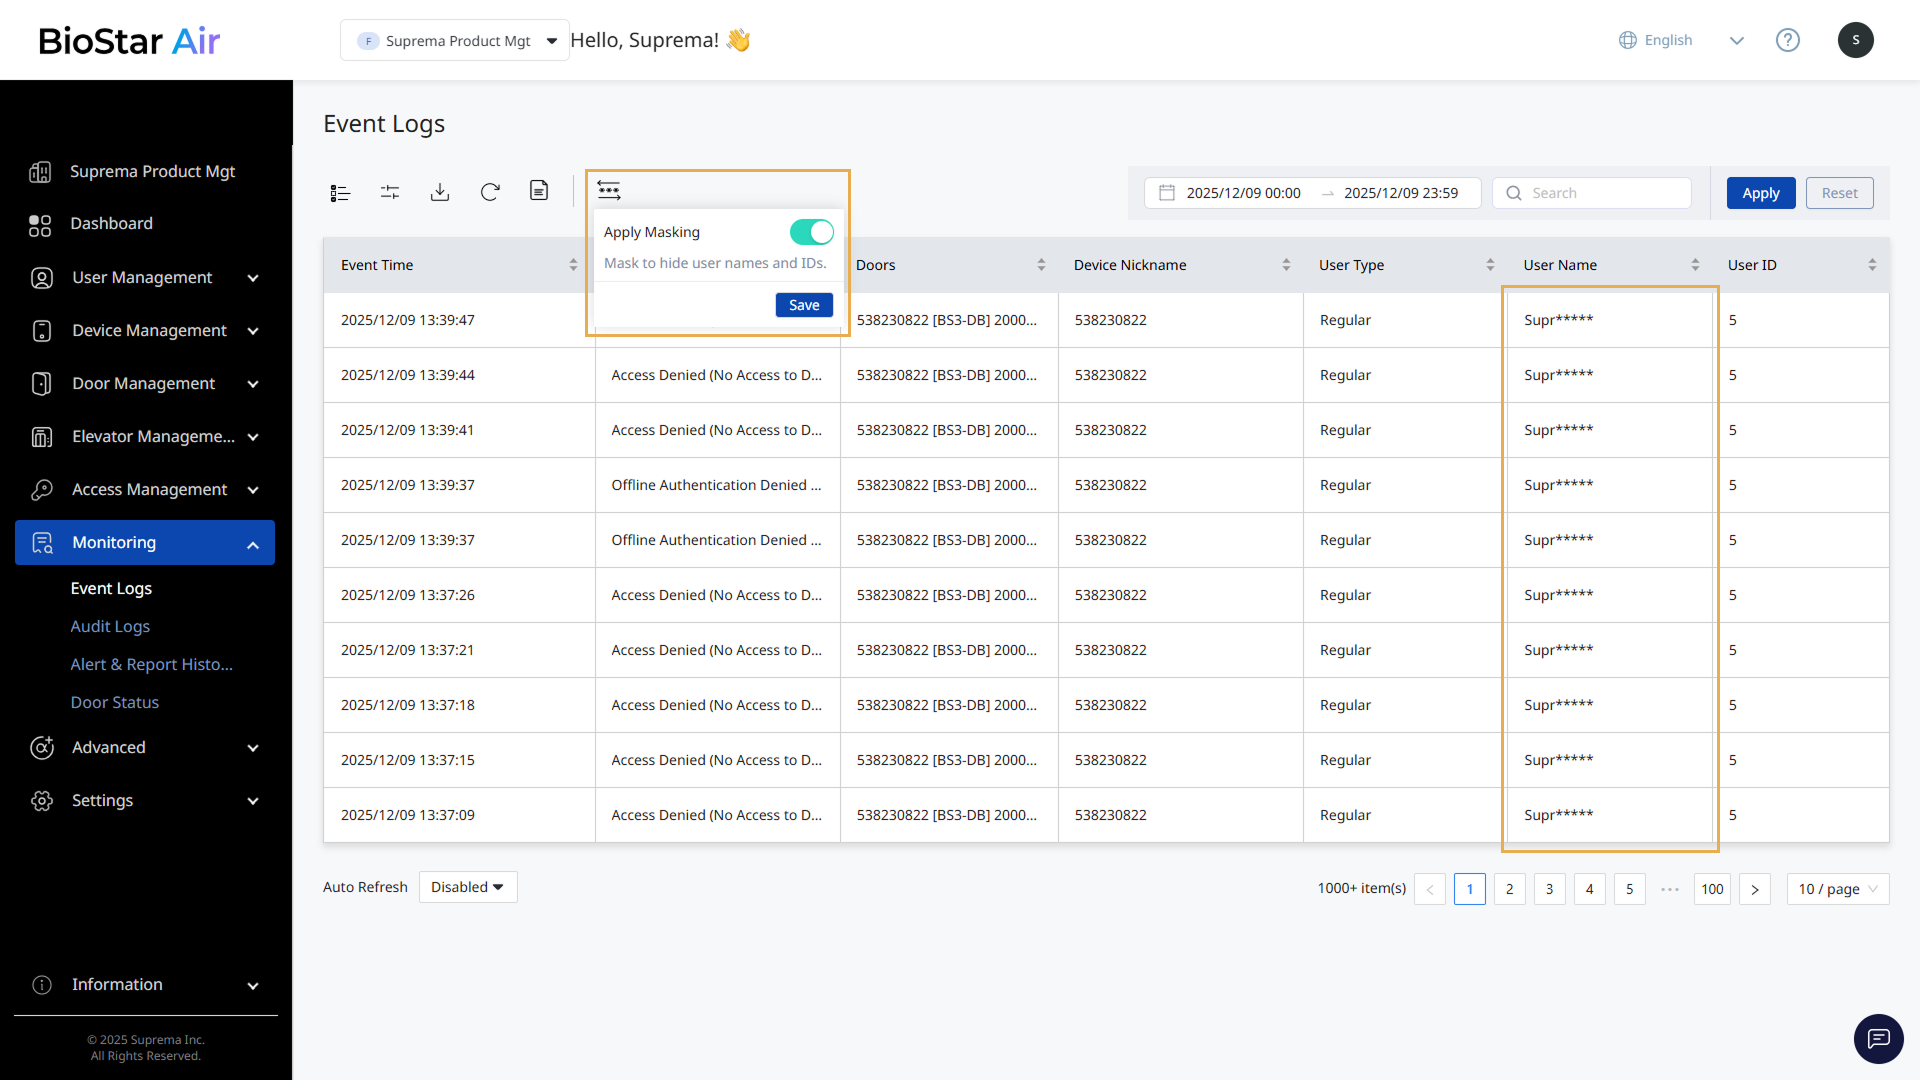
Go to Event Logs to view event logs. Click Monitoring → Event Logs in the left sidebar.
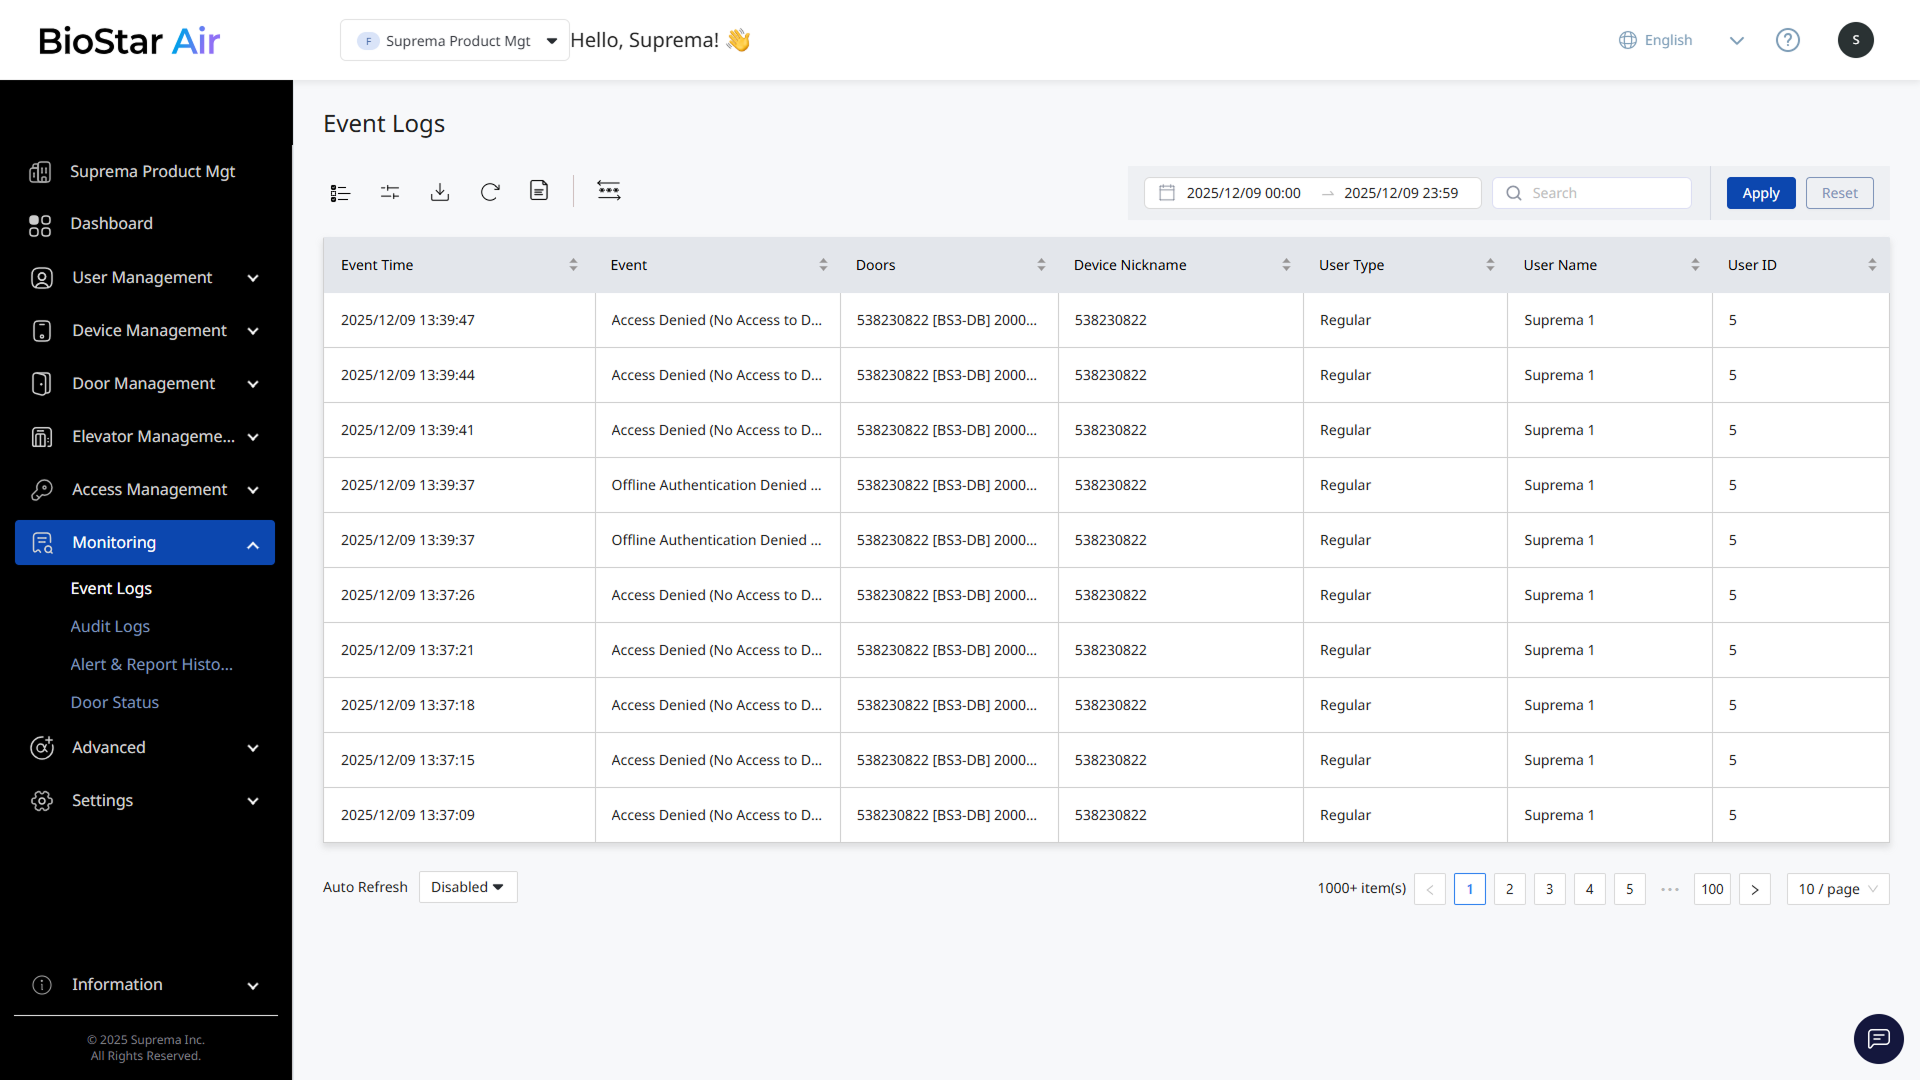
The Event Logs screen shows a table with details including event time and name, door name, device alias, user type, and user name.
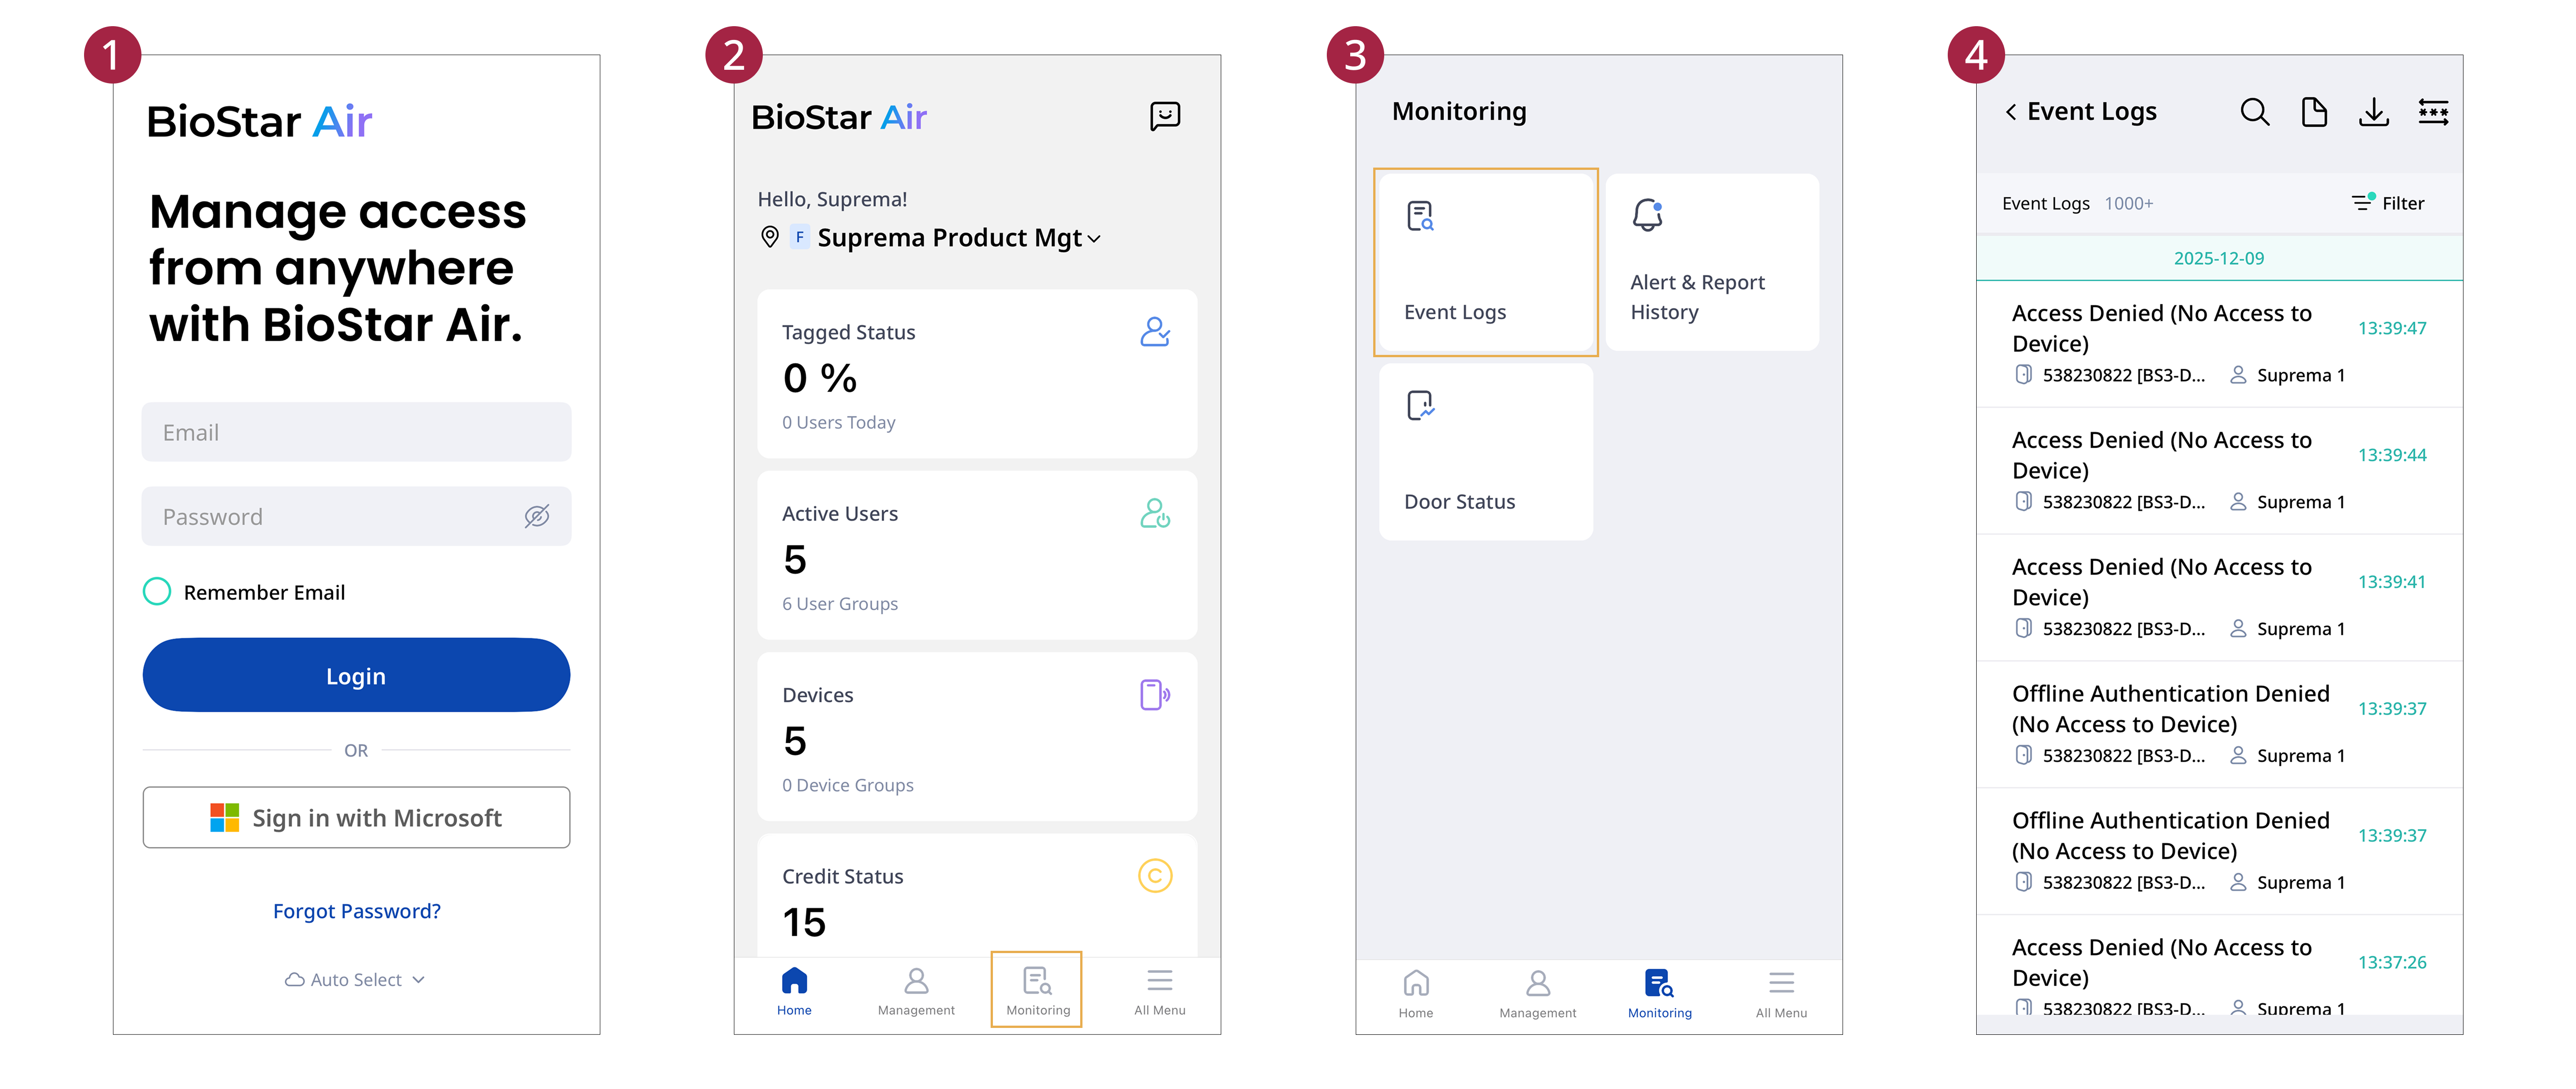
This guide explains how to check the event log in the mobile app.
-
Open the BioStar Air app on your mobile device and log in.
-
Tap Monitoring at the bottom of the home screen.
-
Tap the Event Logs card.
-
Scroll through the event log list to view its contents.
-
Filters: Filter event logs.
-
: Search by specific keywords. Enter one of the following: RF card ID, user ID, email, or name.
-
: Generate reports. For more information on report creation, refer to #generatingReports.
-
: Download reports as CSV or PDF files.
-
: Apply personal data masking.
Audit Logs
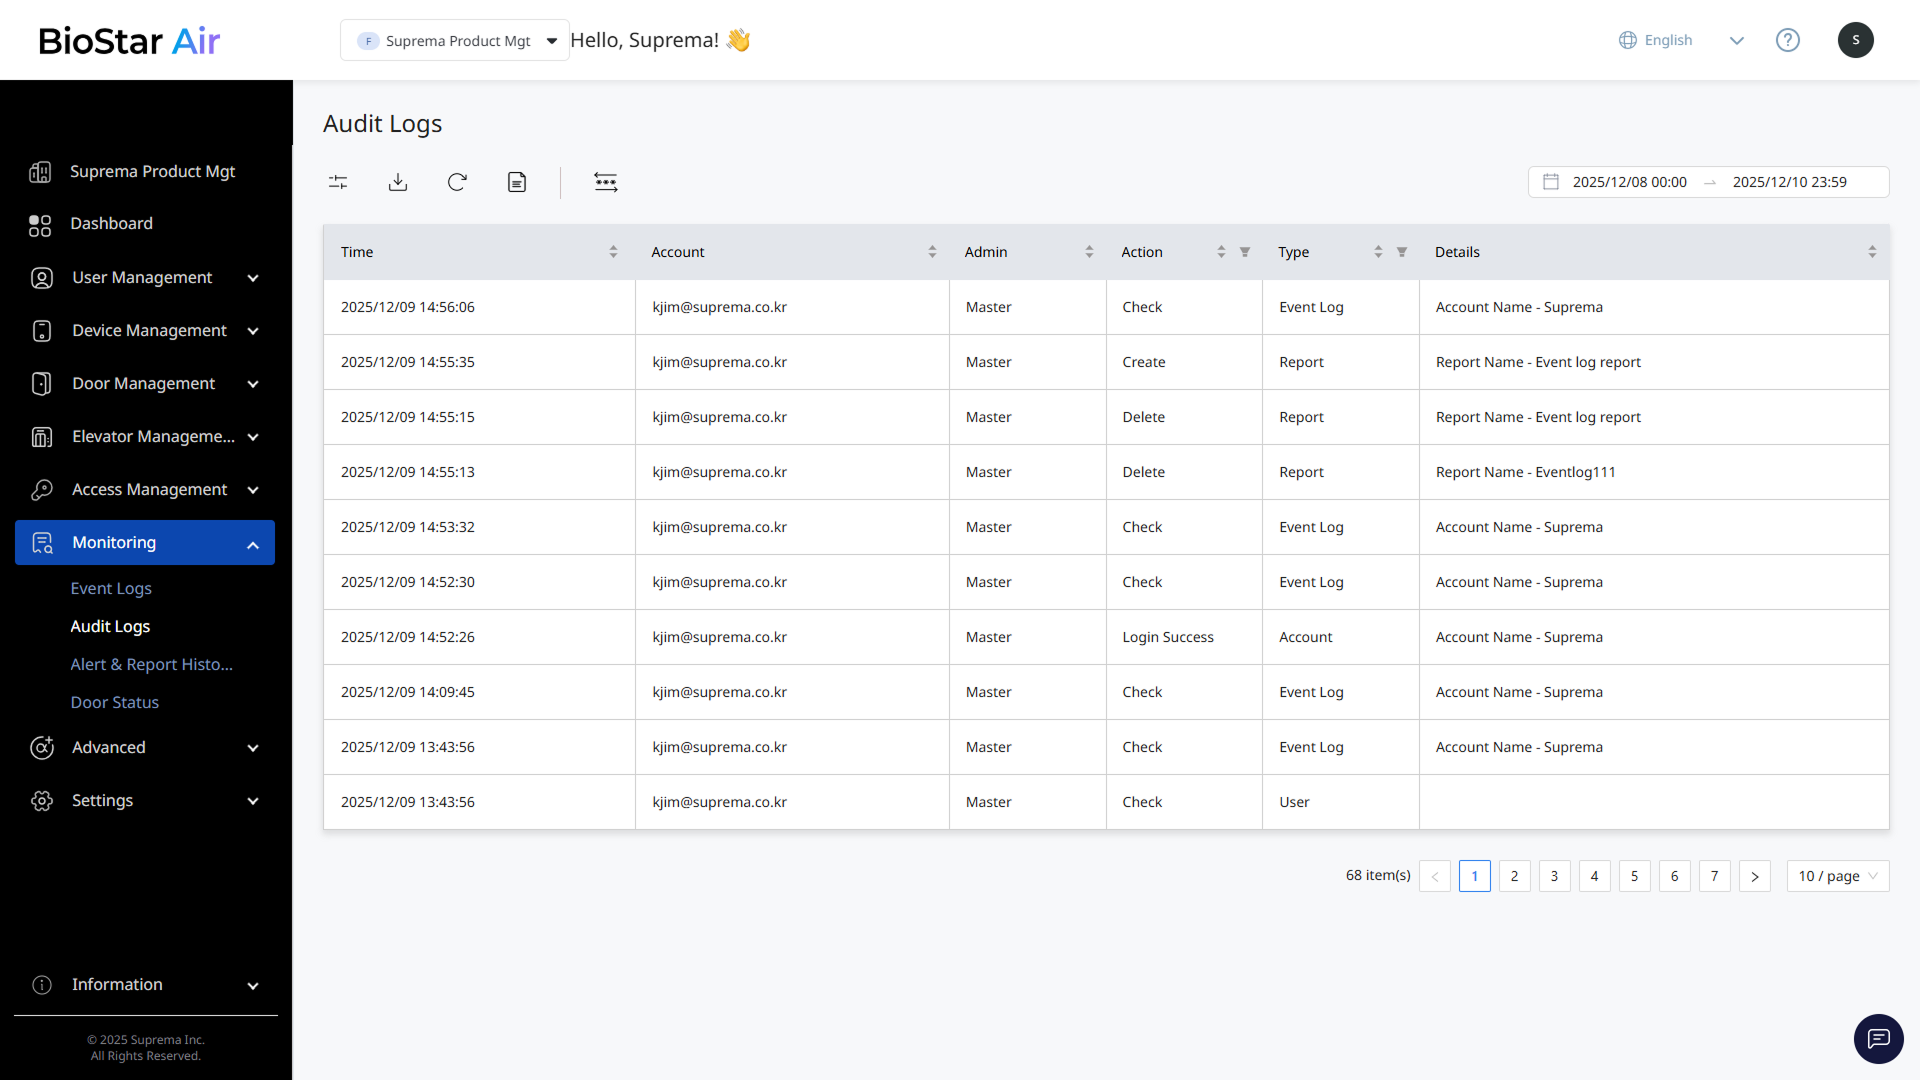
Go to Audit Logs to view audit logs. Click Monitoring → Audit Logs in the left sidebar. The Audit Logs screen displays logs that track administrator actions. The audit log table includes information such as operation time, email address, admin privilege, operation type, menu path, and operation details.
Sort and manage logs
Table Customization
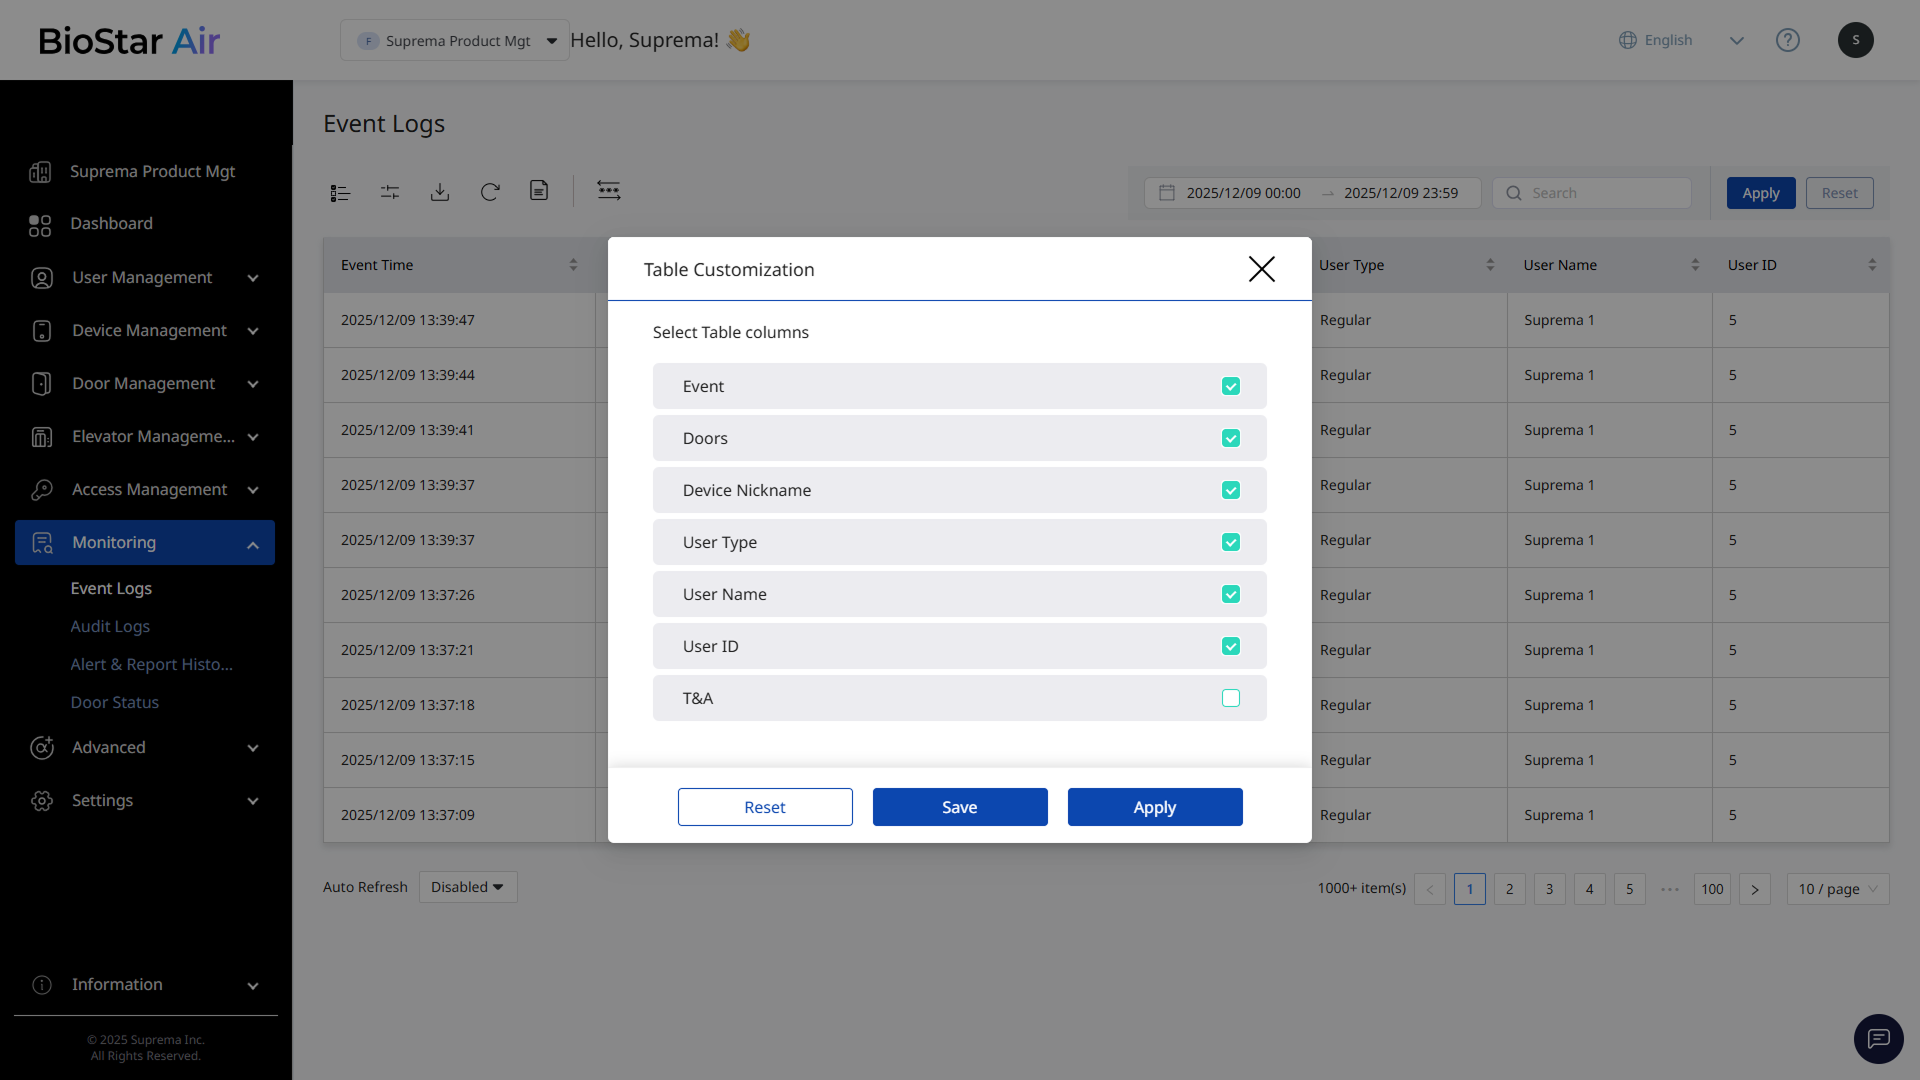
Customize table columns to show or hide information. Reorder columns to place frequently used ones at the front. Click the button at the top of the event log list. The Table Customization window appears.
-
Select or clear the checkboxes for columns to show or hide.
-
To reorder columns, click and drag a column to the desired position.
-
Click Save to save the Table Customization settings.
-
Click Apply to apply Table Customization to the log list without saving.
-
Click Reset to cancel the changes in Table Customization and restore the initial state.
-
When you click Save, the settings remain even after navigating to another menu. When you click Apply, the changes apply only to the current list and revert after you leave the page.
-
Audit Logs does not support the Table Customization feature.
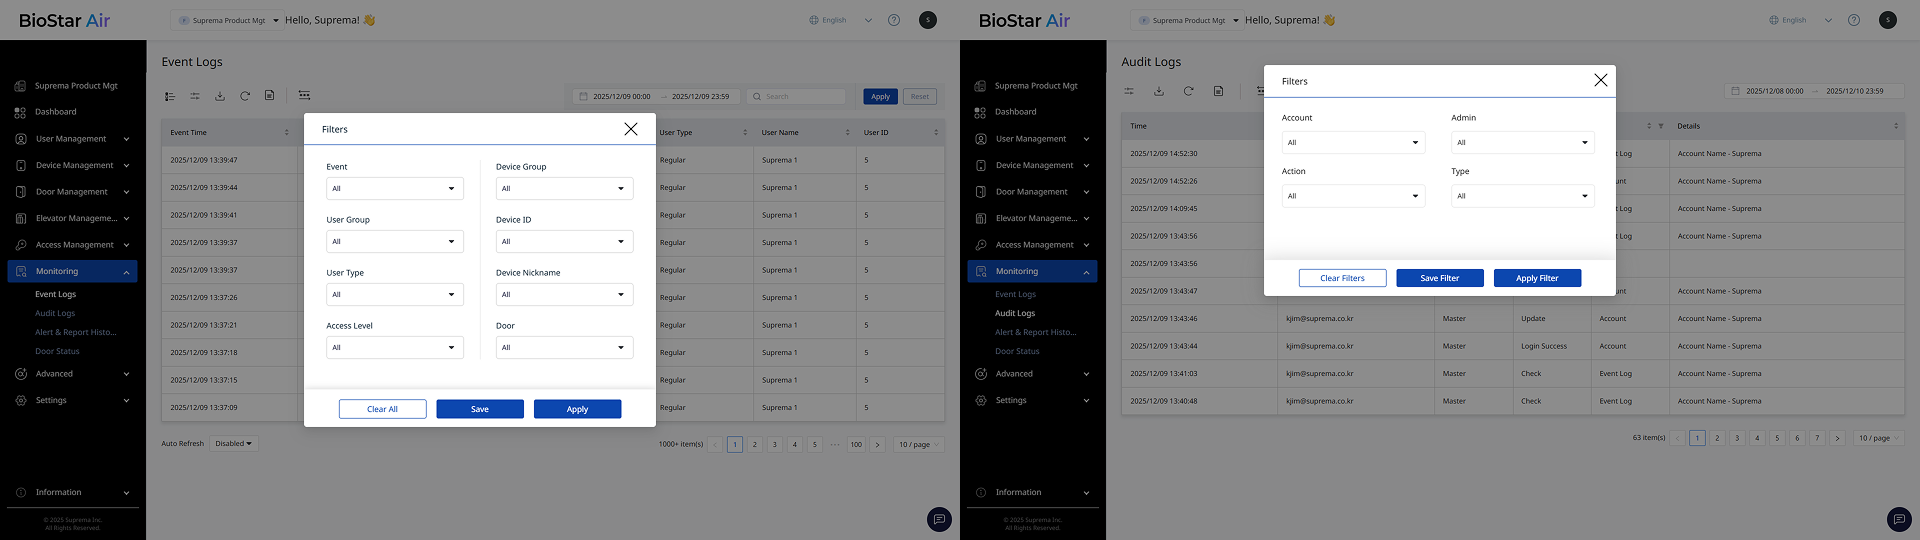
Filter logs
Filter logs to quickly find the information you need. Click at the top of the log list. When the Filters window appears, select the desired value for each item.
-
Click Save or Save Filter to save the settings so they remain after navigating to another menu. Click Apply or Apply Filter to apply the changes only to the current list; they will revert when you navigate away.
-
Click Reset or Clear Filters to cancel the changes and return to the initial state.
Configure reports
Generate reports for events that occurred during a specific period by filtering log data.
-
Click the button at the top of the log list.
-
When the Report Settings window appears, enter a report name.
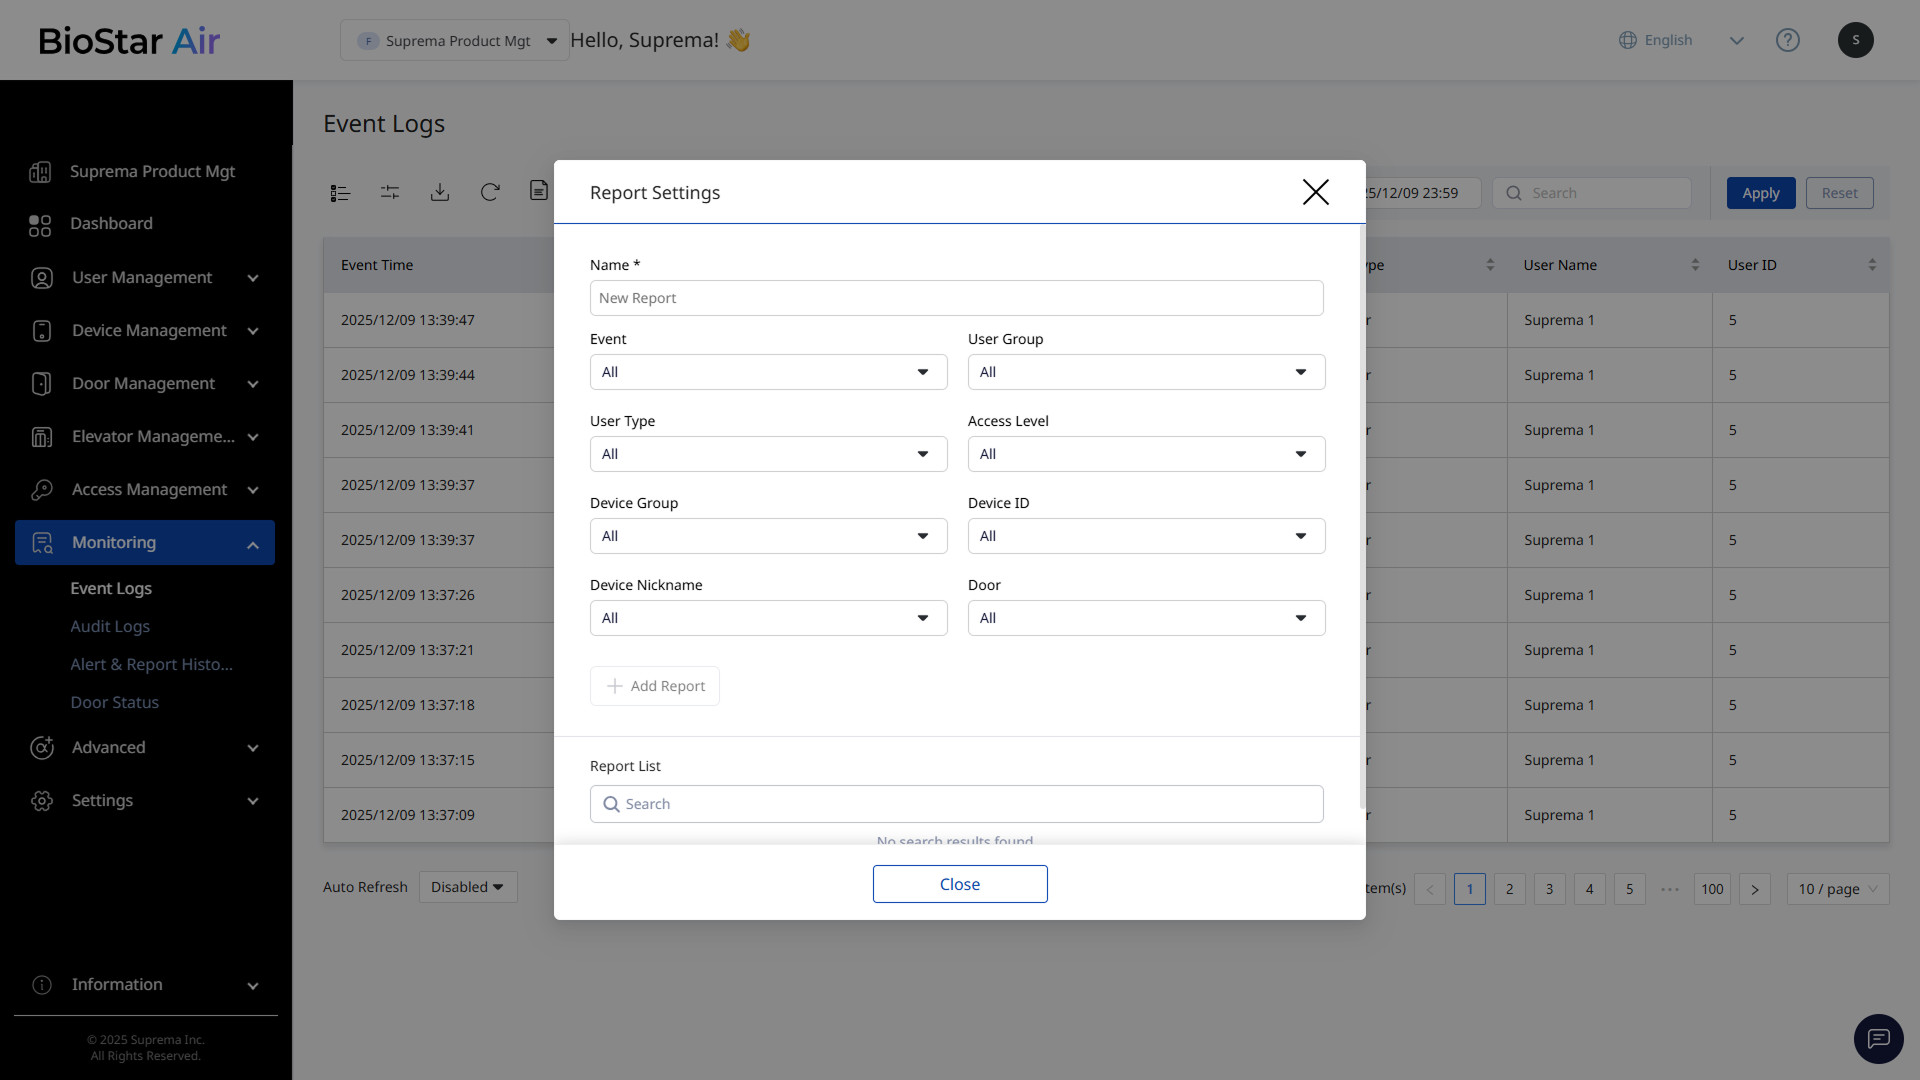
The image above is an example screen and may differ from the actual screen. -
Select the items to include in the report.
-
Click Add Report to save the configured report.
-
A report is created with the name set in Report List.
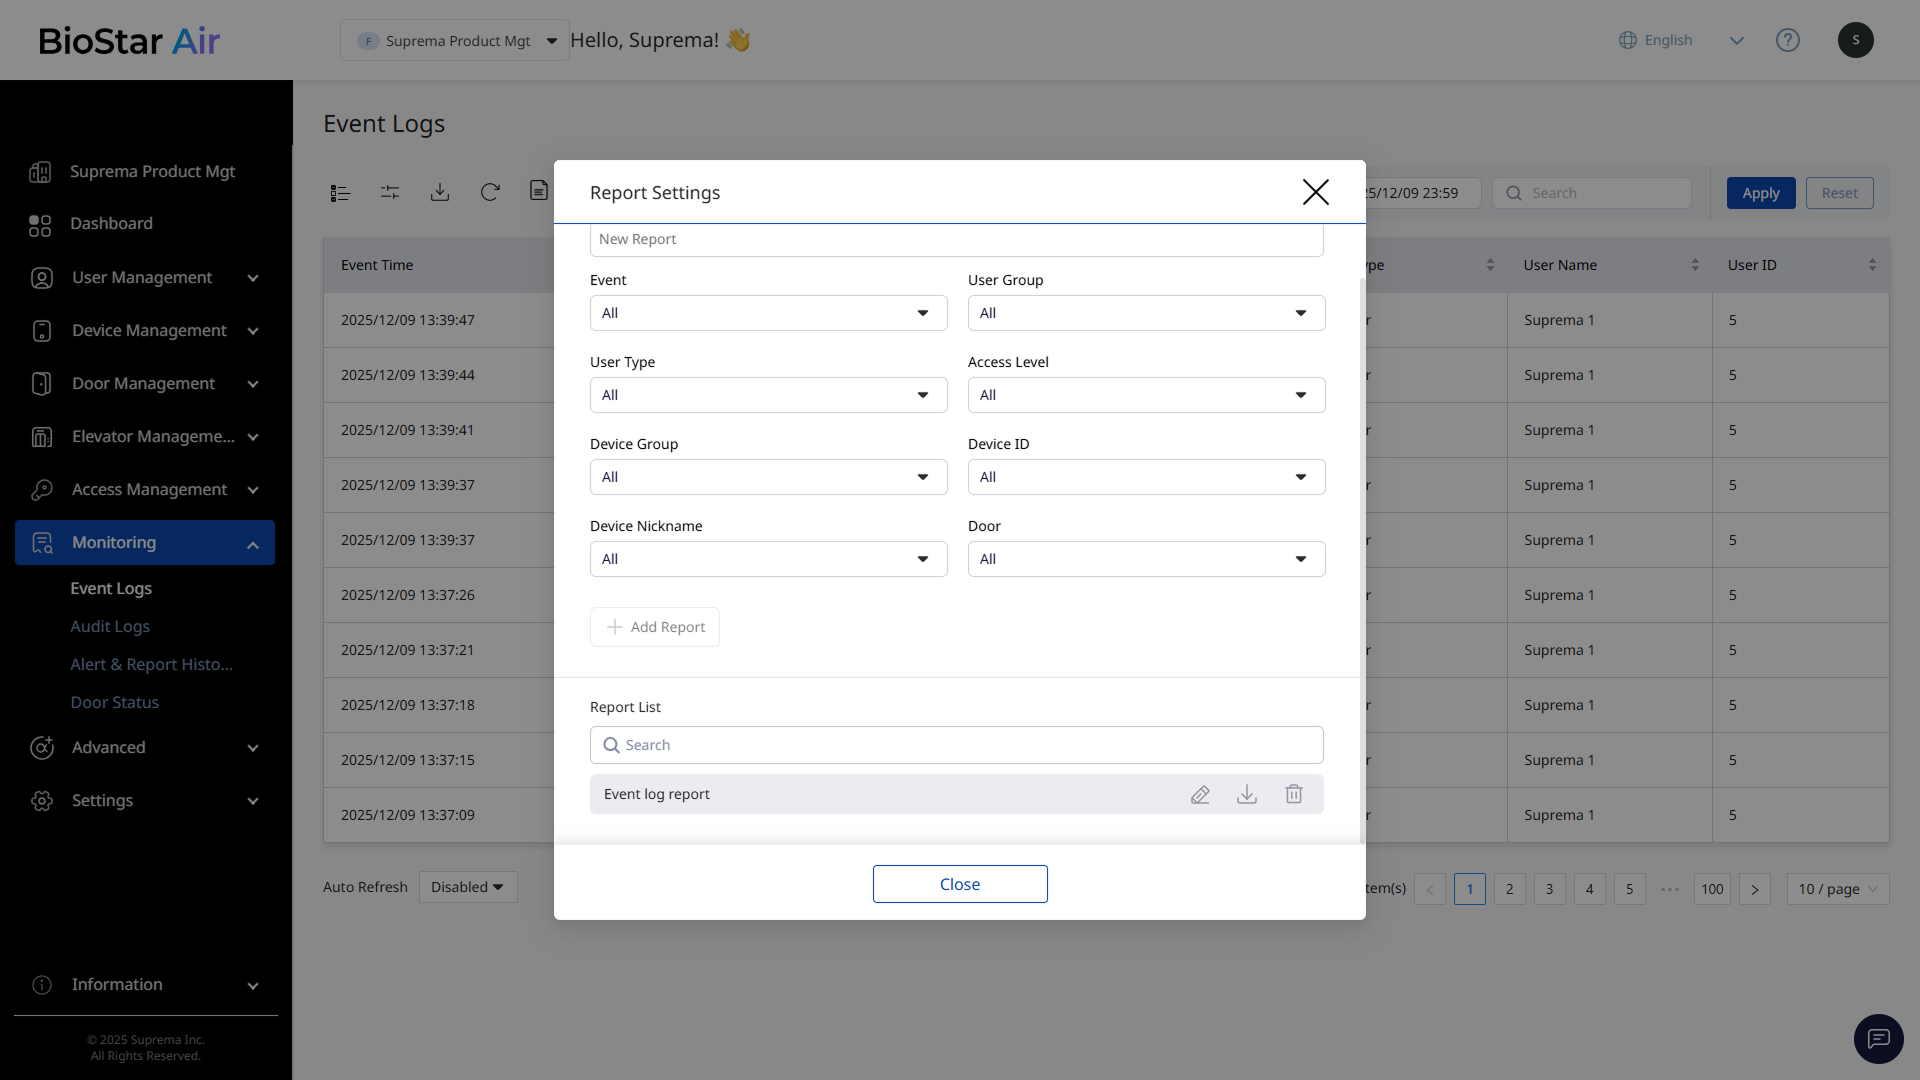
The image above is an example screen and may differ from the actual screen. -
To download the generated report, click the button next to the report name.
-
When the Download Report window appears, select the period to query events and click Download Report.
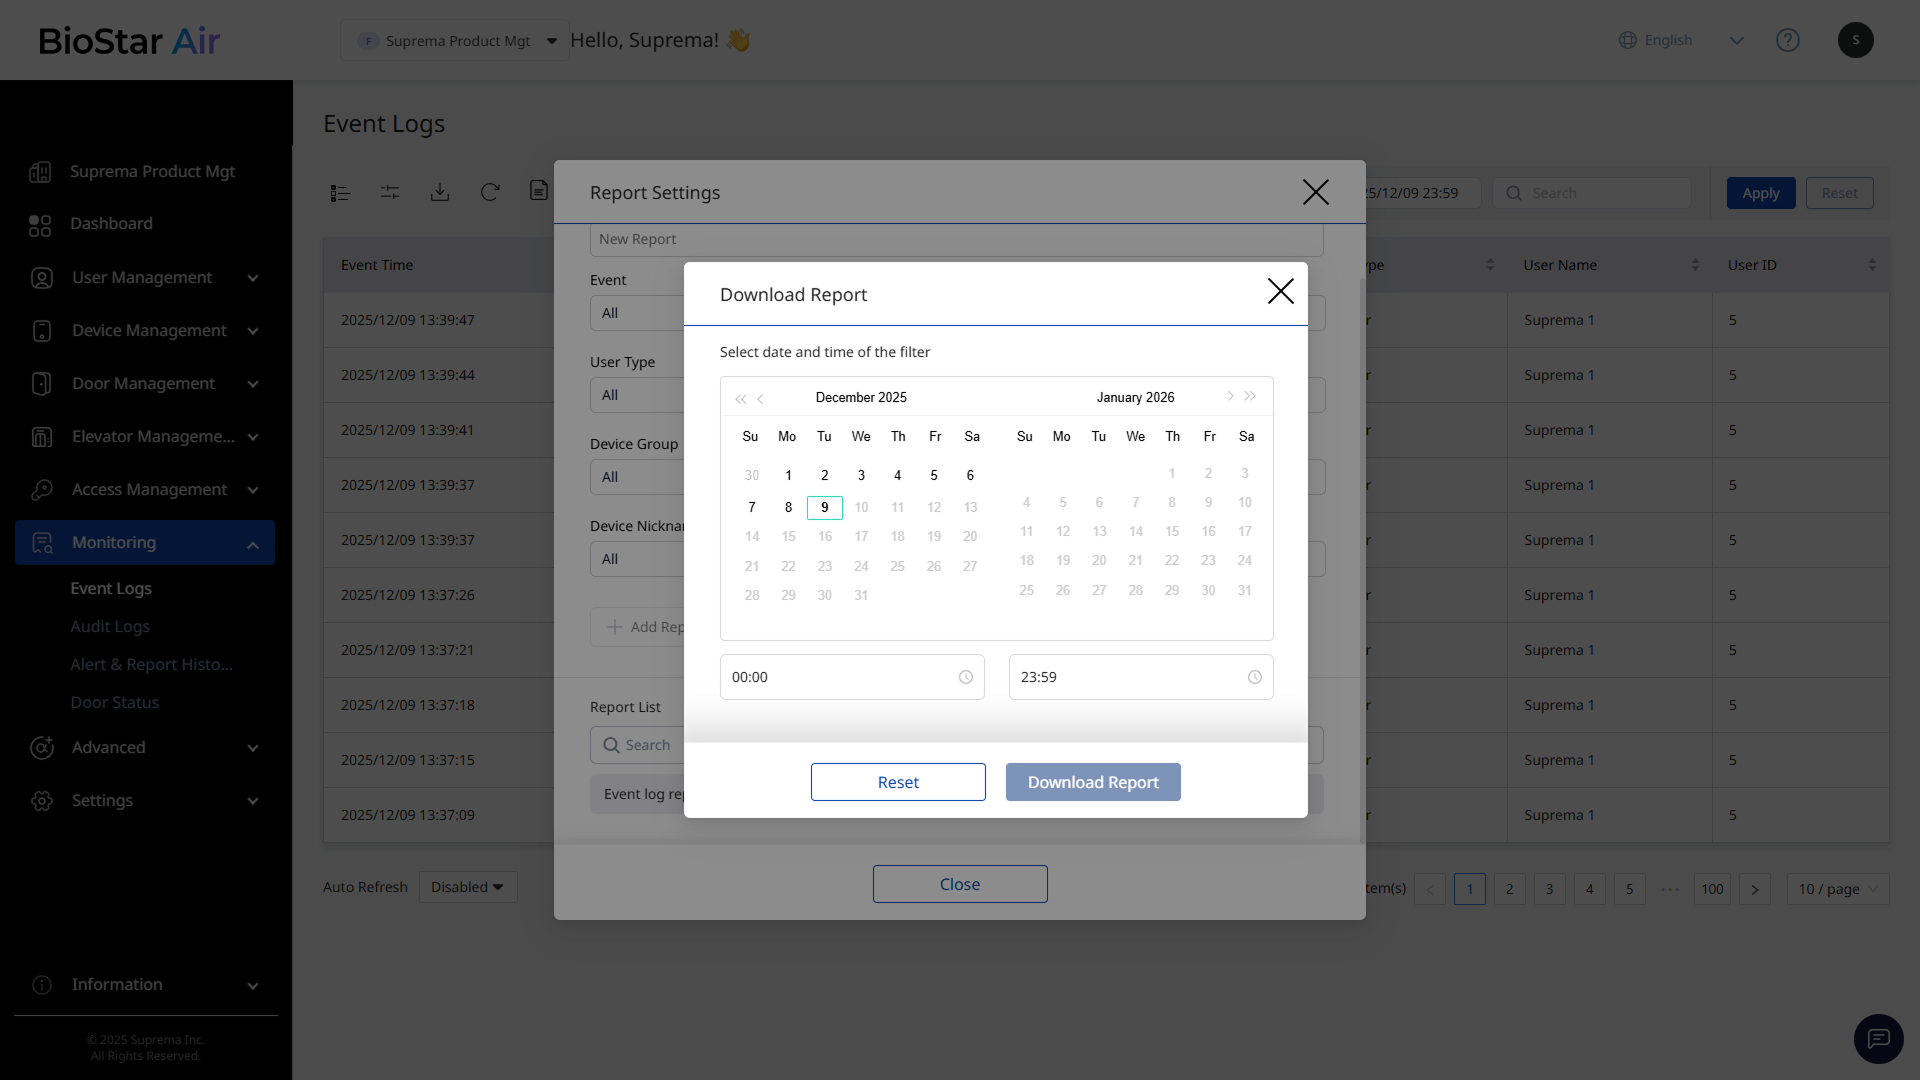
The image above is an example screen and may differ from the actual screen.
A download link is sent to the administrator's email.
Report List lets you search for, edit, download, or delete the reports created.
Mask personal data
Mask personal data in logs to protect sensitive information. When personal data masking is enabled, information such as user names, email addresses, and phone numbers is partially hidden.
To enable personal data masking, click the button at the top of the log list. In the pop-up menu, enable Apply Masking and click Save.
Use the toolbar
Use the toolbar at the top of the log list to manage logs more efficiently.
-
To sort logs by date, select a date and time range, then click Apply. Click Reset to reset the date.
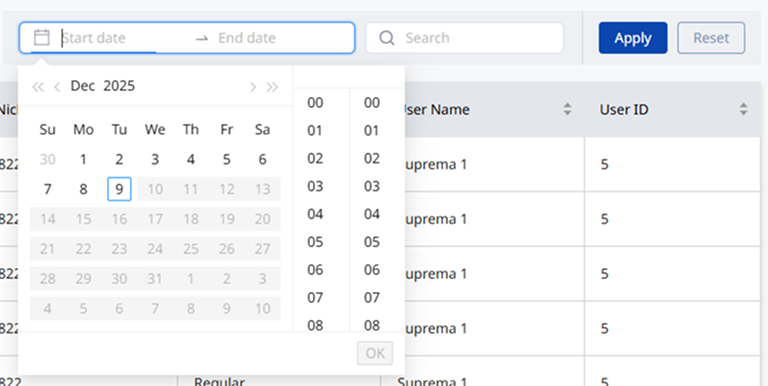
Audit Logs automatically filters logs when you select a start and end date.
-
In the Search input field, enter specific keywords to search logs. Enter one of the following: RF card ID, user ID, email, or name.
Audit Logs does not support the search function.
-
Click to save logs as a CSV or PDF file.
-
Click at the top of the list to refresh logs.
-
To refresh at a specific interval, select 5 seconds or 1 minute in Auto Refresh at the bottom left of the list.
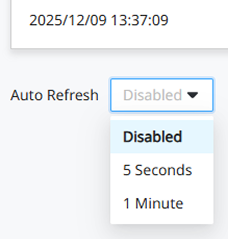
Audit Logs does not support the refresh function.