Advanced Settings
Configure advanced options to optimize BioStar Air for your organization's work environment. Set the time zone and daylight saving time, enable time and attendance, and adjust mobile authentication methods and how event logs are displayed.
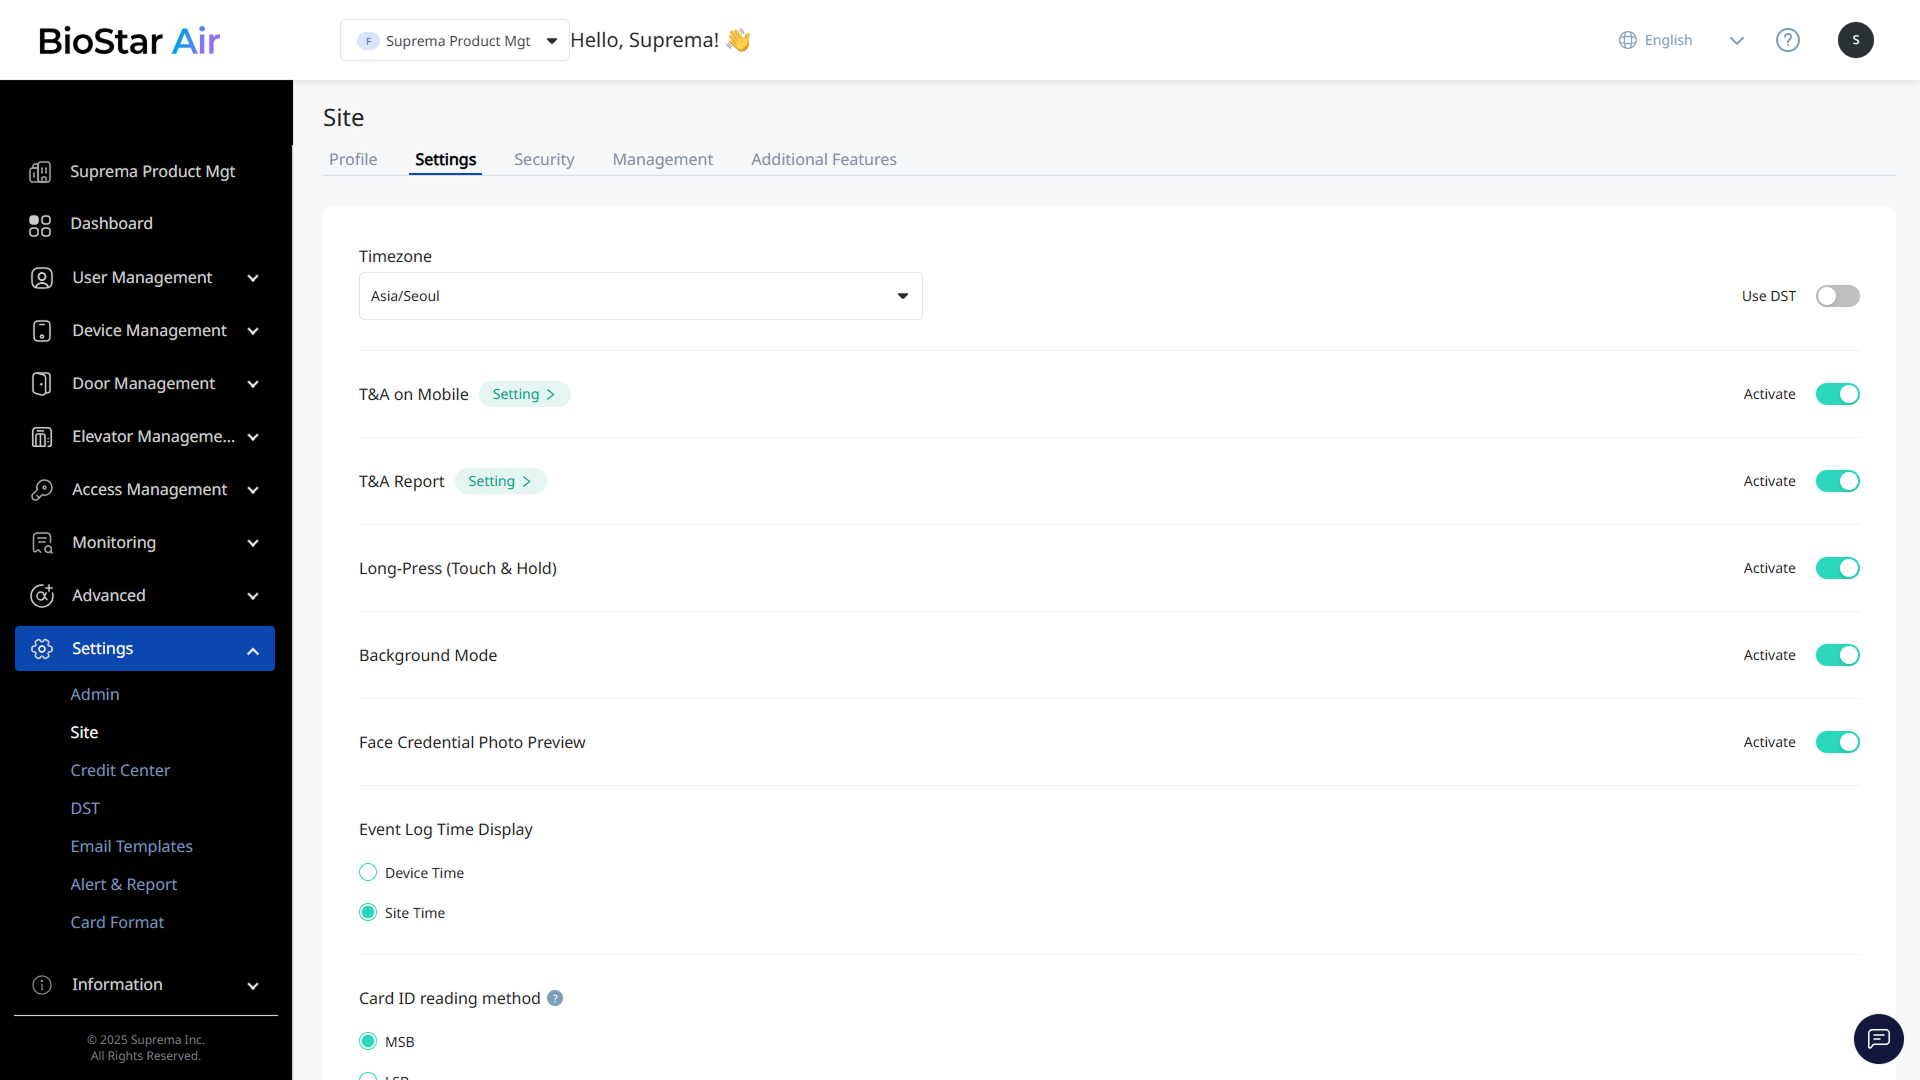
Click Settings → Site in the left sidebar. Use the Settings tab to configure site settings.
-
Timezone: Change the time zone at any time. Logs and events are recorded according to the configured time zone. For more information, refer to Daylight Saving Time (DST).
- Use DST: Enable or disable daylight saving time for specific regions.
-
T&A on Mobile: Enable the time and attendance (T&A) feature. After enabling the T&A feature, click Setting to configure detailed settings. For more information, refer to Time & Attendance (T&A).
-
T&A Report: Generate time and attendance (T&A) reports. After enabling the report feature, click Setting to configure report conditions. For more information, refer to Time and Attendance Report.
-
Long-Press (Touch & Hold): Enable the Long Touch feature to remotely open doors from a certain distance.
-
Background Mode: Allow mobile cards while the Suprema Pass app runs in background mode. When enabled, users can open a door without launching the app.
-
Face Credential Photo Preview: Show a face preview when issuing face credentials.
-
Event Log Time Display: Set how event log times are displayed.
-
Device Time: Show event logs based on each device's time zone.
-
Site Time: Show logs according to the site's time zone. Useful when all devices are in one location. See the Timezone option.
-
-
Card ID reading method: Configure how card data is transmitted when using Airfob Patch with third-party readers.
This setting applies only to patch devices and can be adjusted to match the type of third-party device to which the patch is attached.
-
Validity Period for Mobile Access Card Activation/Reissue Link: Set the default validity period for mobile credentials.
Admins can set a separate expiration date for each user's credentials. For more information, refer to Add Users.