Manage Visitors
You can approve or modify visitor requests. Administrators can also add or delete visitors directly.
Visitor approval
This guide shows how to check visitor requests and approve their access.
-
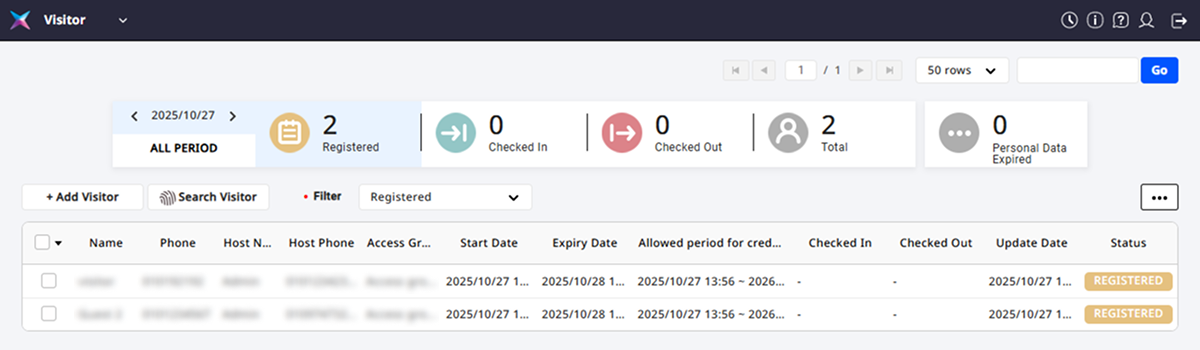
Click Visitor on the Launcher page.
-
Click the visitor you want to approve in the visitor list.
-
After checking the visitor's information, correct any required items and click Edit.
-
Click the Check in button at the bottom right of the screen.
-
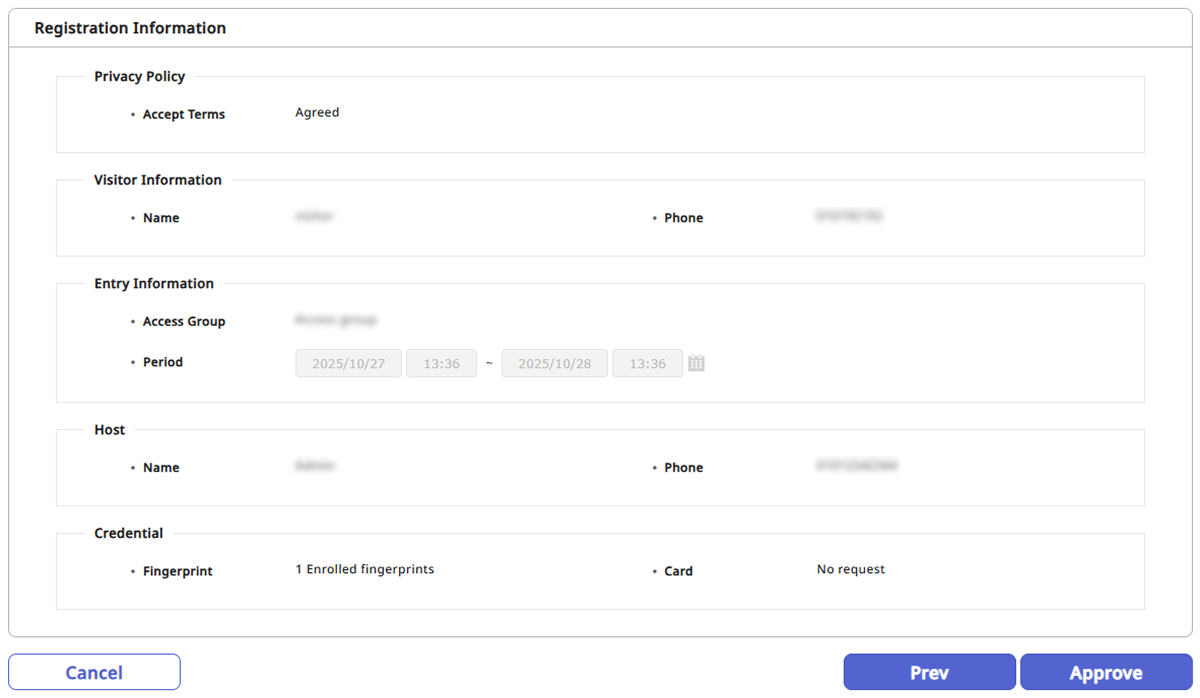
Check the contents of Registration Information and to approve the visit, click the Approve button at the bottom right of the screen.
-
If the applicant has not agreed to the visitor access terms, the Approve button will be disabled. Click the View terms button to provide the access terms to the visitor and obtain agreement. If the visitor does not agree to the access terms, the visit will be restricted.

-
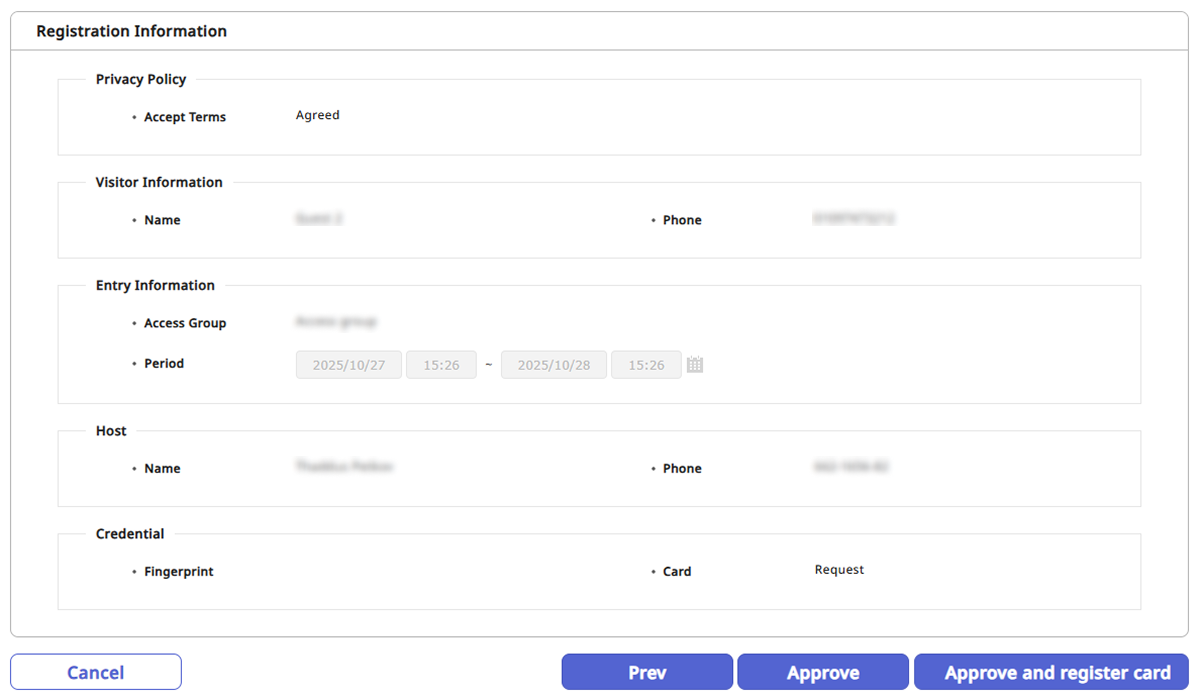
If a card registration device is set up on the visitor PC, the Approve and register card button will be activated. Click the Approve and register card button to approve the visitor and issue an access card. For more information, see #approve-and-register-card.
-
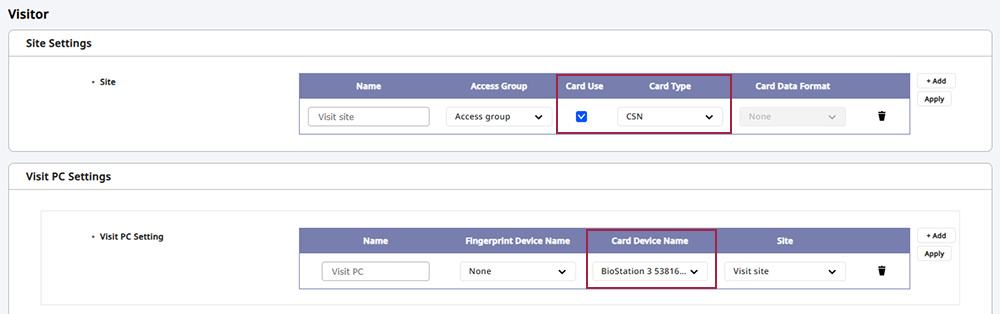
To set up card usage on the visitor PC, go to Settings → Visitor menu and the following minimum settings are required. For more information, see Visitor Settings.
-
Site Settings → Card Use / Card Type
-
Visit PC Visit PC Setting → Card Device Name
-
Approve and enroll card
This guide shows how to approve visitor requests and issue access cards.
-
In the Registration Information screen, click the Approve and register card button at the bottom right of the screen.
-
When the card registration window appears, select your desired registration method.
- Register by Card Reader
- Enter Manually
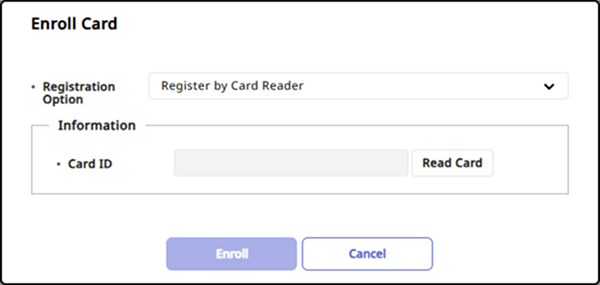
Register by Card Reader
You can scan card information with a device connected to the visitor PC.
-
Select Register by Card Reader for Registration Option.
-
To scan the card to enroll, click the Read Card button.
-
To enroll the card, click the Enroll button.
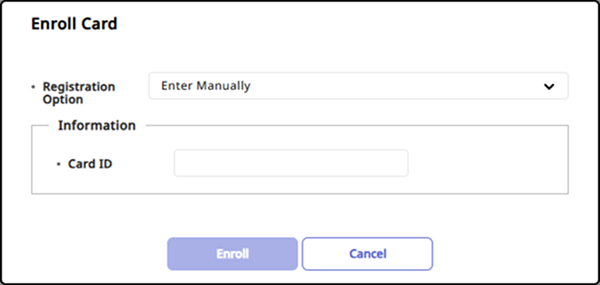
Enter Manually
You can enroll by directly entering the card number.
-
Select Enter Manually for Registration Option.
-
Directly enter Card ID.
-
To enroll the card, click the Enroll button.
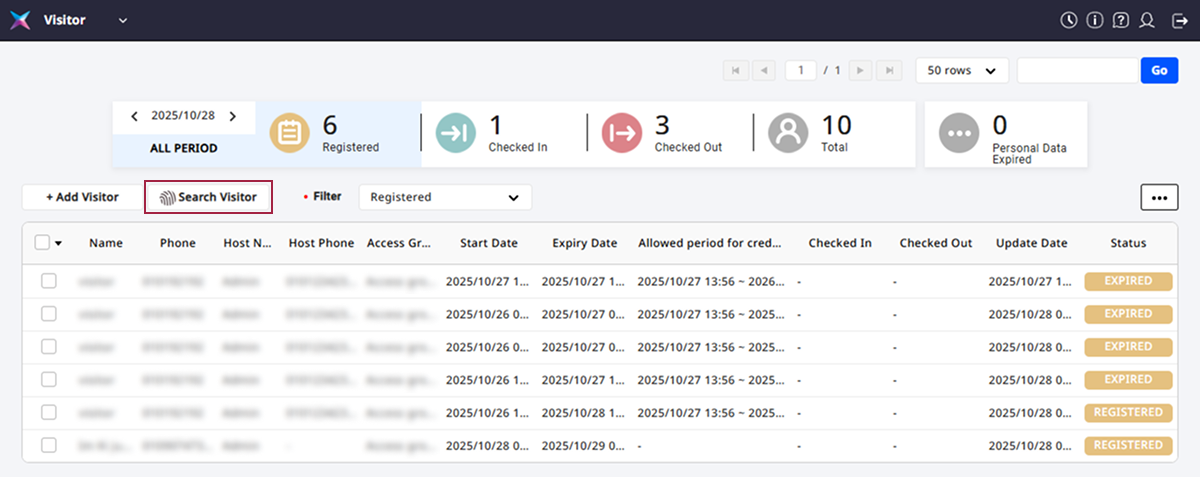
Fingerprint search for visitor approval
You can search for visitors with enrolled fingerprints and process their approval.
-
Click Visitor on the Launcher page.
-
Click the Search Visitor button in the upper left of the visitor request list.
-
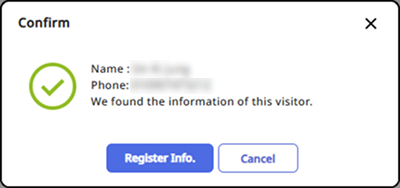
Scan the visitor's fingerprint on the fingerprint scanning device.
-
If a visitor matching the fingerprint is found, a confirmation message will appear. Click the Register Info. button.
-
After checking the visitor's information, correct any required items and click Edit.
-
Click the Check in button at the bottom right of the screen.
-
Check the contents of Registration Information and to approve the visit, click the Approve button at the bottom right of the screen.
Add visitor
This guide shows how an administrator can add visitors directly.
-
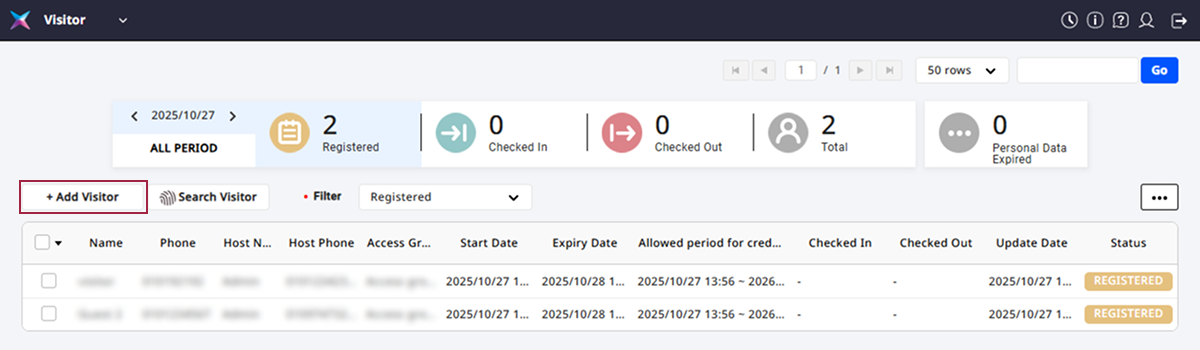
Click Visitor on the Launcher page.
-
Click the Add Visitor button in the upper left of the visitor list.
-
Enter the visitor's name and phone number in the Visitor section.

-
Enter the name and phone number of the responsible person for the visit in the Host section.
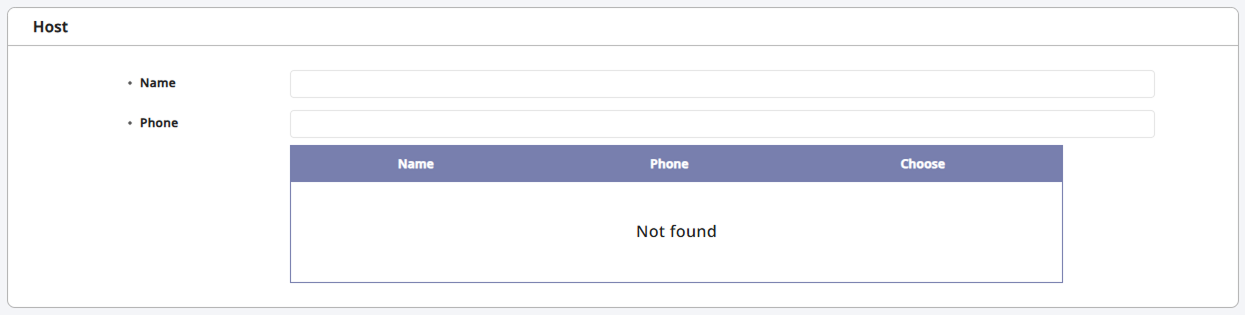
When you enter a name or phone number, a list of users matching the entered information will be displayed. To designate the desired user, click the Choose button.
-
Set the access group and visit duration in the Entry Information section.

You can only select access groups assigned to the visiting department for the visit PC. For more information, see Visitor Settings.
-
Set the means of access in the Credential section.

-
Card: To use card authentication, set it to Request.
-
Fingerprint: To use fingerprint authentication, click the + Fingerprint button and then enroll the visitor's fingerprint.
-
-
To complete adding the visitor, click the Register button at the bottom right of the screen.
-
The name can be entered up to 48 characters long.
-
For more information on adding custom fields to visitor information, see Visitor Settings.
Delete visitor
-
Click Visitor on the Launcher page.
-
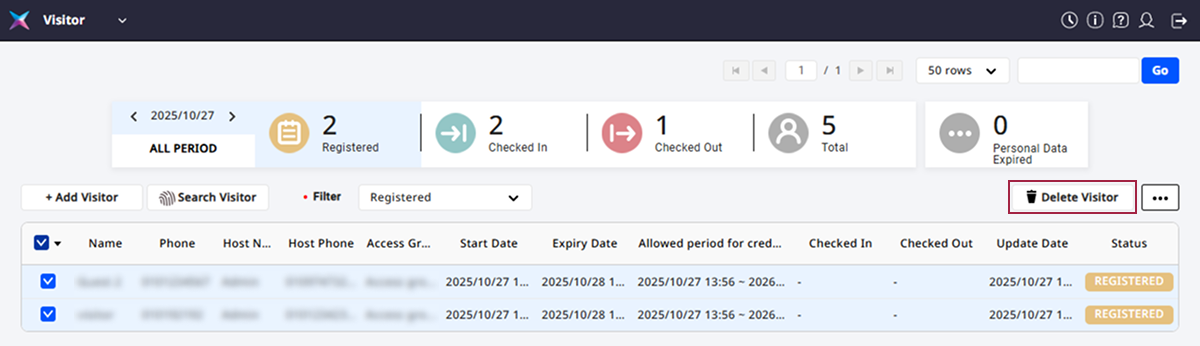
Click the checkbox of the visitor you want to delete from the visitor request list.
-
Click the Delete Visitor button at the top right of the screen.
-
When the confirmation message appears, click Yes.
-
The Delete Visitor button will be activated when a visitor's checkbox is clicked.
-
Visitors can only be deleted from the visitor request list.