Installation
Prerequisites
The following prerequisites are required to use Suprema Integration with Gallagher. Check the support conditions before installing the Suprema Integration with Gallagher.
| Prerequisites | |
|---|---|
| Microsoft Windows 10(x64) or Later | |
| Web browsers | New Microsoft Edge |
| Gallagher Command Centre | Command Center 8.80 or later |
| Suprema BioStar 2 |
|
| Software |
|
| Middleware system hardware Requirements |
|
| Suprema Biometric Devices |
|
Configuration Flowchart

Hardware Wiring Connection
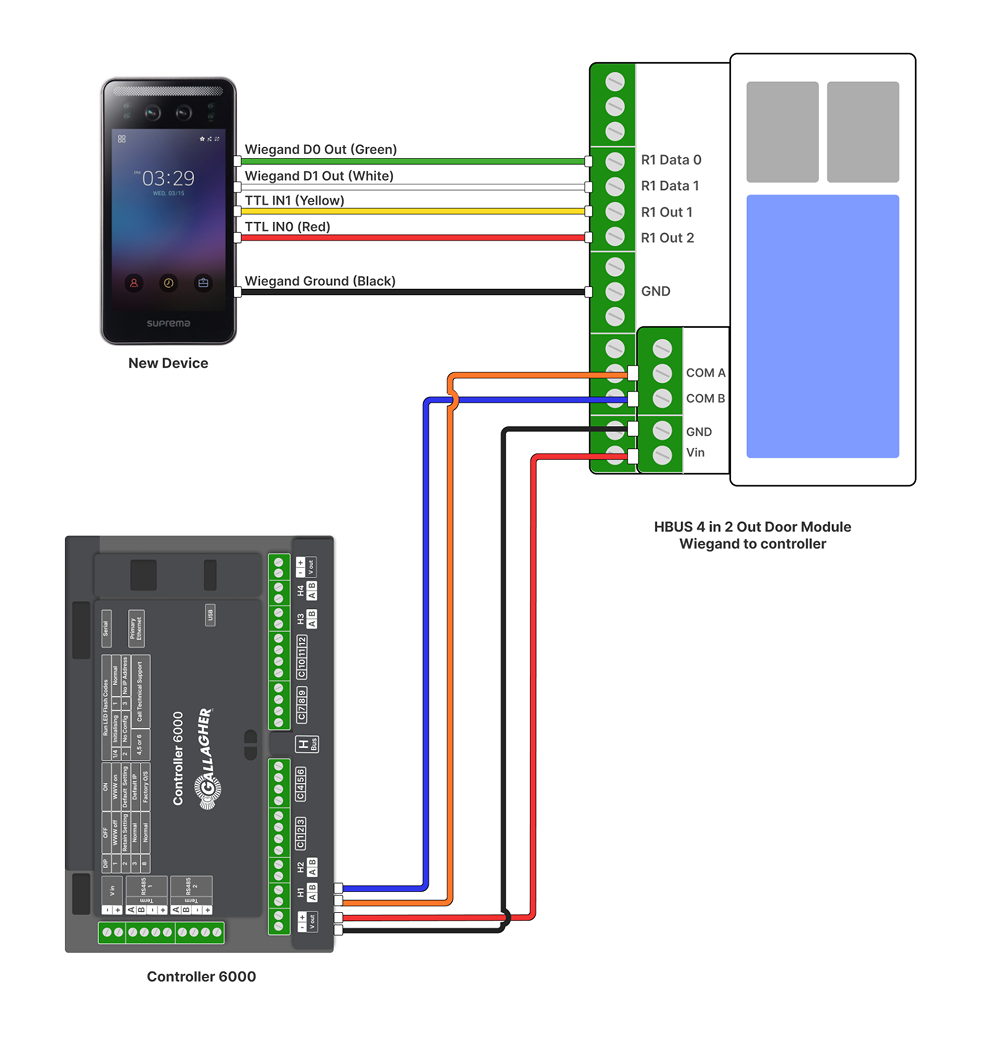
For Wiegand Connection
Suprema Device - Reader 1 to HBUS 4 In 2Out n Door Module Wiegand
| (Suprema Device) Wire Name | HBUS 4 In 2 Out Door Module Wiegand Port to connector |
|---|---|
| Wiegand D0 Out (Green) | R1 Data 0 |
| Wiegand D1 Out (White) | R1 Data 1 |
| Wiegand Ground (Black) | GND |
| TTL IN0 (Red/Purple) | R1 Out 2 |
| TTL IN1 (Yellow/Brown) | R1 Out 1 |
Suprema Device - Reader 2 to HBUS 4 In 2Out n Door Module Wiegand
| (Suprema Device) Wire Name | HBUS 4 In 2 Out Door Module Wiegand Port to connector |
|---|---|
| Wiegand D0 Out (Green) | R2 Data 0 |
| Wiegand D1 Out (White) | R2 Data 1 |
| Wiegand Ground (Black) | GND |
| TTL IN0 (Red/Purple) | R2 Out 2 |
| TTL IN1 (Yellow/Brown) | R2 Out 1 |
HBUS 4 In 2Out n Door Module Wiegand to Controller 6000 HBus
| Controller 6000 | HBUS 4 In 2 Out Door Module Wiegand |
|---|---|
| H1 A | COM A |
| H1 B | COM B |
| Vout -ve | GND |
| Vout +ve | Vin |
Wiegand Connection Diagram
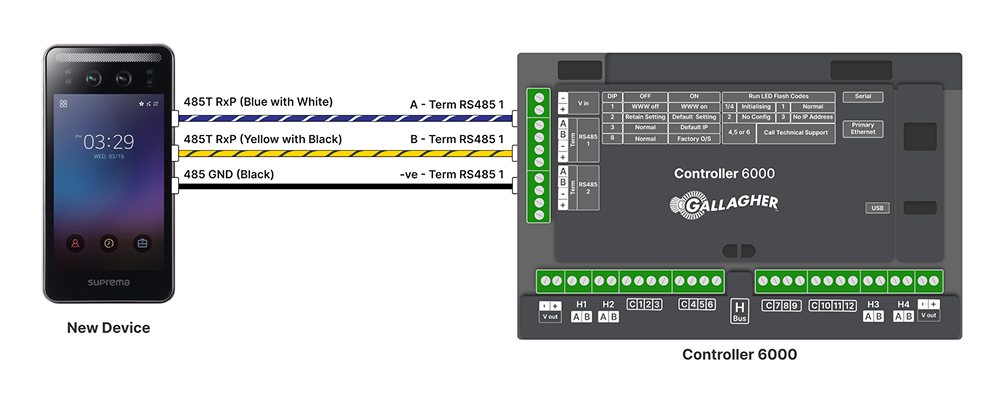
For OSDP Connection
Suprema Device OSDP/RS485 reader 1 to Controller 6000
| (Suprema Devices/OSDP device) Wire Name | Controller 6000 Ports |
|---|---|
| Blue/Blue With White | RS485 1 A |
| Yellow/Yellow With Black | RS485 1 B |
| Black/White With Black | RS485 1 -ve |
Suprema Device OSDP/RS485 reader 2 to Controller 6000
| (Suprema Devices/OSDP device) Wire Name | Controller 6000 Ports |
|---|---|
| Blue/Blue With White | RS485 2 A |
| Yellow/Yellow With Black | RS485 2 B |
| Black/White With Black | RS485 2 -ve |
OSDP Connection Diagram
Install Prerequisite Software
Installation of Gallagher Command Centre Setup
-
Please don’t change any names and passwords while installing and setting up the configuration.
-
To Upgrade the Suprema Integration with the Gallagher version click here.
-
Specifically, you can refer to either the 3C4643 Gallagher Command Centre vEL8.80 Release Note for new installations.
-
The 3E0068 Upgrade Procedure for upgrading purposes for more information in the Release Notes Folder of your Command Centre ISO Directory.
-
You must have to extract
Suprema integration With Gallagher.ziptoC:\Program Files\.
-
Inside the Gallagher Command Centre folder vEL.8.80 (or Later) → Setup.exe, tick the checkbox and press the Next button.

-
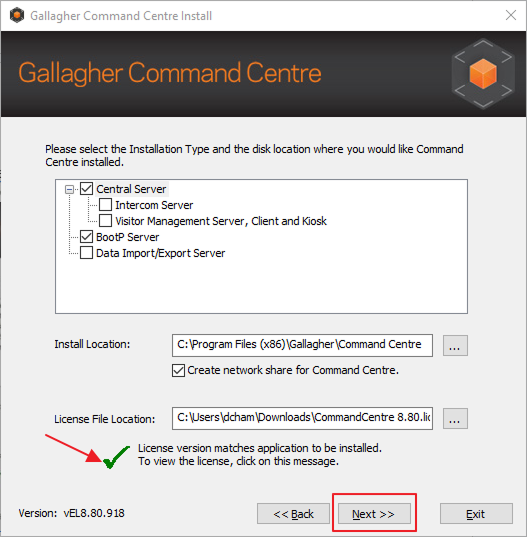
Click the "…" button and locate the License file provided in the setup.
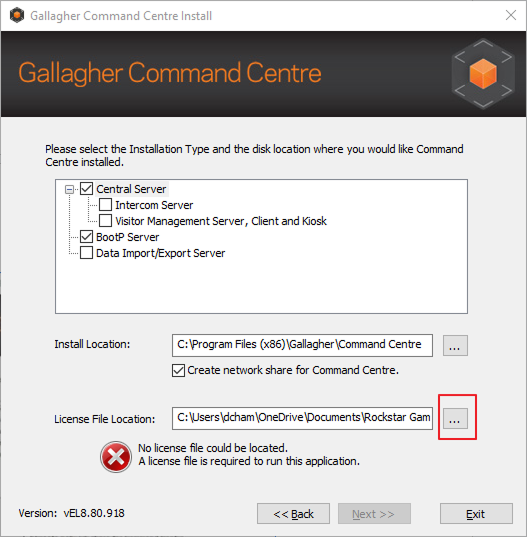
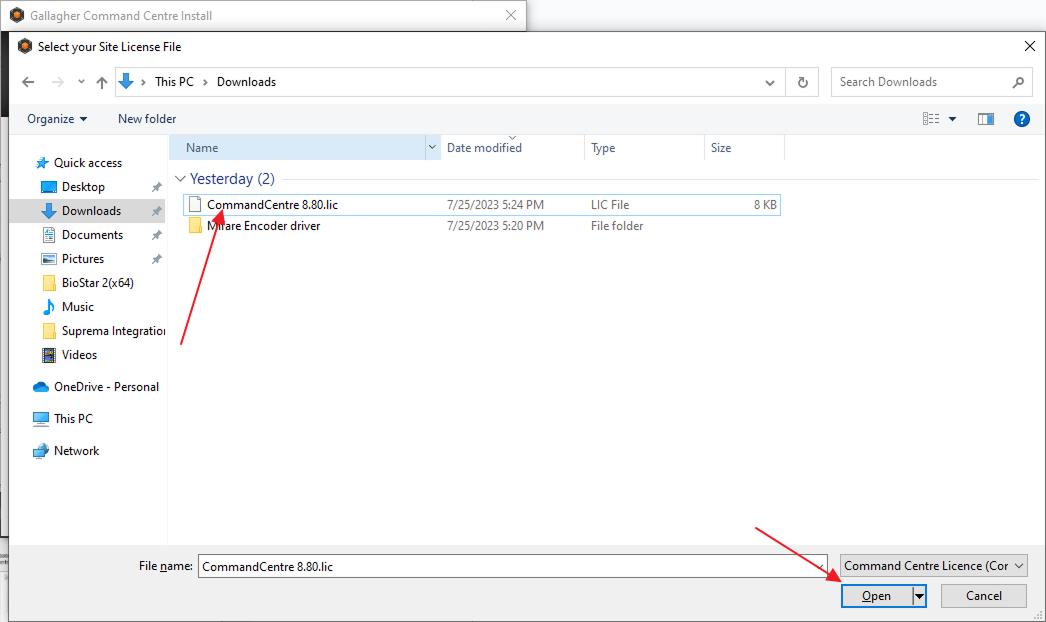
-
When you select the correct license file the icon will change to a tick mark then press the Next button.
-
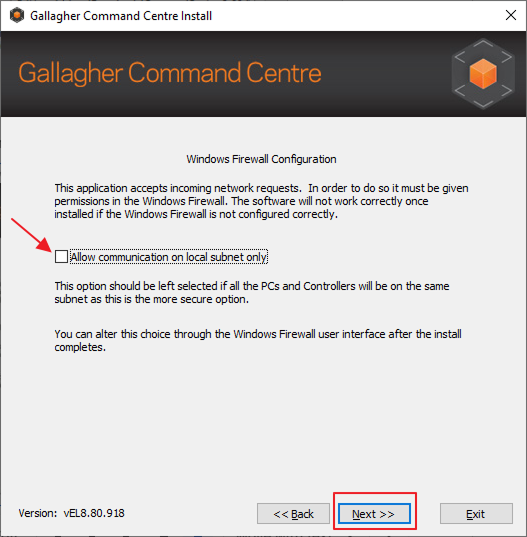
Uncheck the checkbox of the subnet only and press the Next button.
-
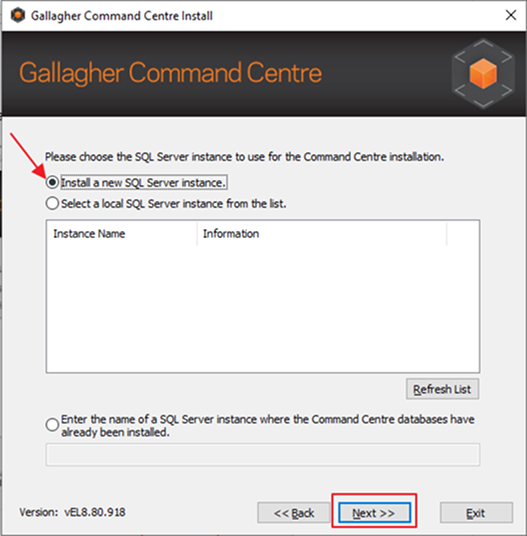
Select the Install new SQL option and press the Next button.
-
Select the do not install a database template.
-
Without changing any settings press Next until you are recovering the code screen.
情報Click the export button and store the Recovery code, and tick the checkbox.
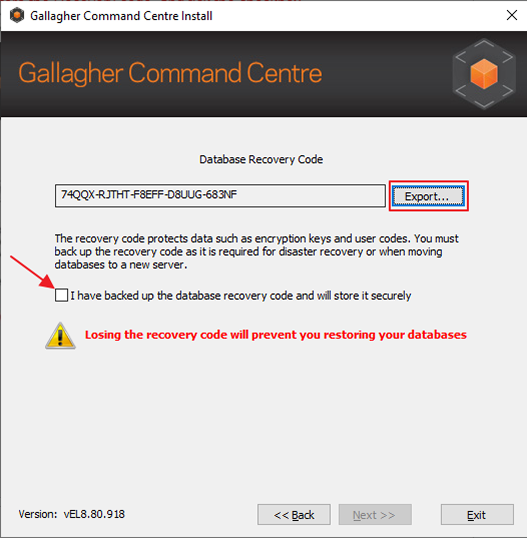
-
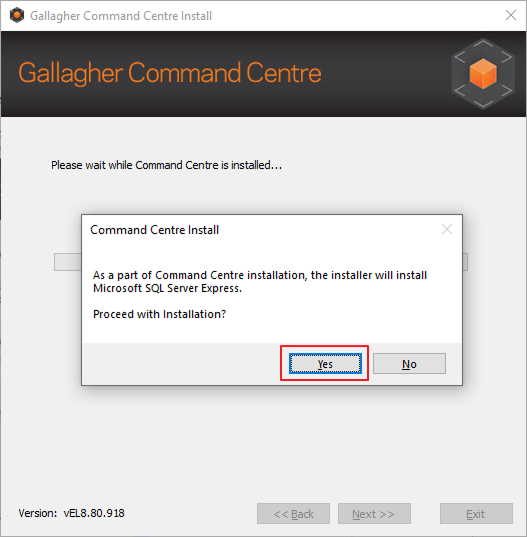
Select Yes and the installation will start.
-
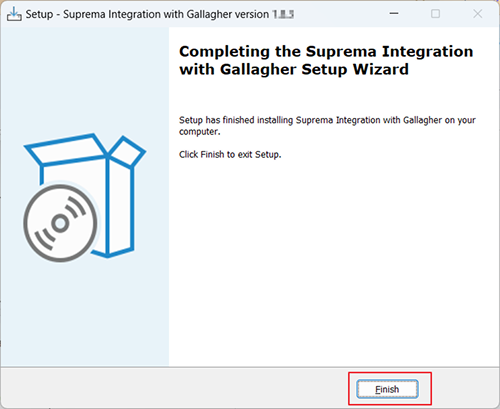
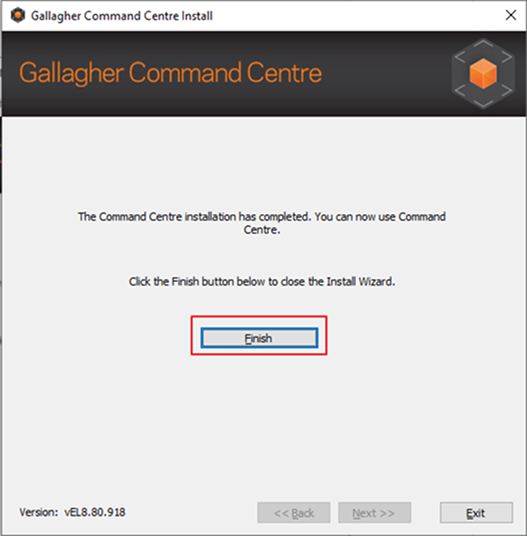
After the Installation is complete, press the Finish button.
Installation of BioStar 2
-
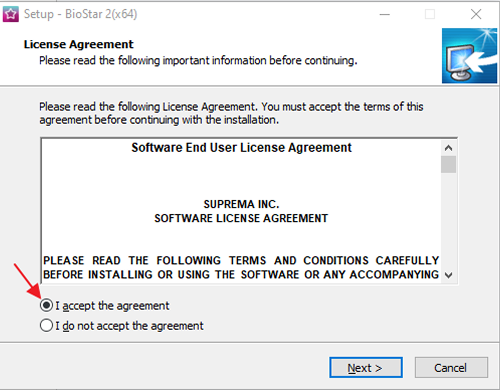
Open the BioStar 2.exe and choose the language & Accept the Agreement press Next.
情報Download the latest version of BioStar 2 - Click Here.
-
Enter your BioStar 2 Password here and press the Next button.
-
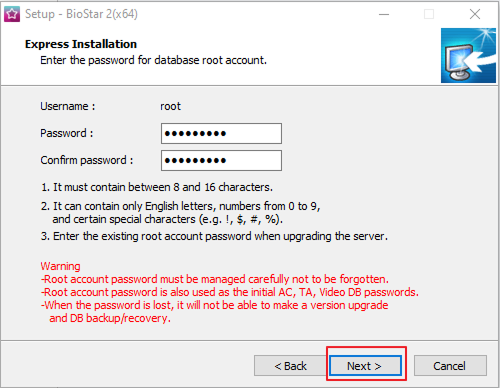
Select Express Installation and enter the BioStar 2 password again.
-
Select the location and proceed.

-
Press the Next button until you reach the Select the Components screen. Check both options and press the Next button.
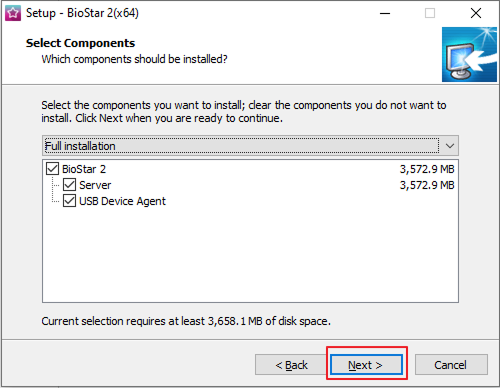
-
Press the Install button to start the installation.

-
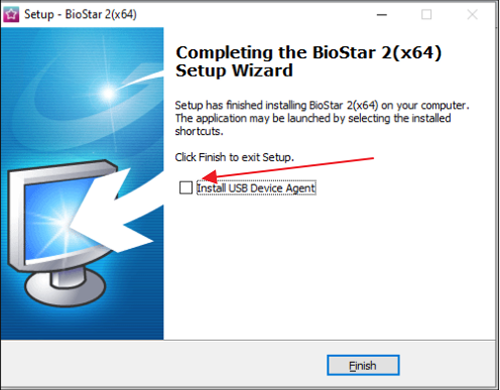
Uncheck the Install USB Device Agent option and press the Finish button and BioStar 2 is installed on your PC.
情報If you want to use the USB device, you must check the Install USB Device Agent.
Installation middleware prerequisites
-
Before extracting/running
Suprema Integration with Gallagher2.0.zip, please turn off the antivirus. -
If you are upgrading from an older version, please find the solution in the troubleshooting guide.
-
You need to run the Suprema Integration with Gallagher 2.0 file as an administrator inside the Suprema Integration with Gallagher 2.0 folder. This will install OpenSSL, PostgreSQL, PgAdmin4, and Node. JS. Also, this will set up the certifications required for our integration.
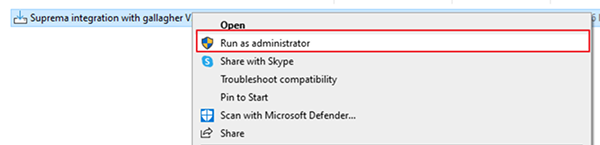
-
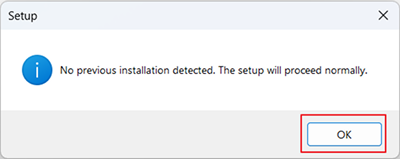
Press Yes when if it asks for allow from an unknown publisher permissions.
-
Press OK.
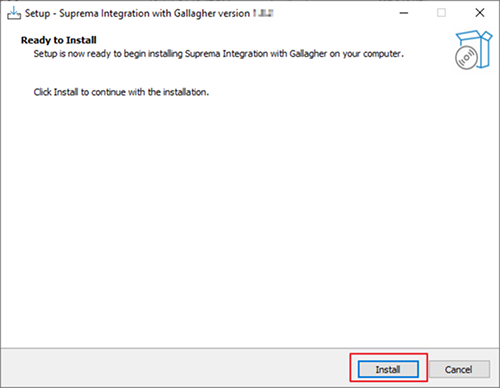
-
Now that you are ready to install the software, press Install.
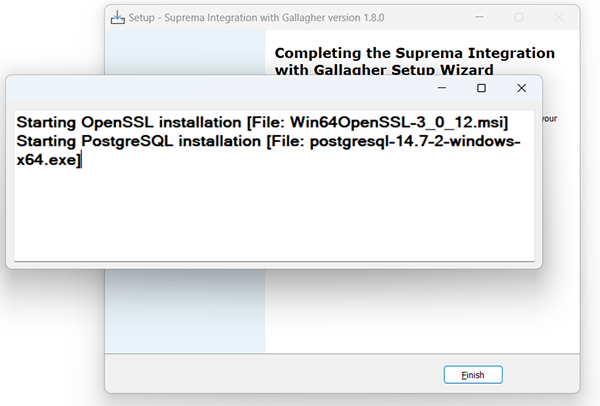
-
It will start the installation for prerequisites, and the software will get installed automatically.
-
Press OK, for below pop-up.
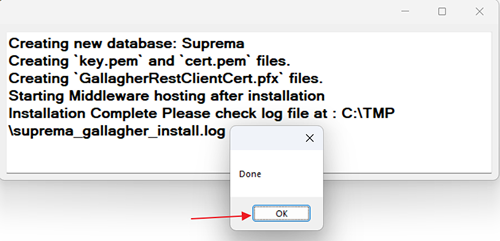
-
We are done with the prerequisite installation press Finish.
情報After installing the middleware, must restart the system once.